

Building a stepped display riser with the Stairs Display Generator
Difficulty: easy. Time: 10 minutes to set up, about 45 minutes to cut and assemble. Best method: laser cut 3 mm plywood.
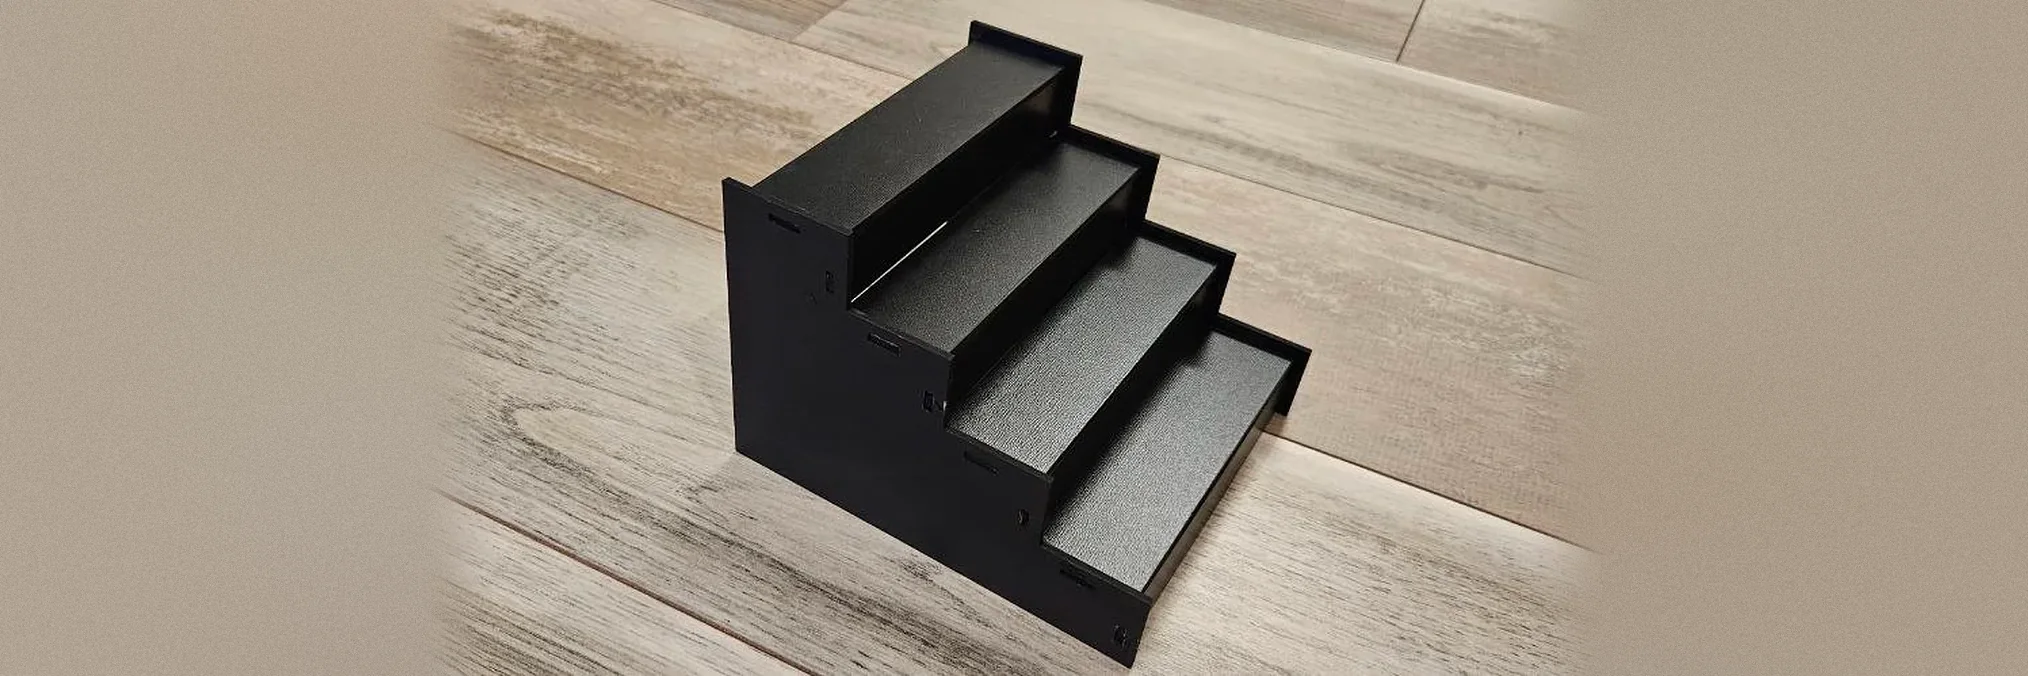
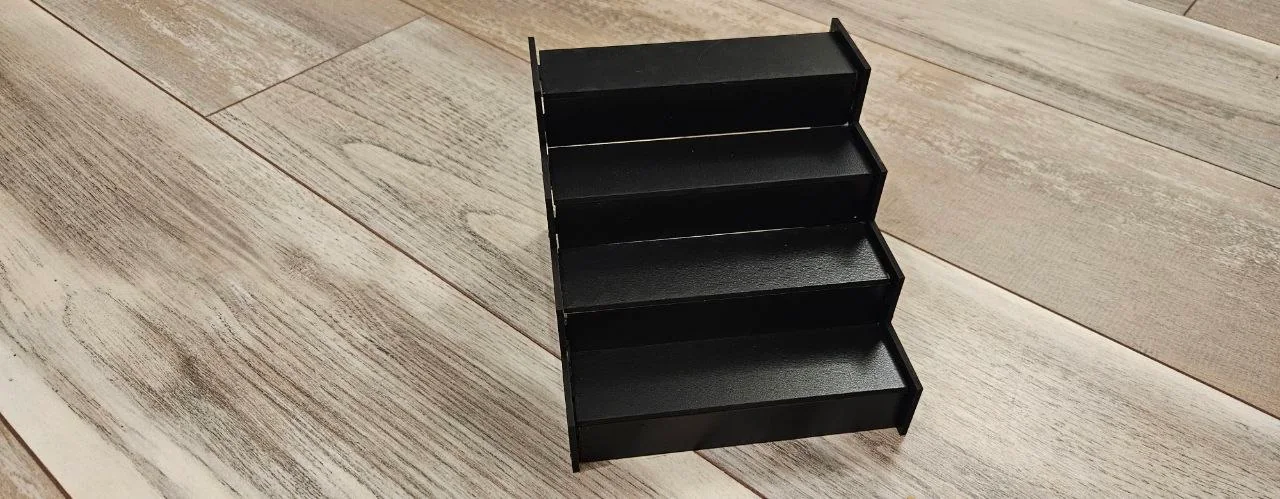
A stepped riser puts every item at its own height, so small pieces in the back row are not hidden behind the front.
Leave off the risers and the back panel for an open, lighter stand, or keep them for a solid one.
What you need
- 3 mm plywood or acrylic for laser cutting. Measure it with calipers.
- Wood glue, or acrylic cement for acrylic
- Or a 3D printer and filament for the one-piece version
1. Set the steps
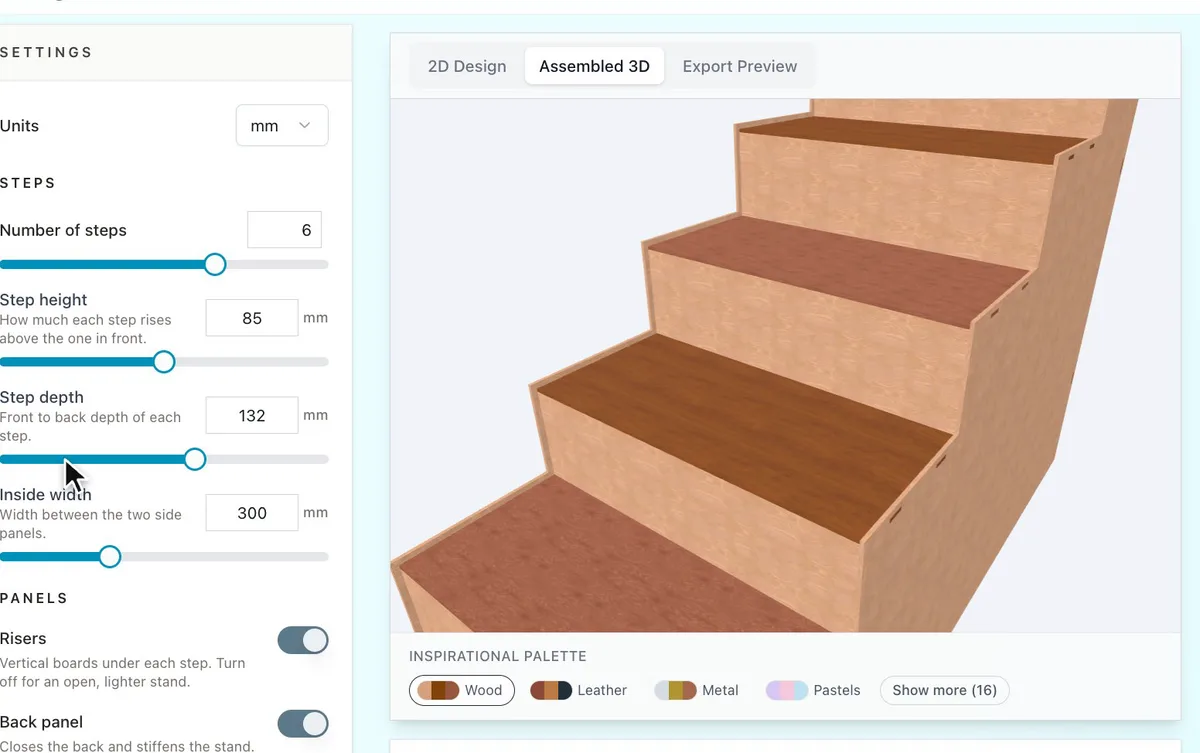
Choose the Number of steps. Step height is how much each step rises above the one in front, and Step depth is how deep each step is from front to back.
2. Set the width
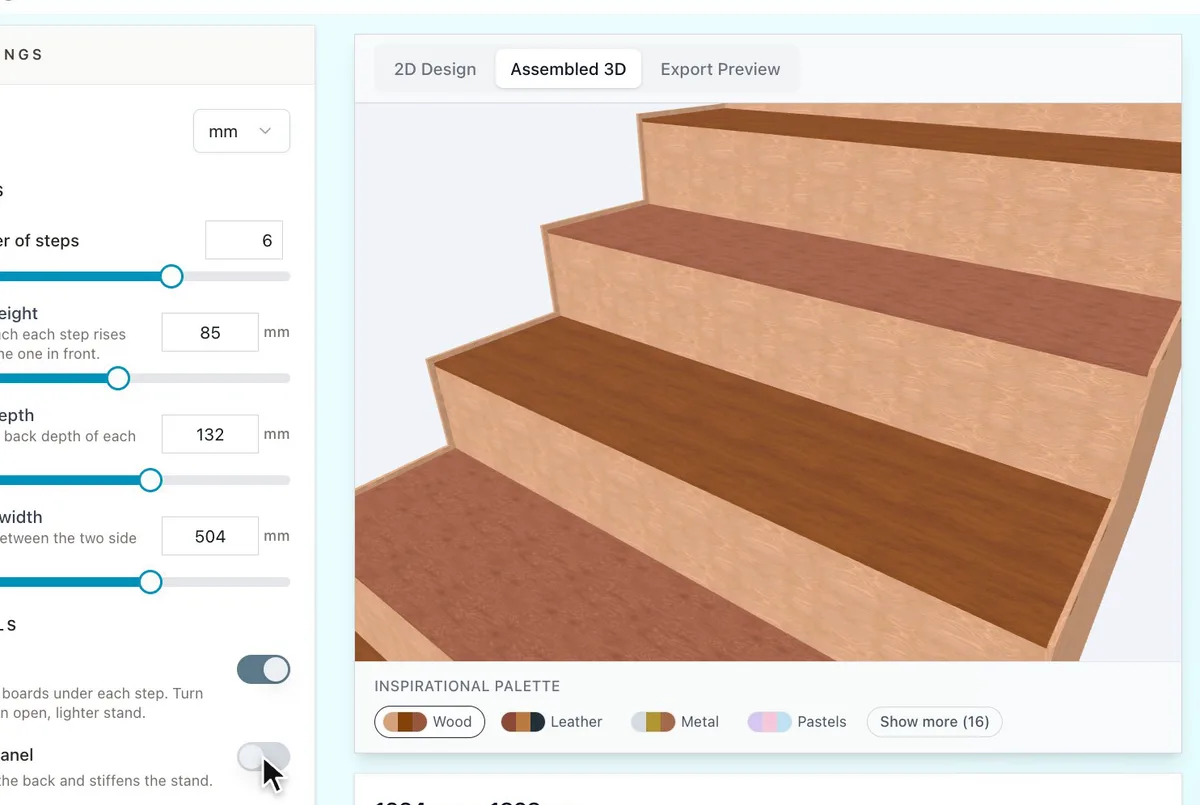
Enter the Inside width between the two side panels, so the stand fits your shelf or the items you want to show.
3. Choose the panels
- Risers are the vertical boards under each step. Turn them off for an open, lighter stand.
- Back panel closes the back and stiffens the stand. Back crest sets how far it rises above the top step.
- Set Material thickness to what you measured.
Choose your build method
Laser cutting
Cut and assemble
- Download the SVG and cut every panel.
- Slot the treads, and the risers if you kept them, into the two side panels.
- Add the back panel, check that the stand sits square, then glue.
3D printing
Print it
Download the STL or 3MF. The whole display is one solid stepped piece standing on its base, ready to print.
Next steps and project ideas
- Use it for earrings, rings, figurines or spice jars.
- Engrave a shop name on the back crest.
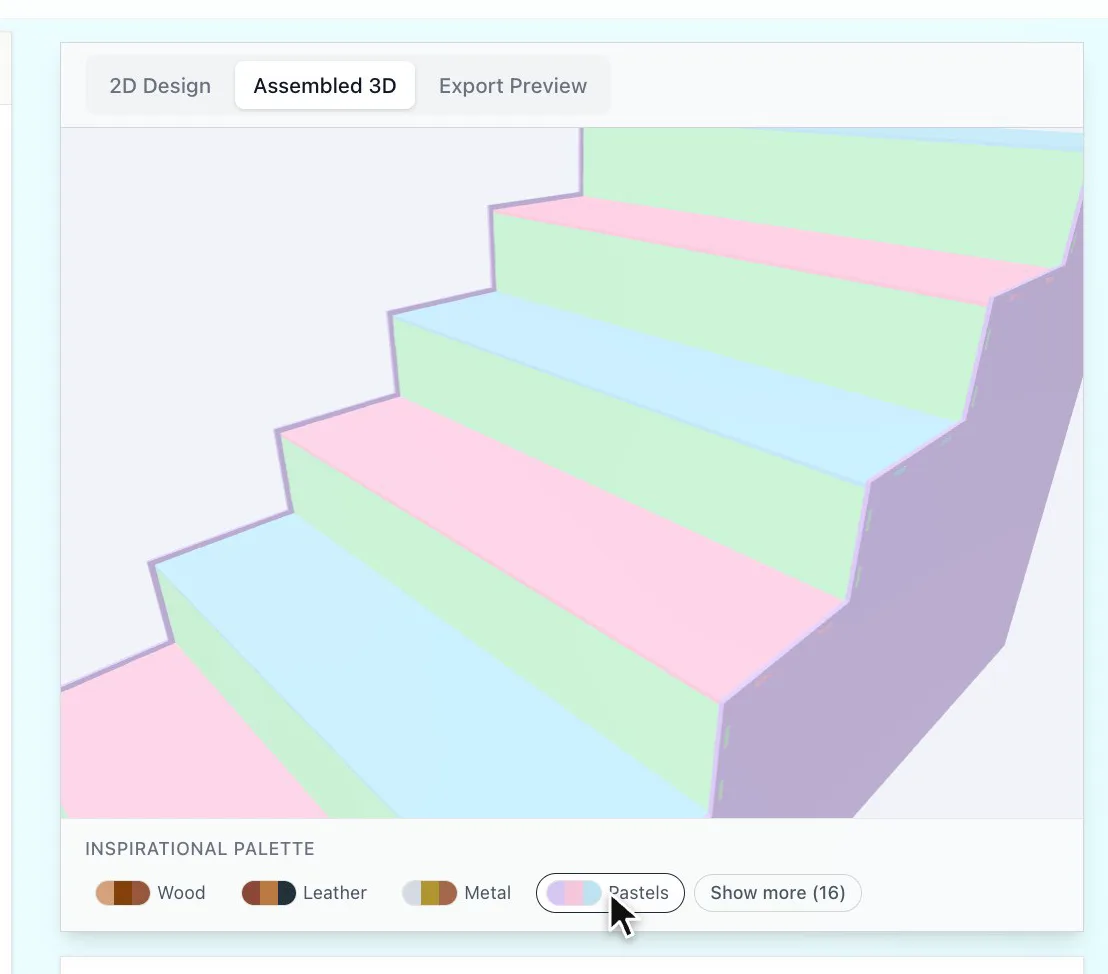
- Try the Inspirational Palette under the preview to compare wood and colour combinations.
Take the design into your software
Was this guide helpful?
More in Boxes and storage

Keep up with MyLaserTools.
Email me about new tools, product updates, tutorials, and occasional MyLaserTools offers. Unsubscribe at any time.
© 2026 MyLaserTools.com. All rights reserved.