

Your first map in the Map Designer
Time: 20 minutes. Needs a free account. The download costs 10 sparks; previews are free.
The Map Designer draws any place as a stack of layers: roads, water, parks, buildings, terrain. Each layer becomes one sheet on a laser, or one colour on a 3D printer. This guide makes a city map with the Classic City Map style, and the same steps work for every other style.
On this page (7)
What you need
- A free MyLaserTools account (a new one comes with 100 sparks)
- For a laser: one sheet of 3 mm plywood or acrylic per layer, a little larger than the map
1. Pick a style
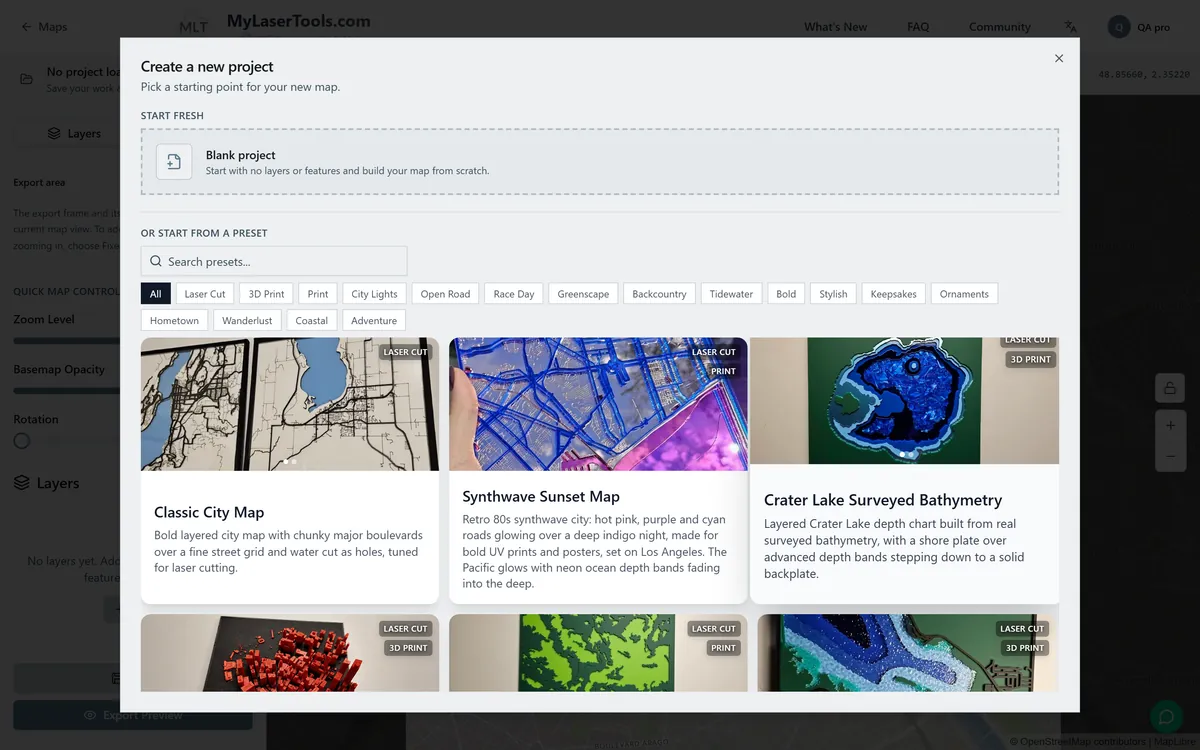
Open the Map Designer and sign in. It asks where to start. Click Select preset, use Laser Cut, 3D Print or Print to see the styles made for your machine, and pick Classic City Map. A preset is only a starting point; you can change every layer afterwards.
2. Find your place
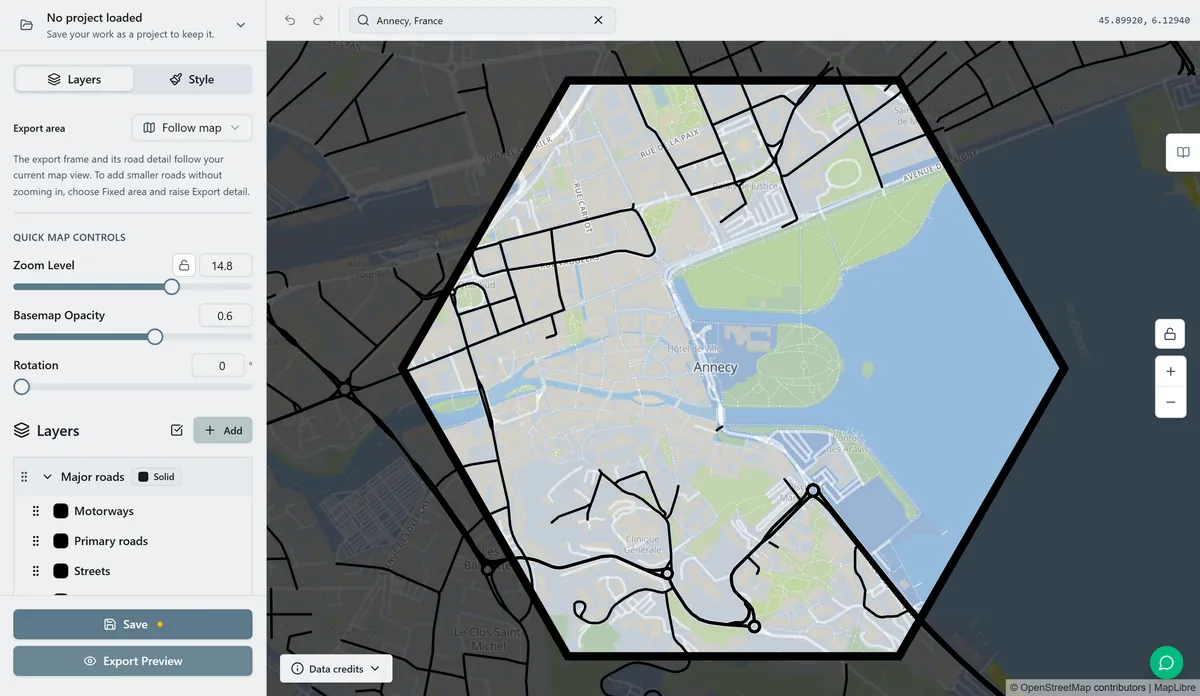
Type a town, an address or coordinates into the search box above the map. The frame stays put in the middle; drag the map under it until the part you want is inside. Zoom Level decides how much fits. Zoom out and you get more of the town, but the streets get closer together and thinner on the finished piece.
3. Choose the layers
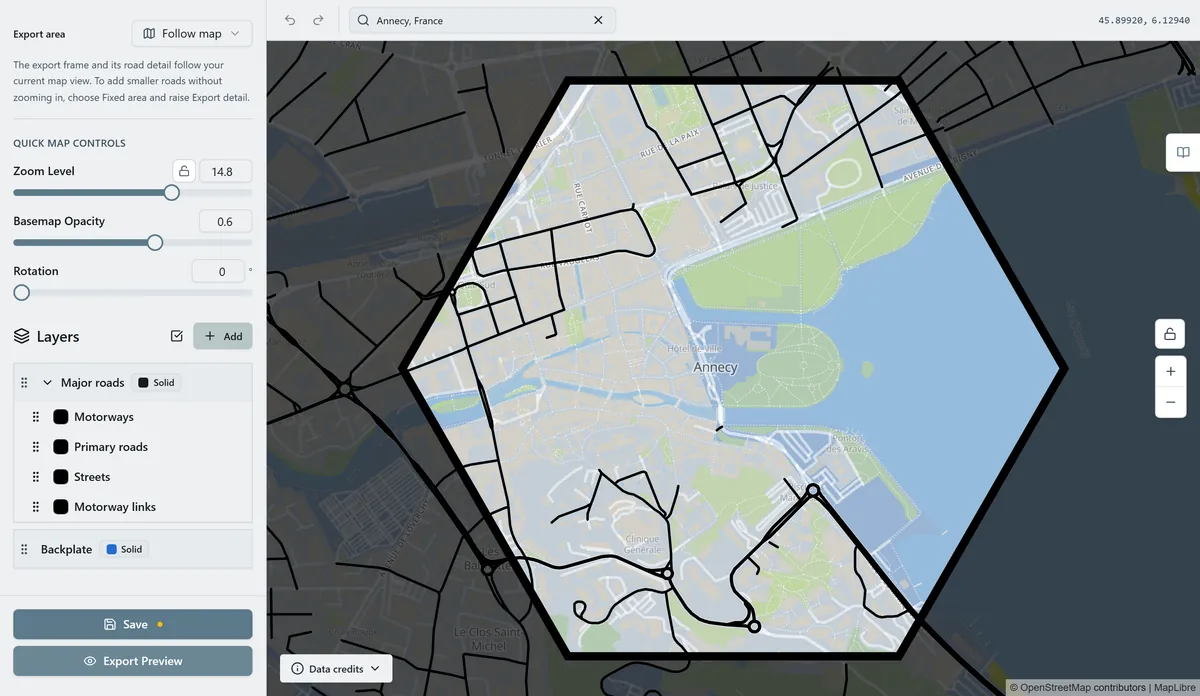
The Layers list on the left is what gets made. Each entry is one sheet or one print colour, and the backplate at the bottom holds the rest together. Click a layer to change which roads or features it takes and how thick they are. Add brings in another layer, such as parks, buildings, rail, terrain, lake depths or a route from a GPX file.
4. Choose the frame shape
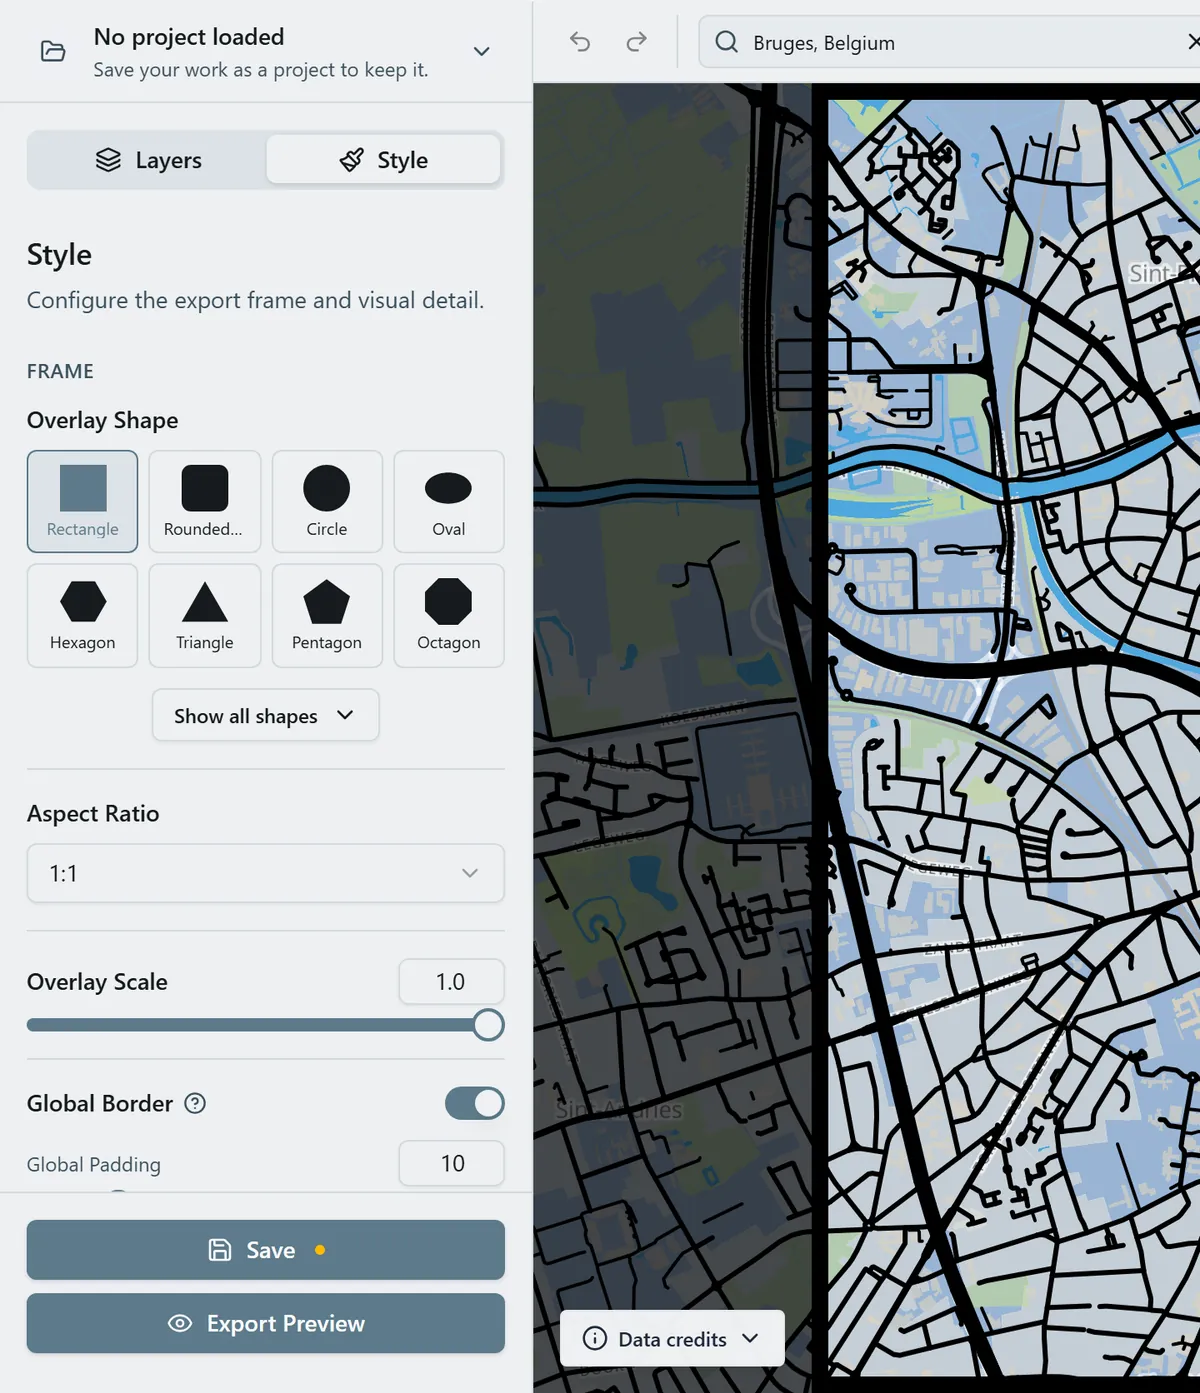
Switch to the Style tab. Overlay Shape sets the outline of the piece: rectangle, circle, hexagon, and more under Show all shapes. Global Border adds a solid rim that keeps loose street ends attached, which matters on a laser.
5. Review the map and get the final files
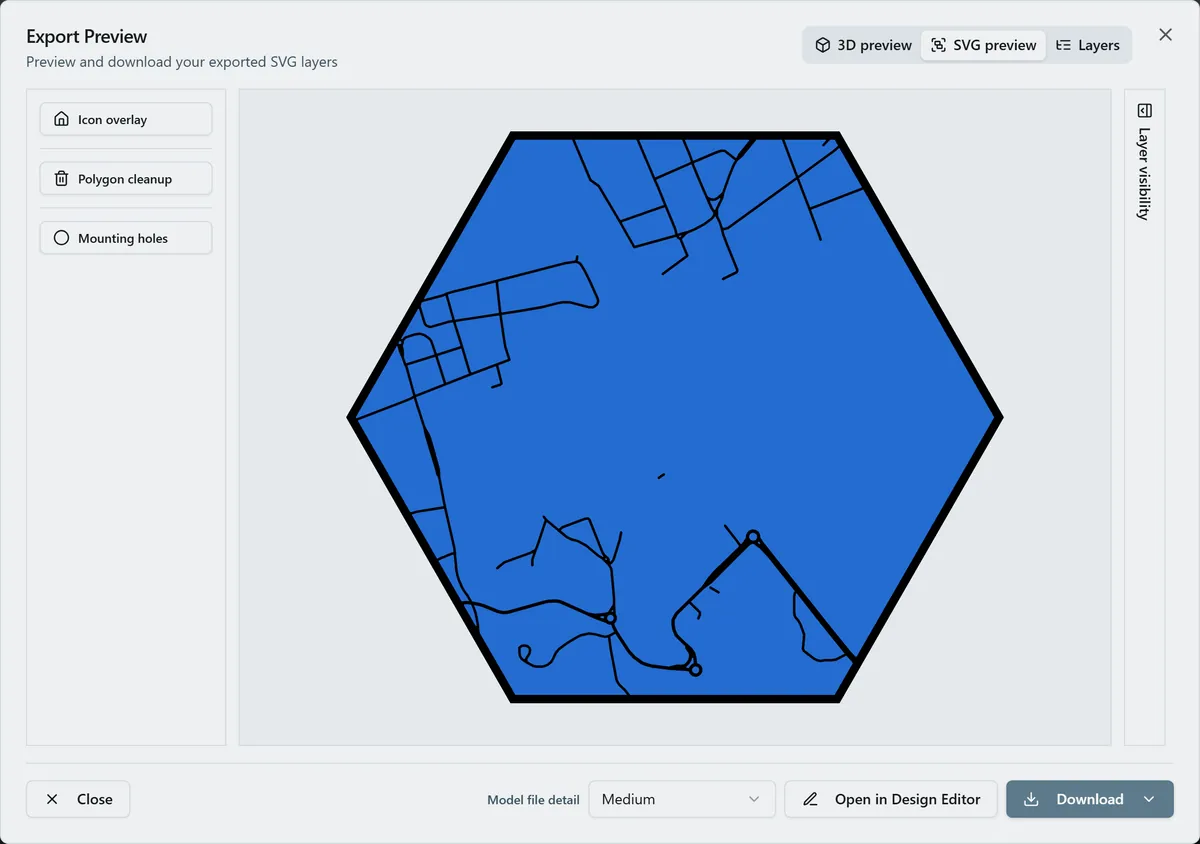
Click Export Preview. A review window shows the whole map and each layer as a picture. Reviewing is free, so if something is missing, click Back to edit, fix it and look again. When it looks right, click Use 1 map export for final SVG. That spends 10 sparks, or nothing with Pro, and builds the real files.
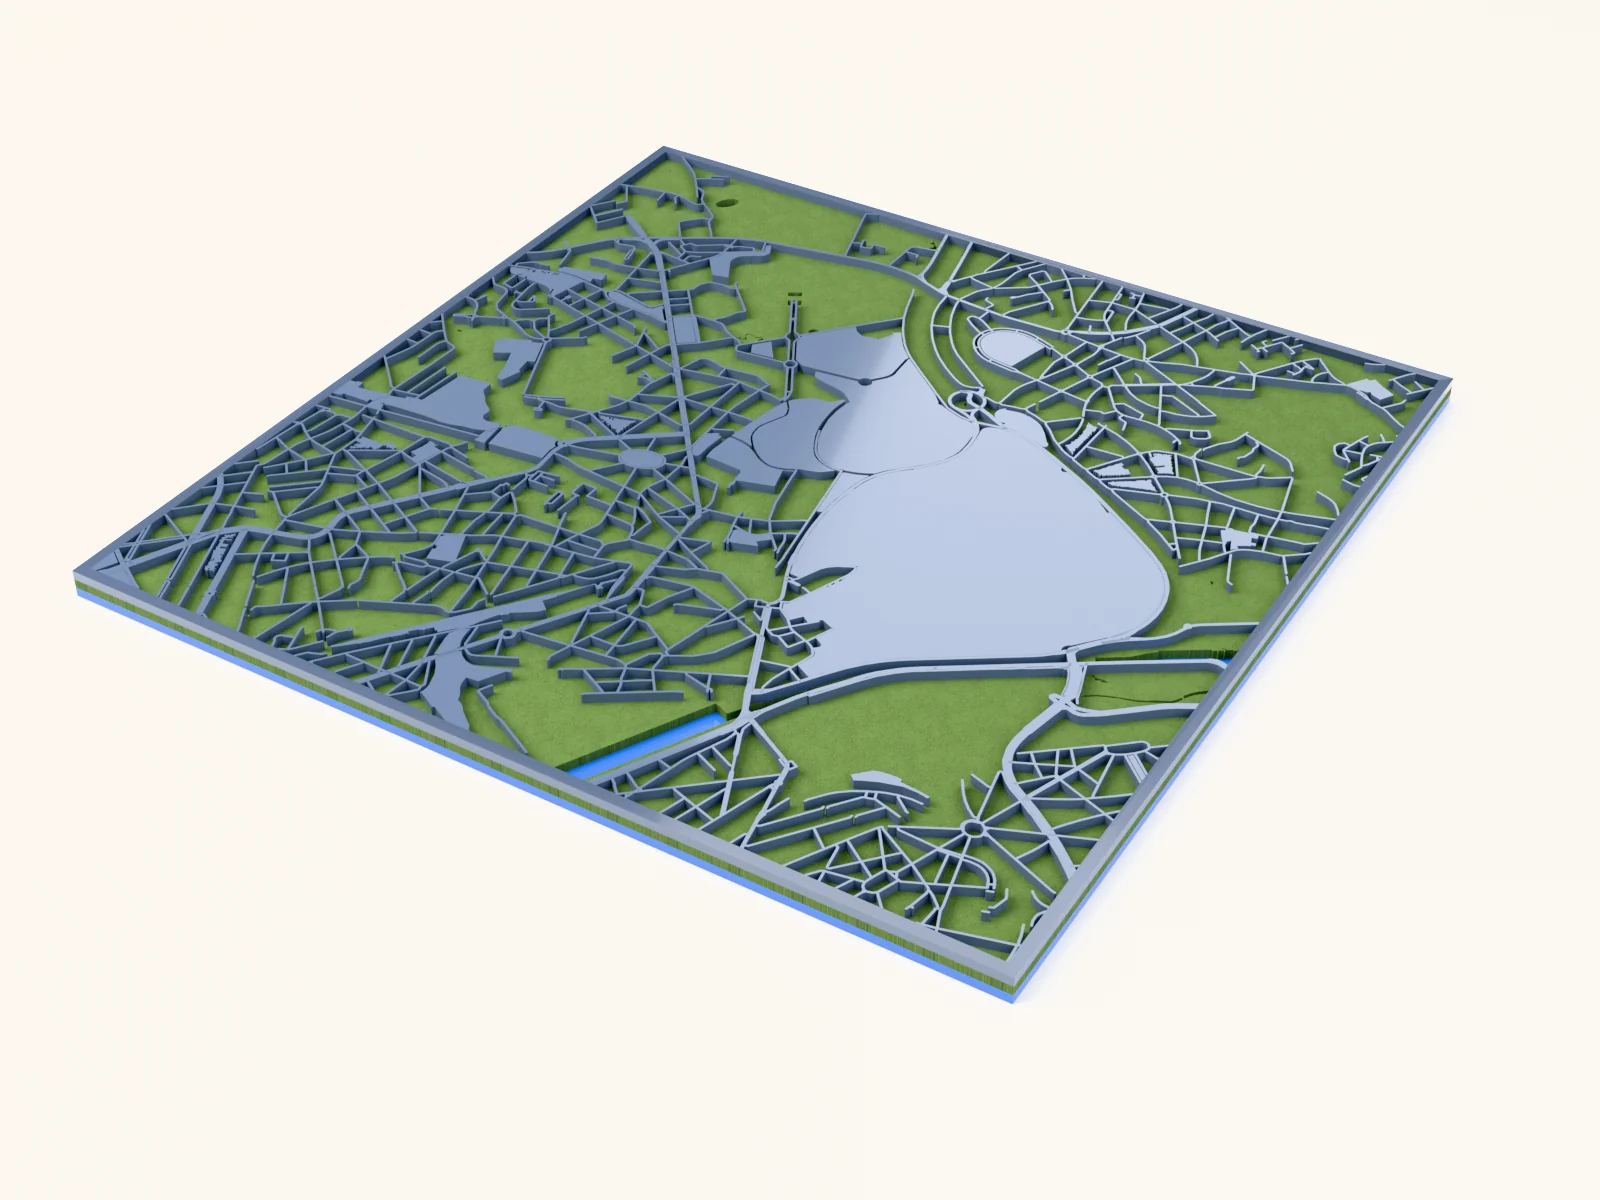
The Export Preview opens with an SVG preview, a 3D preview of the stack and a list of Layers. Set Map width to the finished width and Layer thickness to your sheet. On the left, Polygon cleanup removes specks too small to cut and Mounting holes adds holes for hanging.
6. Download and save
Click Download and choose a file. Download as single SVG gives every layer in one file, one colour per layer. The export is kept in My Designs, so downloading it again later is free. Click Save in the left panel too, so the project itself is there to change next time.
Each layer is a separate colour in the SVG. Cut them one sheet at a time, then glue them in order, backplate first. Assembling layered maps covers the glue-up, and Materials for laser maps helps you pick sheets.
Troubleshooting
- Tiny islands burned away or fell out: turn on Polygon cleanup in the Export Preview, or zoom in so the streets are wider.
- Street ends are loose: turn on Global Border in the Style tab so every street meets the rim.
- The layers do not line up after cutting: cut every sheet from the same SVG without moving or resizing single layers. See layers misalign.
Next steps and project ideas
- Browse every map style, from lake depth charts to 3D printed terrain.
- Draw a hike or a race: GPX routes and tracks.
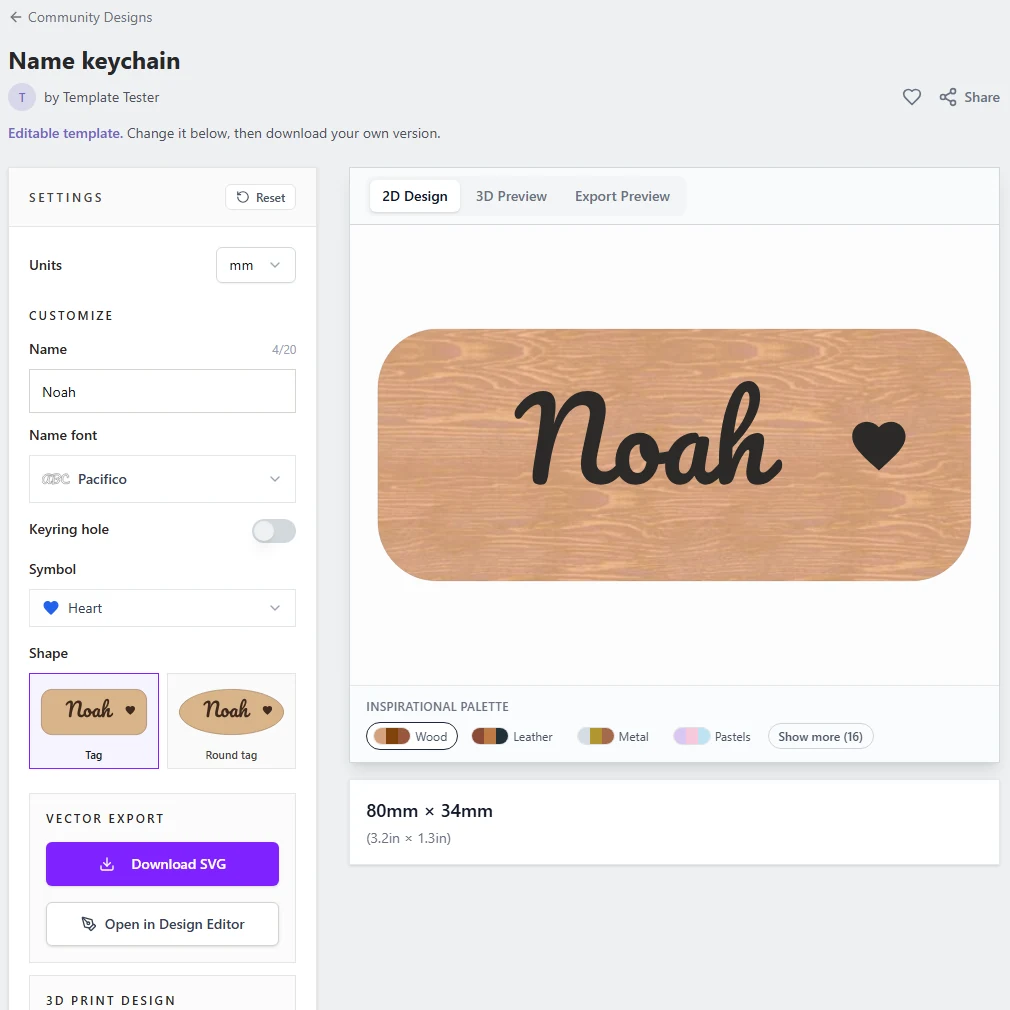
- Send the layers to the Design Editor with Open in Design Editor to add a name and coordinates.
Was this guide helpful?
More in Using MyLaserTools

Keep up with MyLaserTools.
Email me about new tools, product updates, tutorials, and occasional MyLaserTools offers. Unsubscribe at any time.
© 2026 MyLaserTools.com. All rights reserved.