

Print MyLaserTools artwork on clothing with xTool Apparel Printer
Use an Apparel Printer project with the matching DTF Film. The garment route is a direct-to-film transfer: print to film, apply and cure adhesive powder, then heat-press onto compatible fabric.
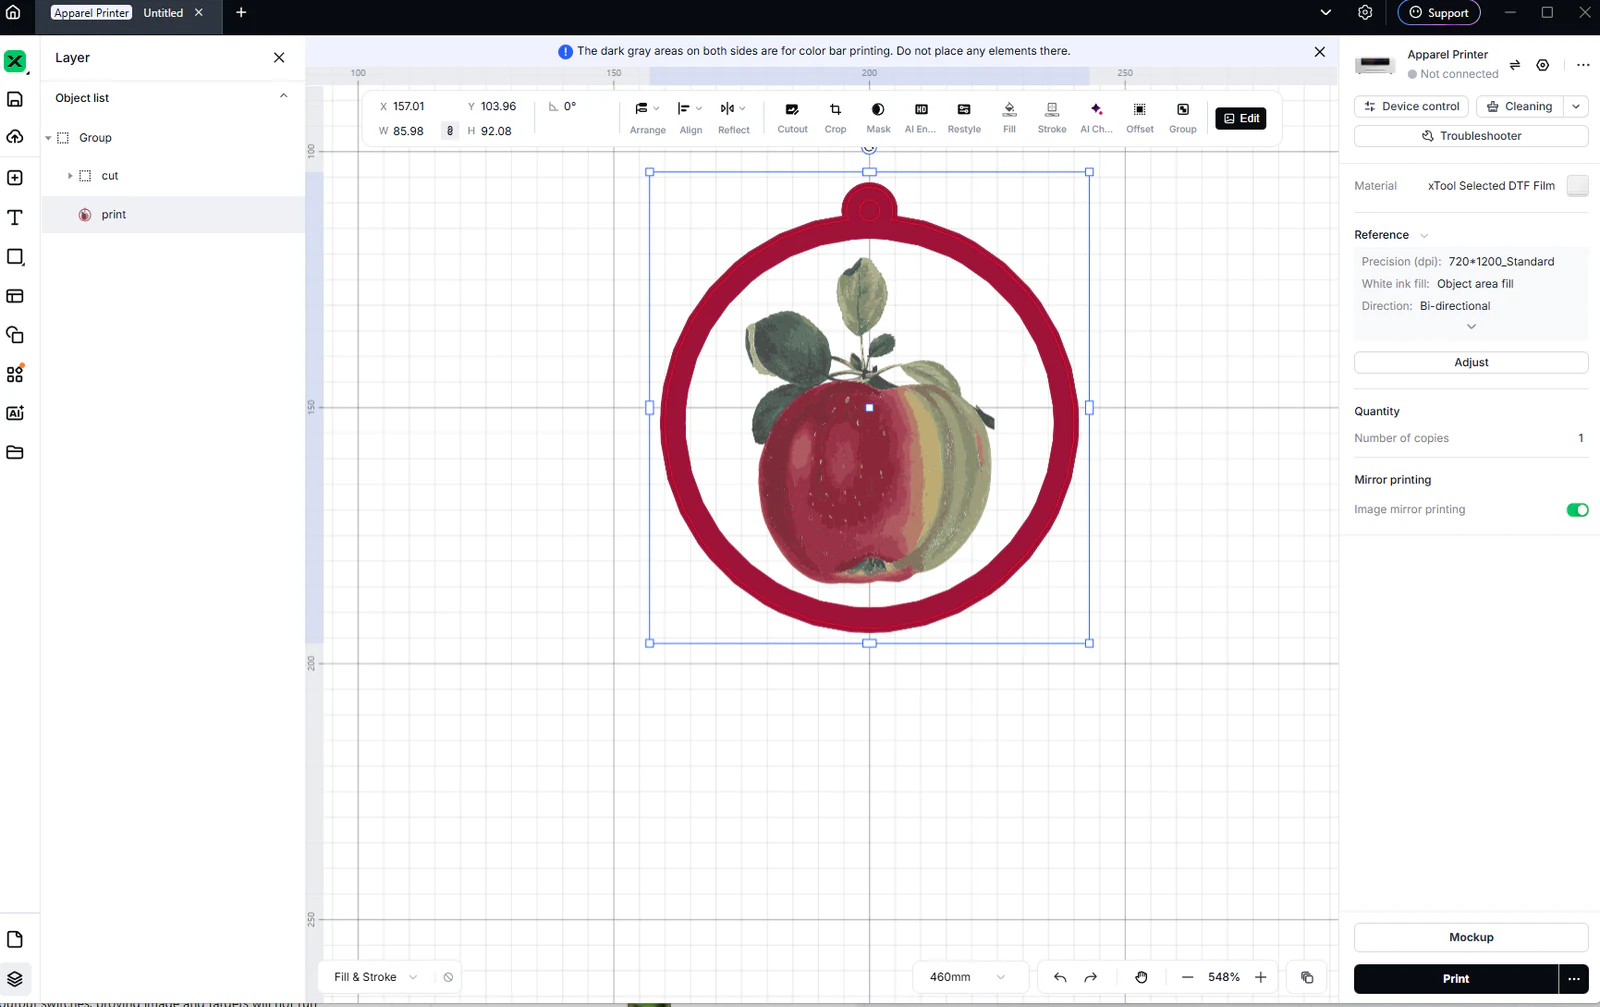
The example is the apple ornament artwork. On a shirt it is only printed: its cut outline and keyring hole are not cut in an apparel project, so remove them if you do not want them printed. For laser engraving or cutting, follow the xTool Studio laser guide instead.

On this page (8)
What you need
- Printable MyLaserTools artwork with a transparent background where needed, and a chosen finished print size.
- An xTool Apparel Printer setup, compatible DTF consumables, powder-curing equipment and a heat press suitable for the garment.
1. Prepare the printable appearance
Download a PNG with a transparent background, or the combined SVG. Keep only the shapes and colours you want on the garment: delete the cut outline and the hanging hole, and decide whether the coloured ring around the apple suits a shirt. Set the width in millimetres you want on the fabric.
2. Select the printer and film, then check mirroring
Choose the Apparel Printer project and the DTF film you have loaded. Turn on Image mirror printing: the film is pressed face down, so the print has to be mirrored to read the right way on the shirt. Do not also flip the artwork yourself, or text ends up backwards. Keep the artwork out of the margins the software marks at the sides.
3. Use Mockup, then recheck actual dimensions
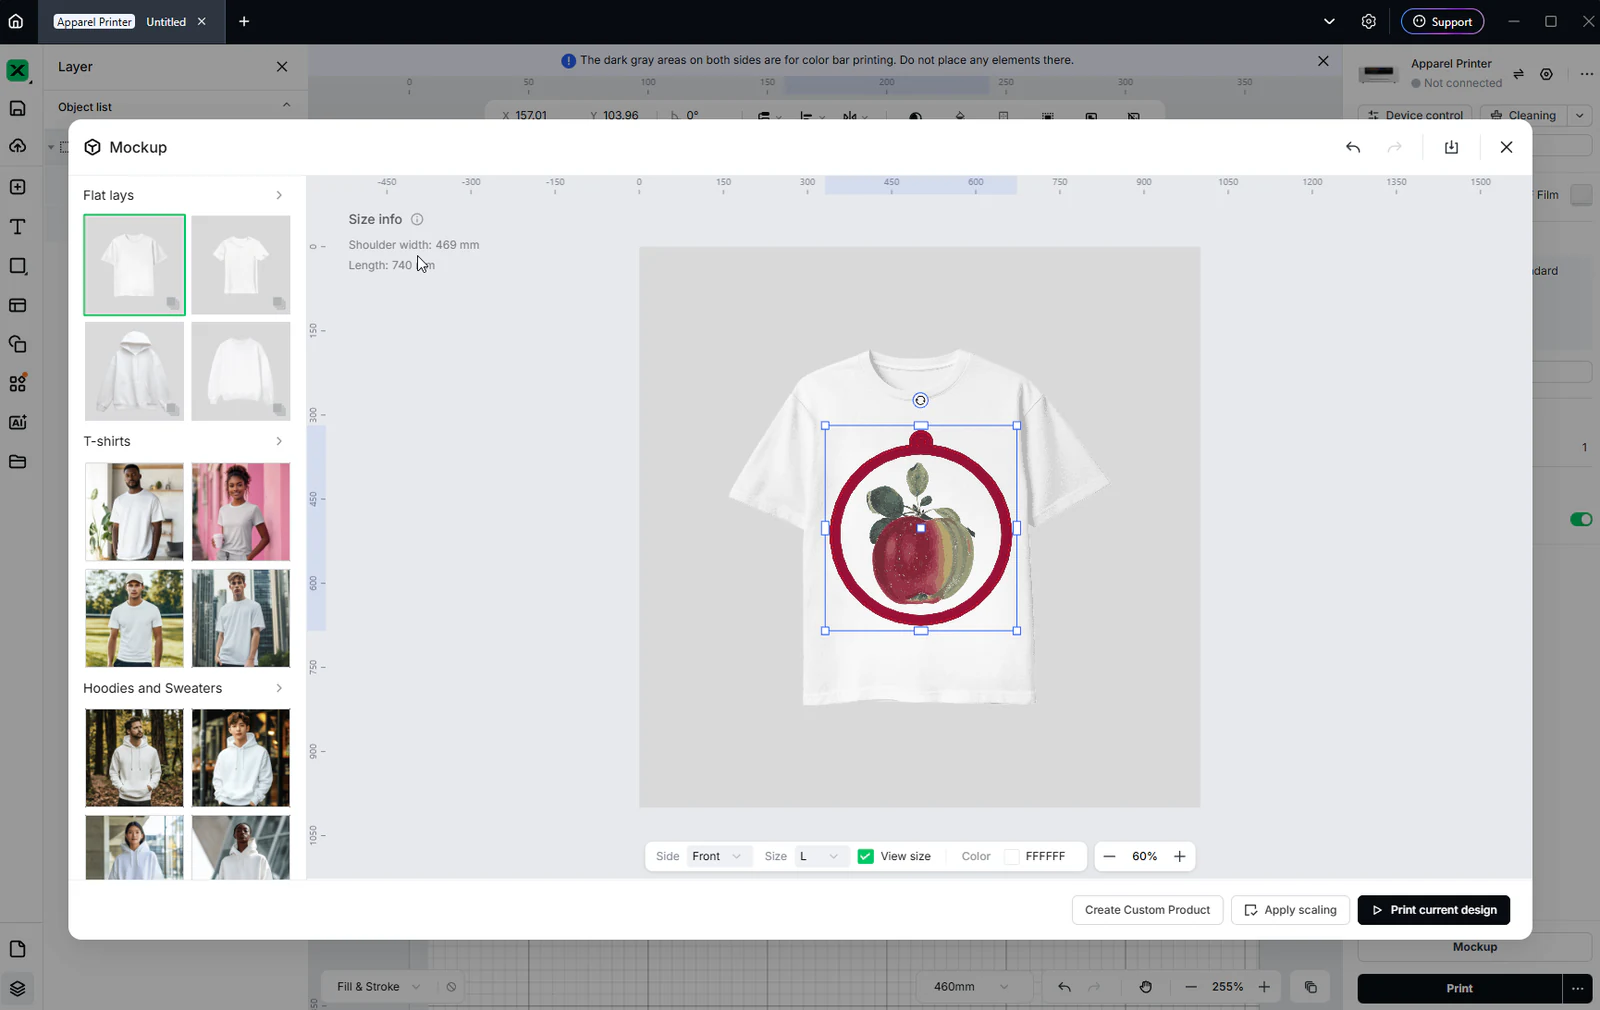
Open Mockup, choose the garment and place the design. Apply scaling resizes the artwork to match the mockup, so check the width in the project again before you print.
4. Print, cure and heat-transfer
Run the printer's test print first. Print onto the film, cover the wet print with the adhesive powder and cure it, then heat-press it onto the garment. Pressing time, temperature, hot or cold peel and a second press depend on the film and the fabric, so follow xTool's guide linked below. Press one test piece and stretch it before you make a batch.
Choose Apparel Printer and DTF film
The object list on the left still shows the cut and print groups from the SVG. In an apparel project everything visible is printed, whatever the group is called, so hide or delete what you do not want on the shirt.
Garment Mockup: placement before production
Troubleshooting
- Text reads backwards on the garment: the artwork was mirrored twice, once by hand and once by Image mirror printing. Use only the printer setting.
- An outline or a hole printed on the shirt: delete the cut outline and hole from the artwork before printing.
- The placement looks right but the size is wrong: Apply scaling changed it. Set the width again in the project.
Manufacturer documentation
Next steps and project ideas
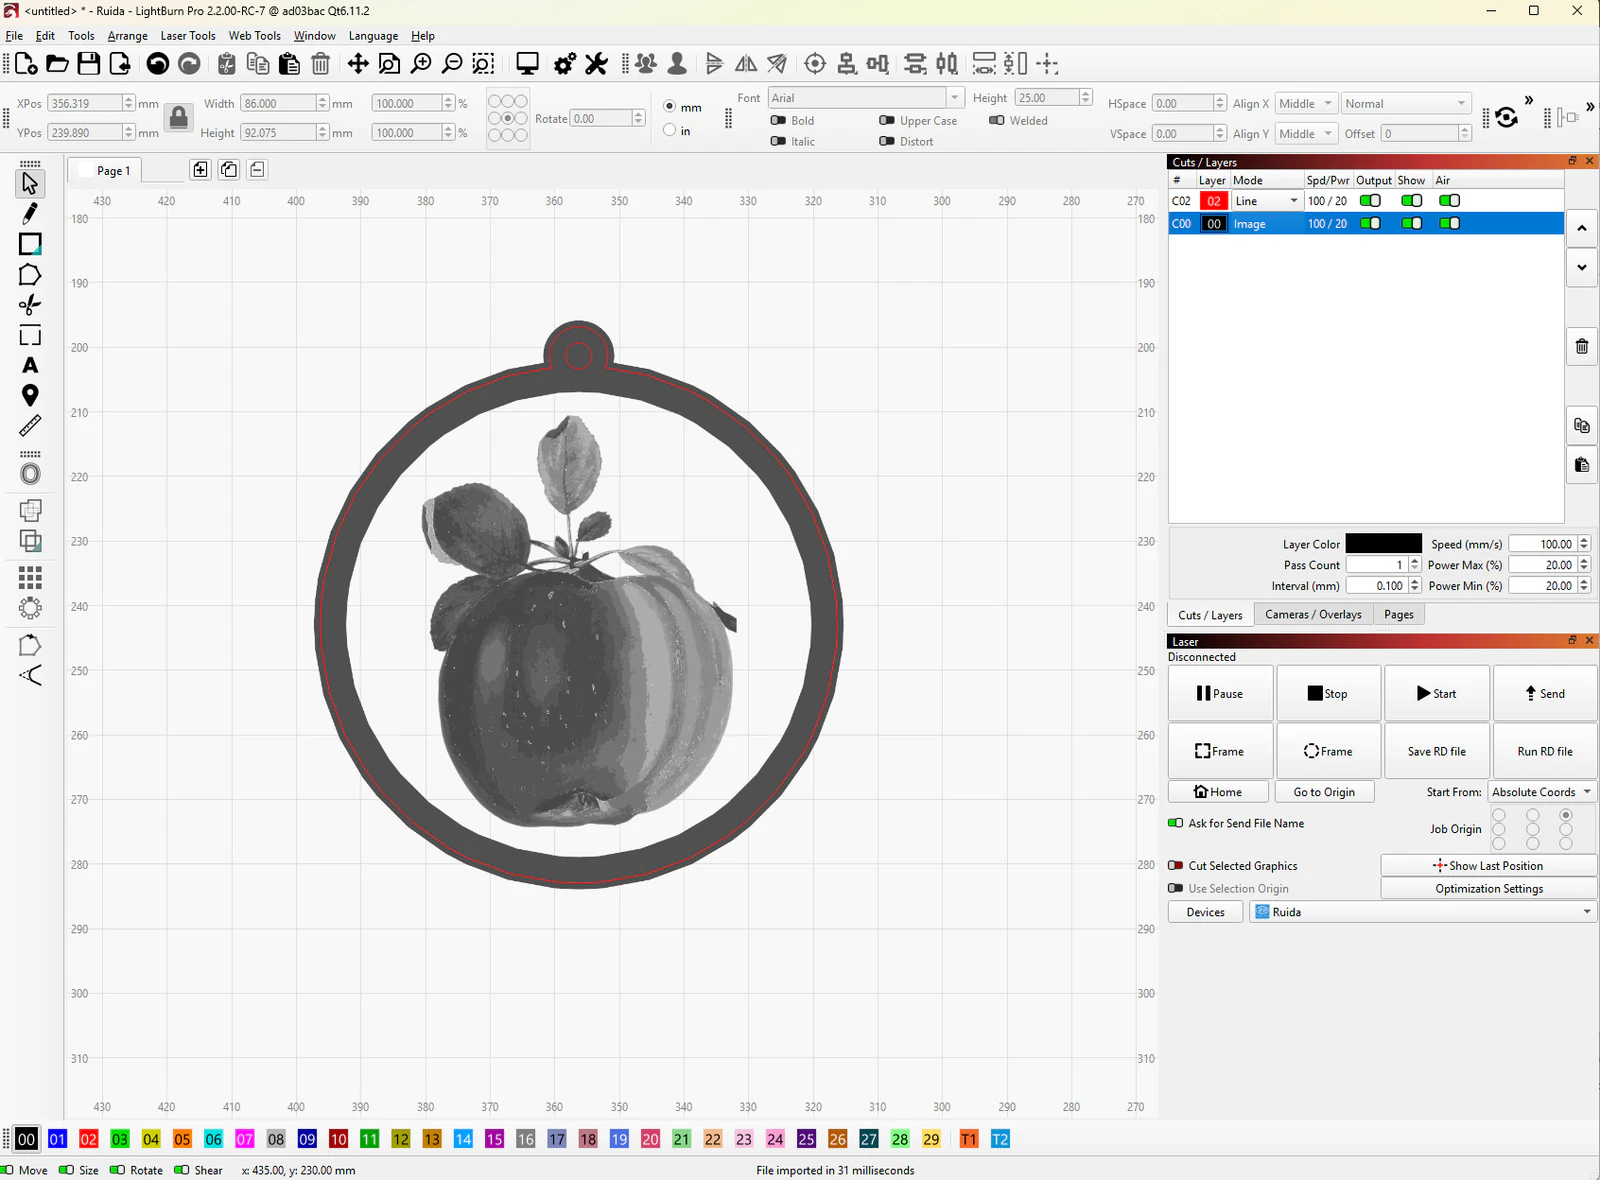
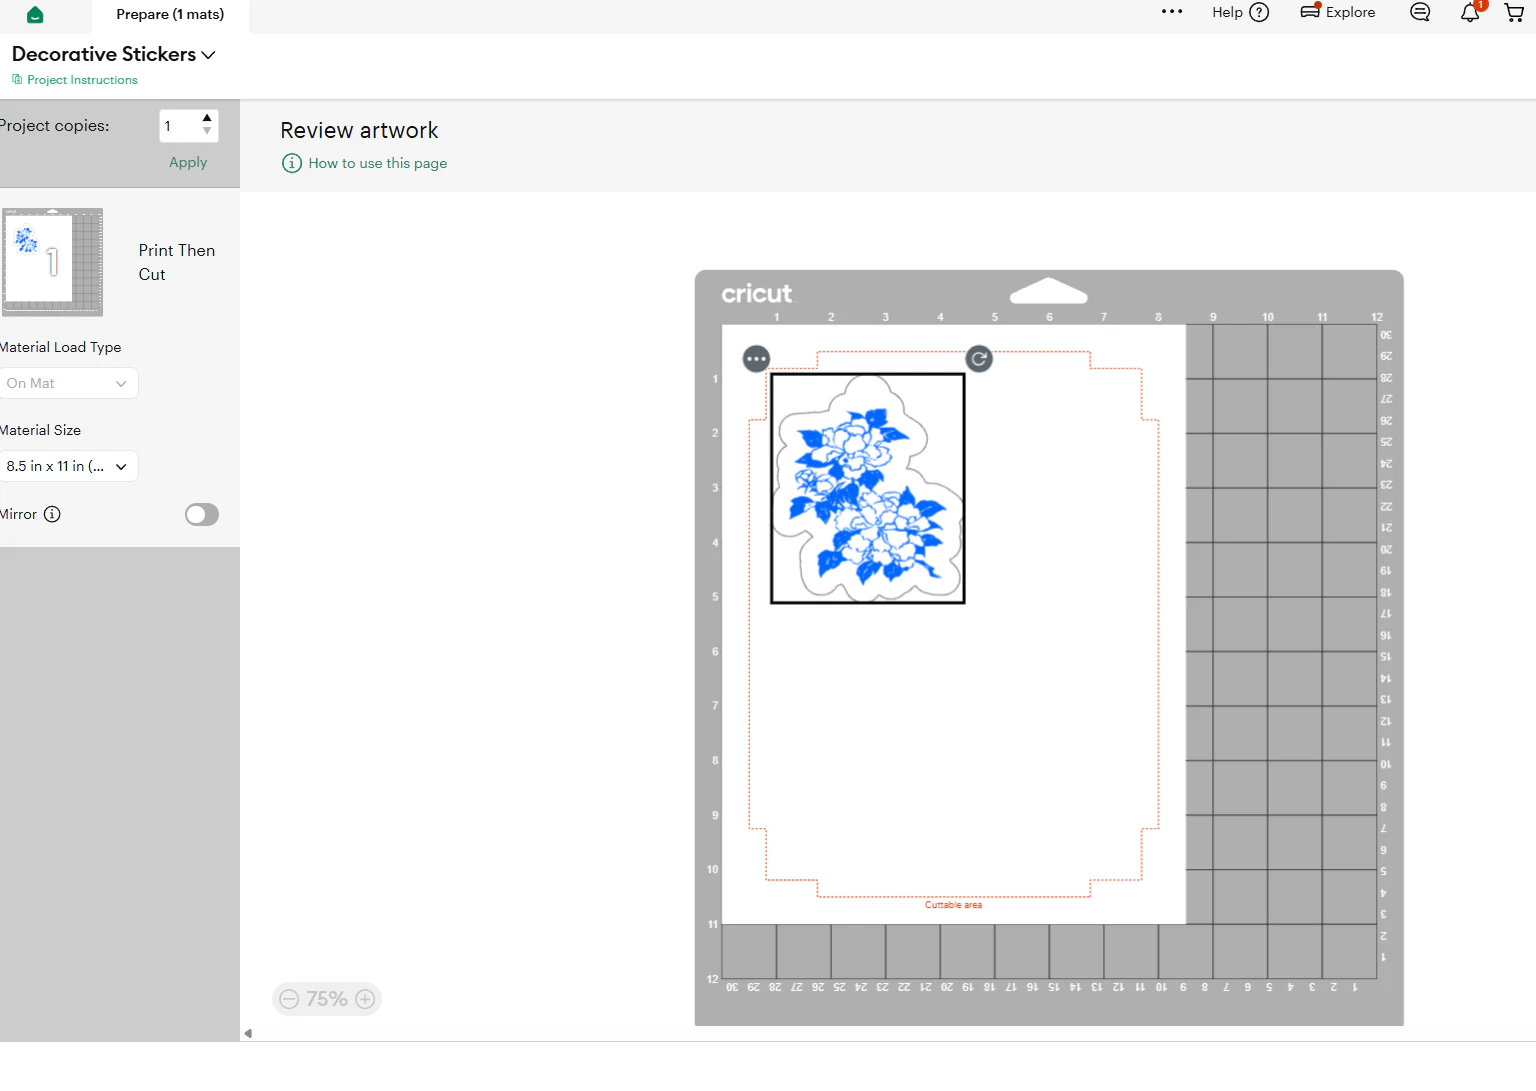
For a laser-made version of the artwork, continue with xTool Studio cutting and CO₂ engraving. For a home printer, use inkjet printing at actual size.
Was this guide helpful?
More in Your software
Keep up with MyLaserTools.
Email me about new tools, product updates, tutorials, and occasional MyLaserTools offers. Unsubscribe at any time.
© 2026 MyLaserTools.com. All rights reserved.