

Run a laser material test in xTool Studio or LightBurn
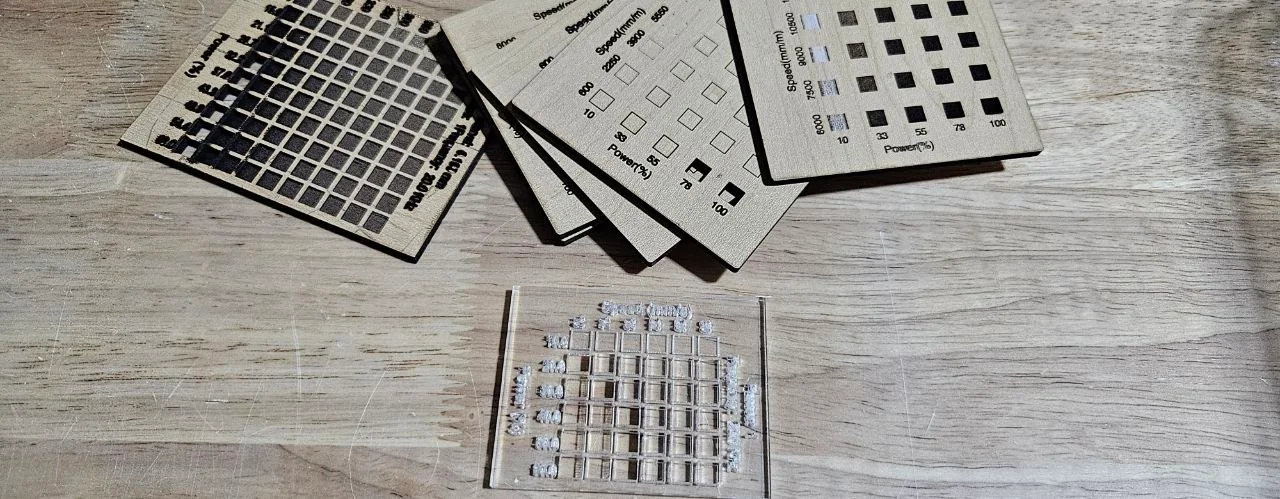
A test grid burns the same small square at many speed and power combinations, so you can pick the best one by eye instead of guessing. Run one for every new material and every operation: the best engraving square tells you nothing about cutting, and settings from someone else's grid are only a starting point on your laser.

On this page (10)
- 1. Identify the material and prepare the machine
- 2. Generate a small, labelled test
- 3. Inspect the grid for the intended result
- 4. Save a material record and confirm on the design
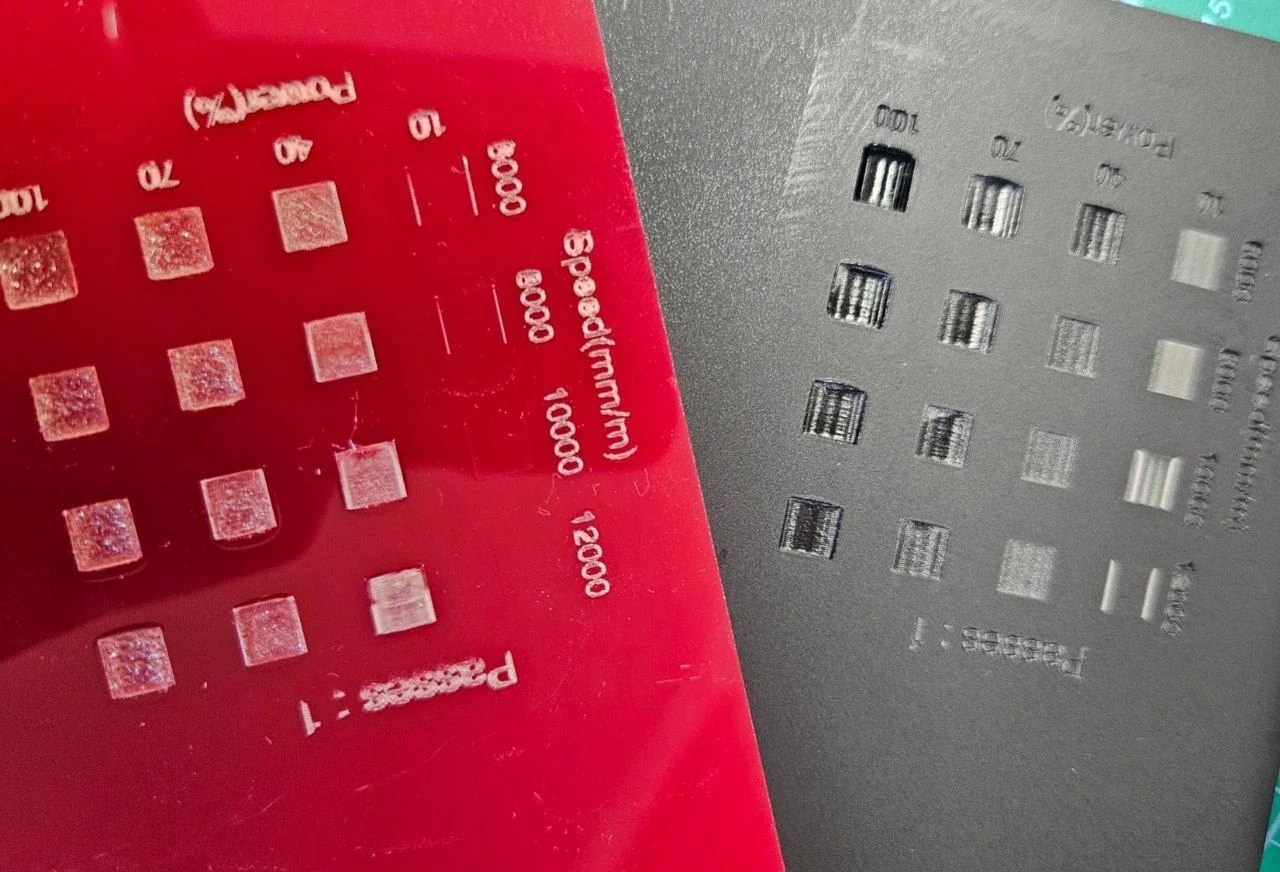
- Read the axes on this S1 test example
- Engraving and cutting need separate comparisons
- Material examples: leatherette and a diode setup
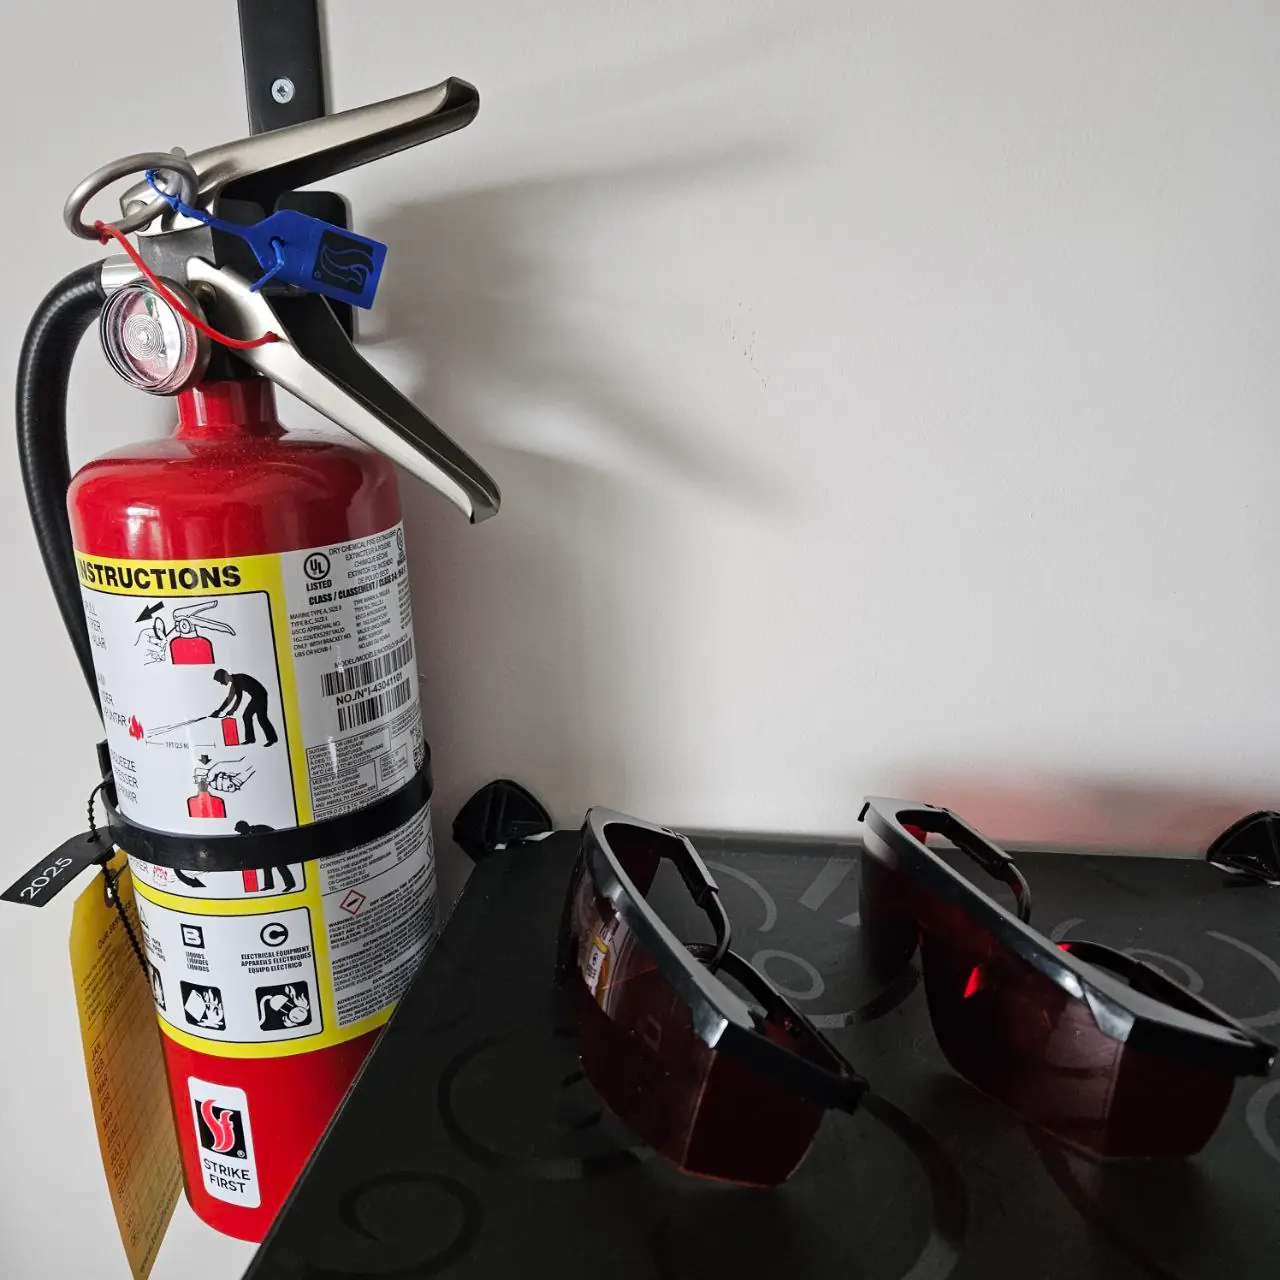
- Keep safety gear next to the laser
- Troubleshooting
- Manufacturer documentation
What you need
- Your laser, connected and focused, and an offcut of the exact sheet you will use for the project.
- Starting settings from the laser or material maker, if they give any, and enough room on the offcut for the whole grid.
1. Identify the material and prepare the machine
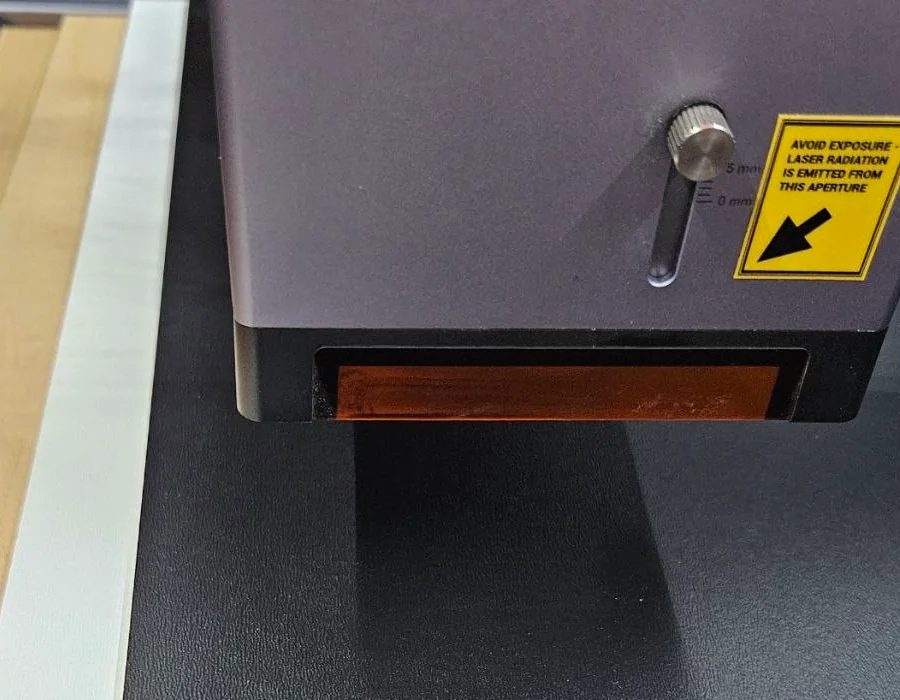
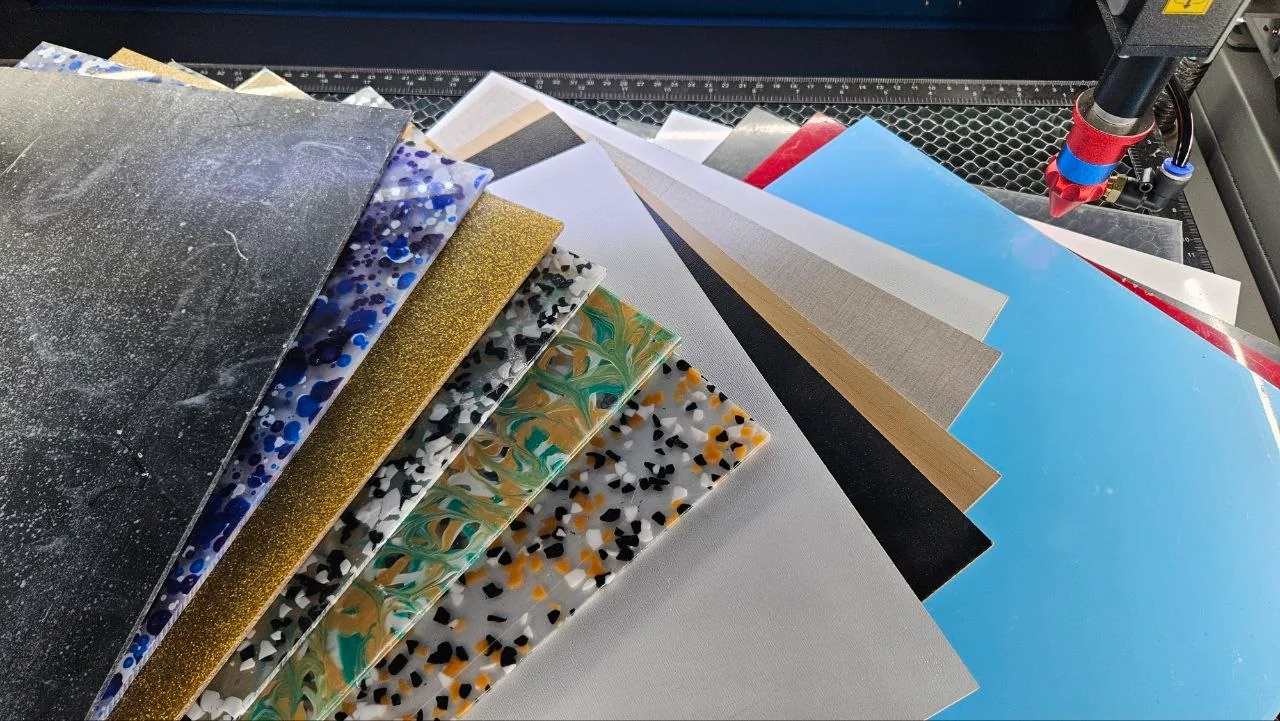
Use material identified by its supplier as suitable for your laser, including its coating and adhesive. Do not laser PVC or unidentified craft vinyl: heating PVC releases toxic, corrosive gases. Run the exhaust system and use air assist as your machine instructions specify; air assist does not replace fume extraction. Stay with the machine and follow its enclosure, eye-protection and fire-safety instructions.
2. Generate a small, labelled test
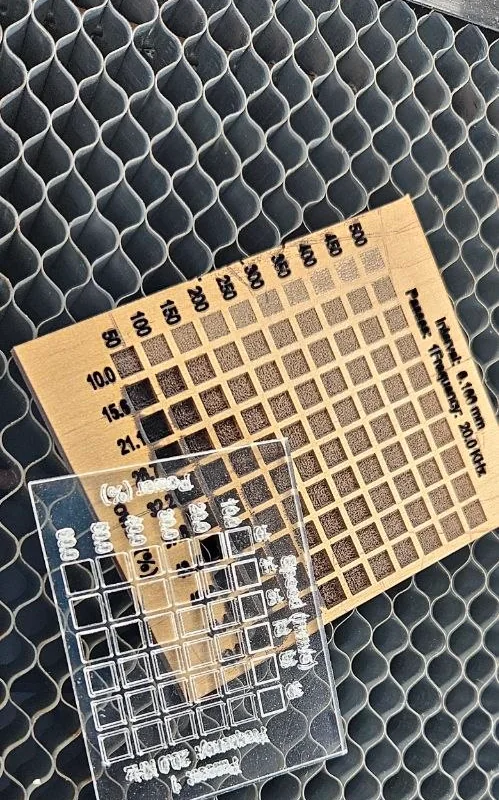
In xTool Studio, choose the operation you want to test, then open Applications → Material Test Array. In LightBurn, open Laser Tools → Material Test. Set a range around the suggested settings and check whether speed is in mm/s or mm/min. Keep every other setting the same, so the grid only compares speed and power.
3. Inspect the grid for the intended result
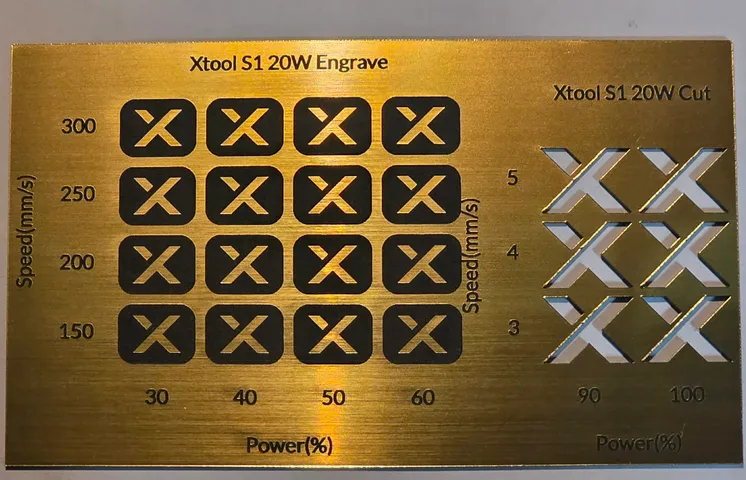
For engraving, compare contrast, fine detail and surface damage. For cutting, check whether the shape releases cleanly and inspect the reverse face and edges. Keep engraving and cutting results separate. If the useful range lies between two cells, run a smaller follow-up grid rather than guessing from a distant setting.
4. Save a material record and confirm on the design
Record machine and laser module, software version, supplier/product, measured thickness, operation, speed units, power, passes, focus and any engraving interval or bitmap mode. Photograph the labelled sample. Run a small section of the actual design before committing a finished sheet, especially fine text, holes and narrow bridges.
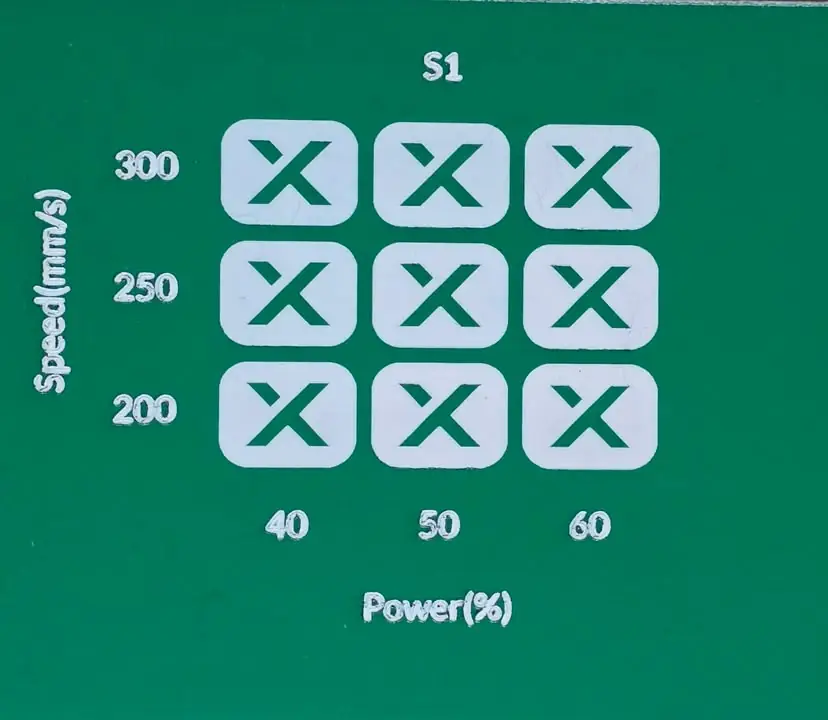
Read the axes on this S1 test example
Pick the square you like, then read its row and column for the speed and power. Use them with the same focus, passes and interval the grid used, or the result changes.
Engraving and cutting need separate comparisons
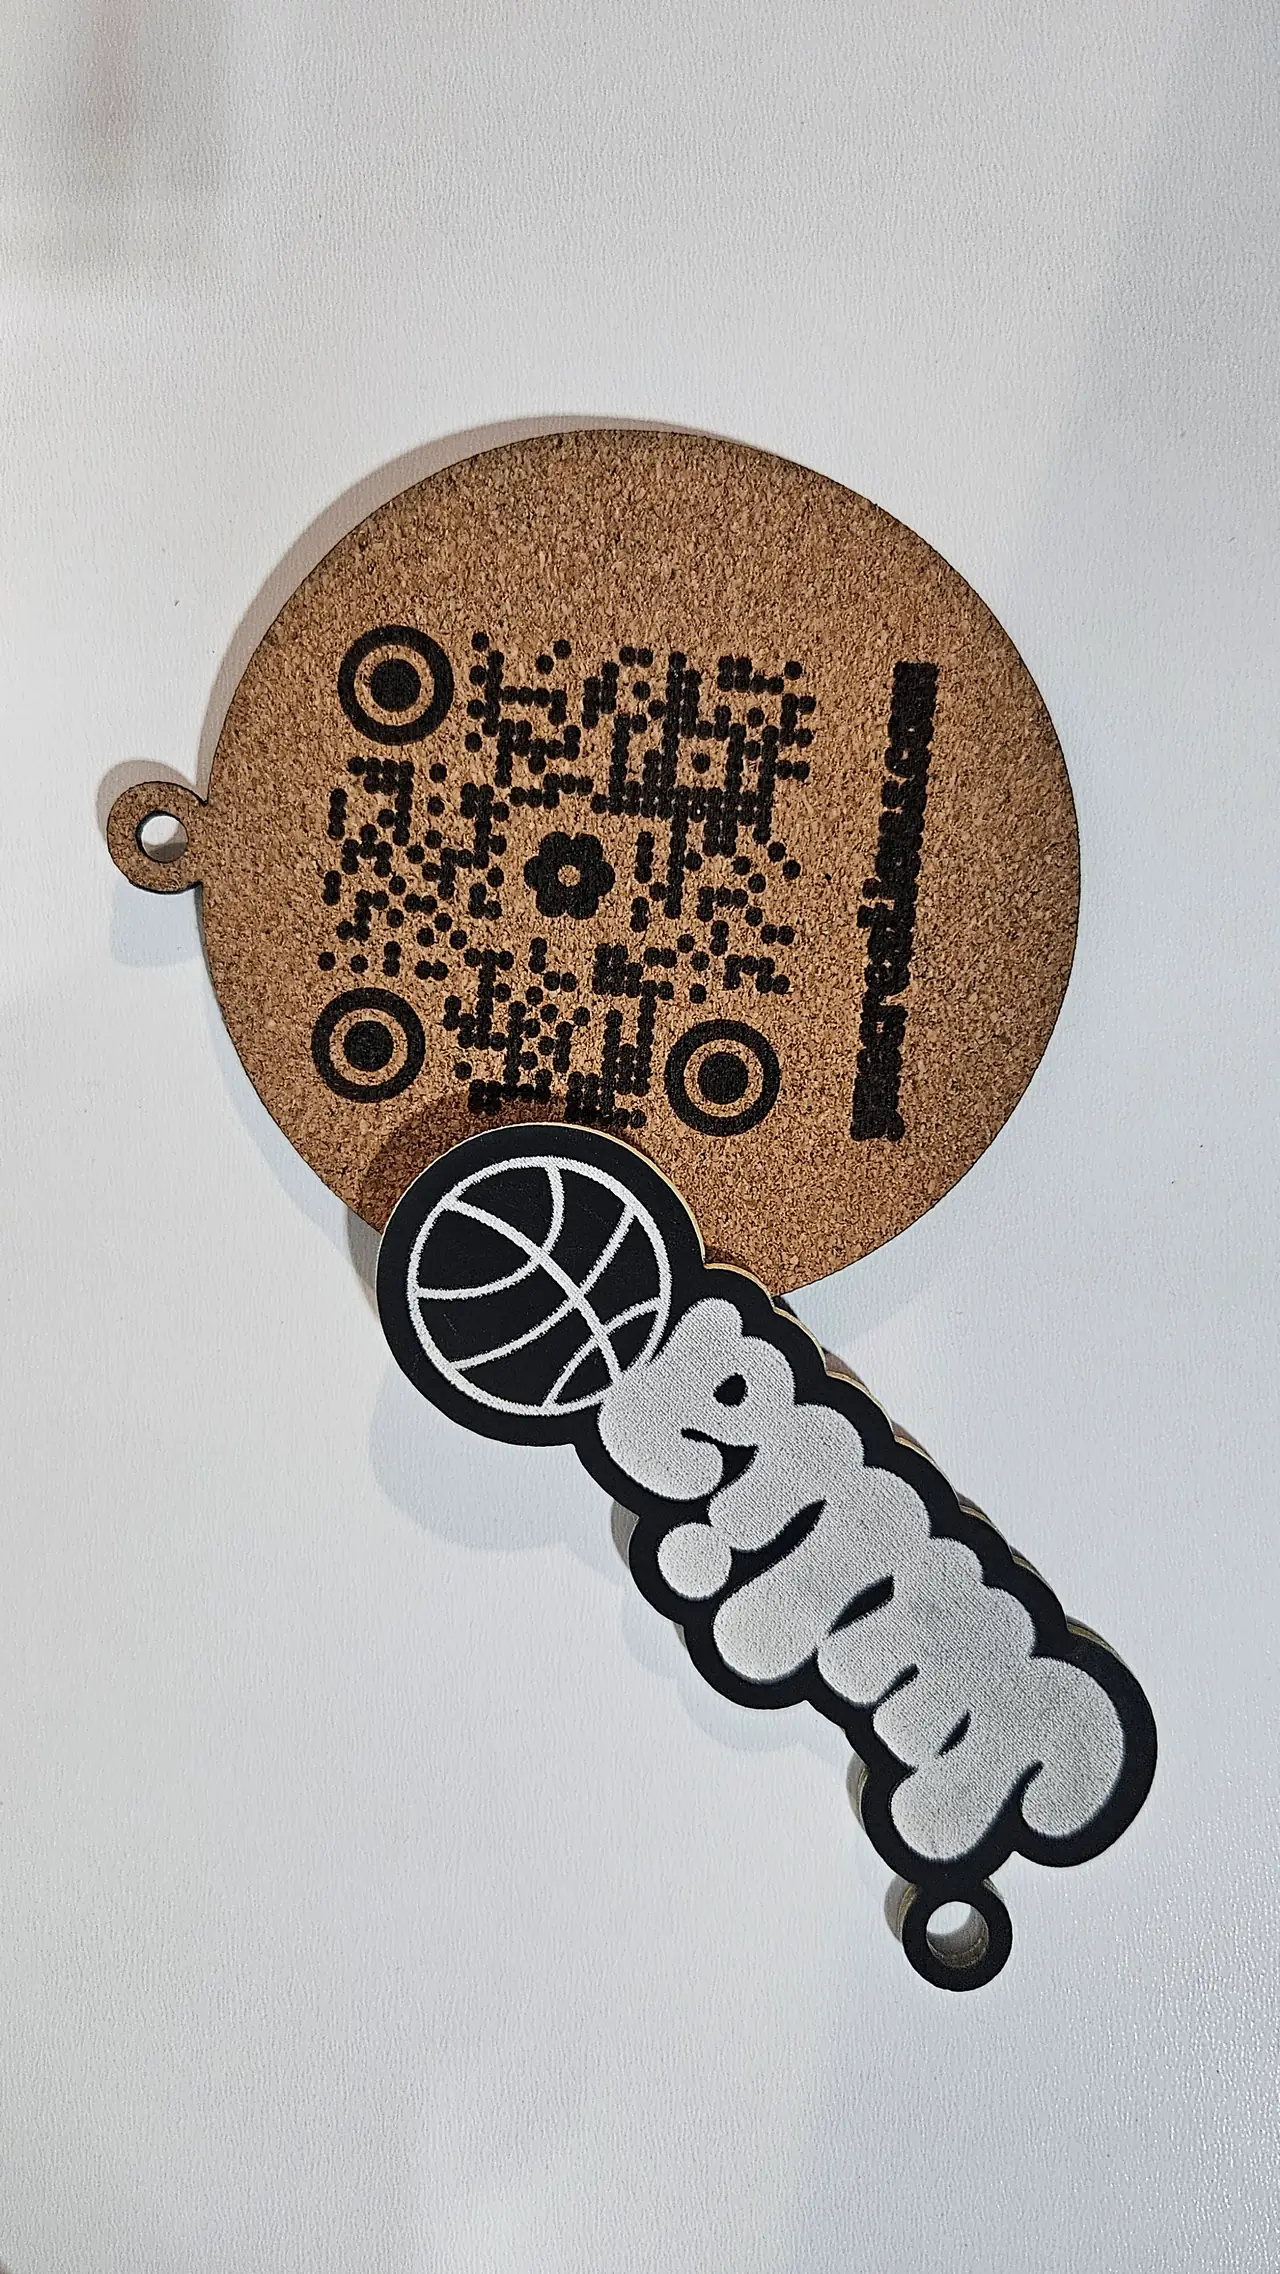
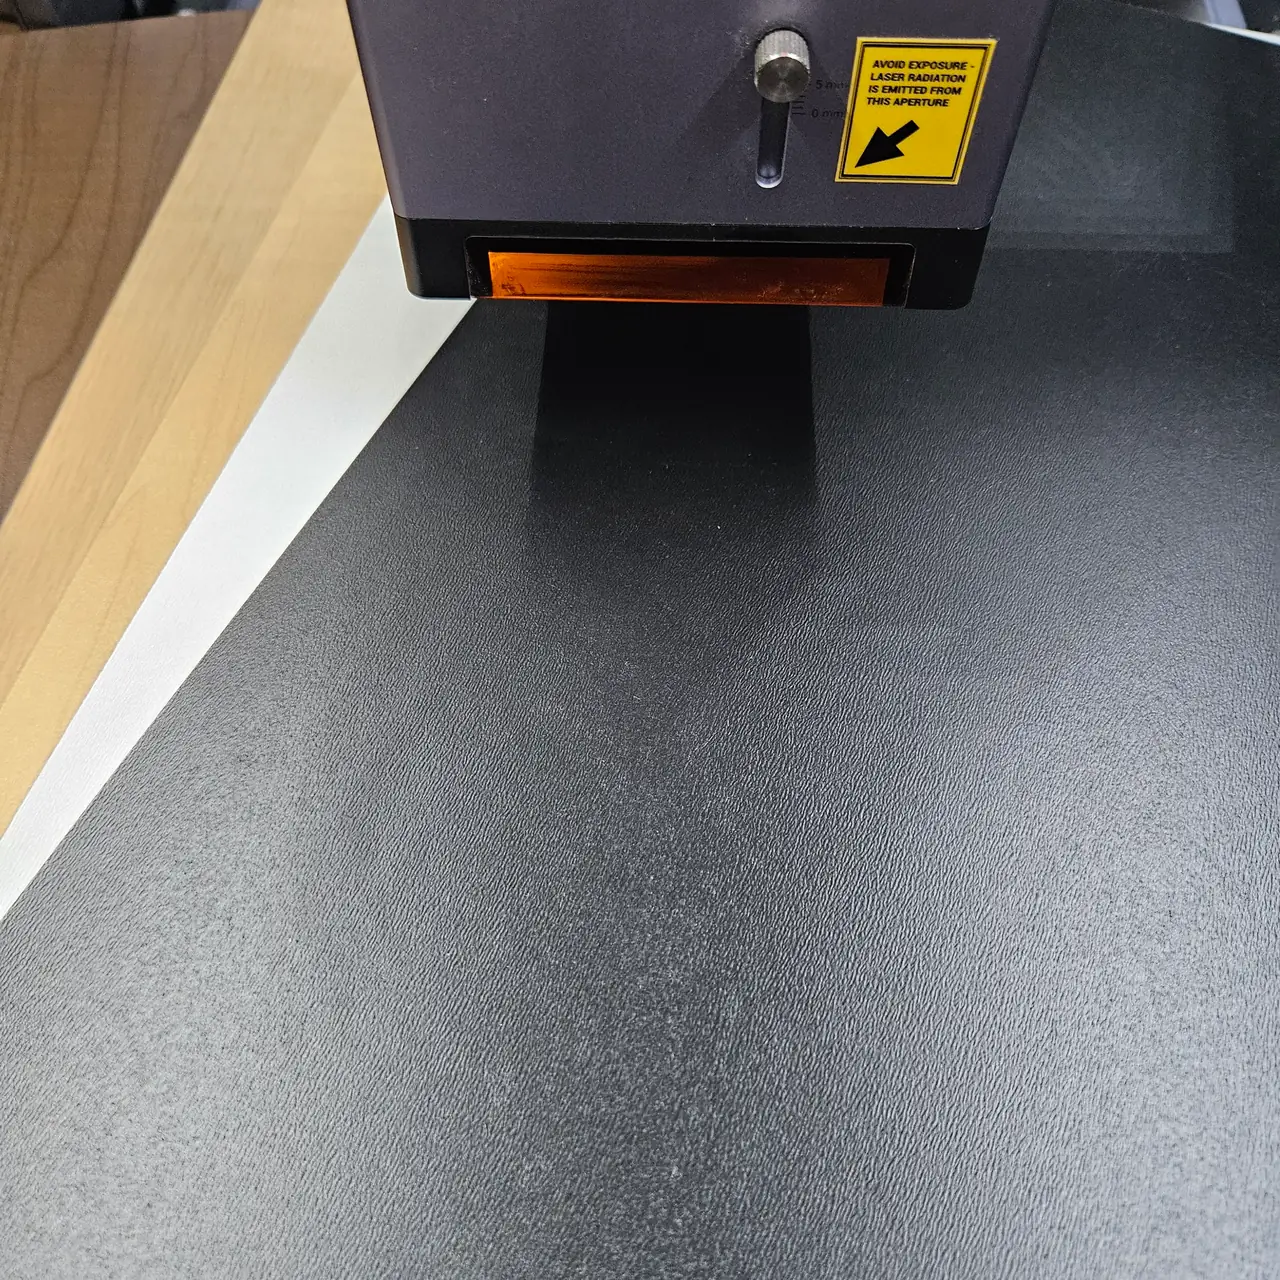
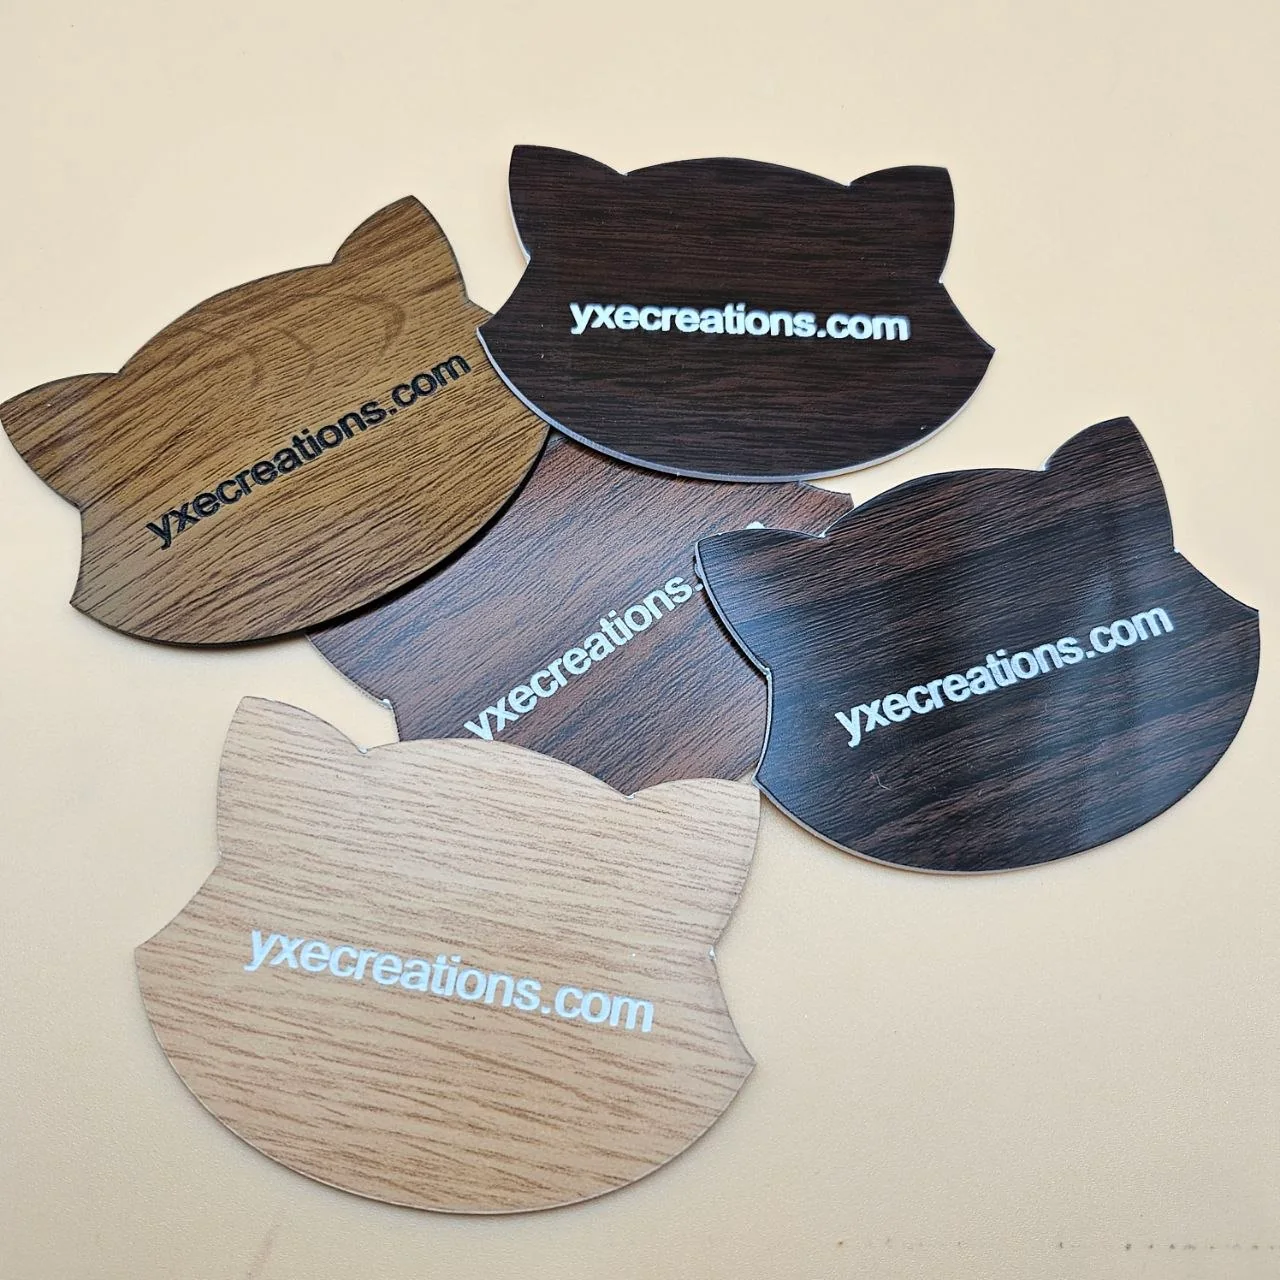
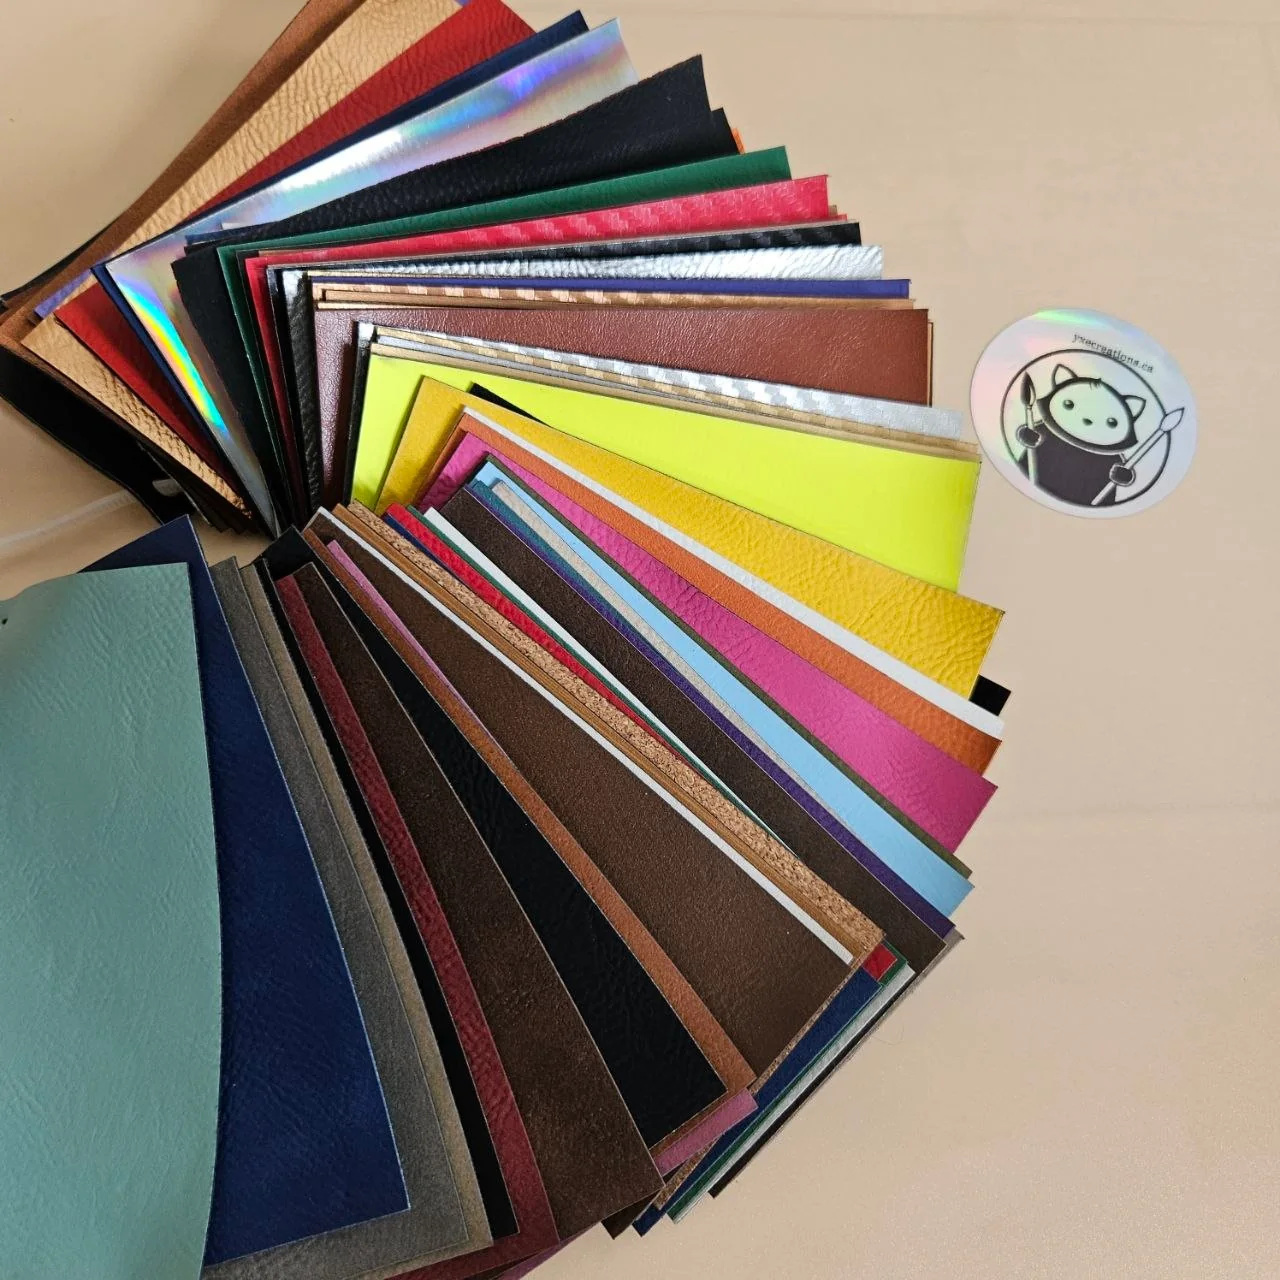
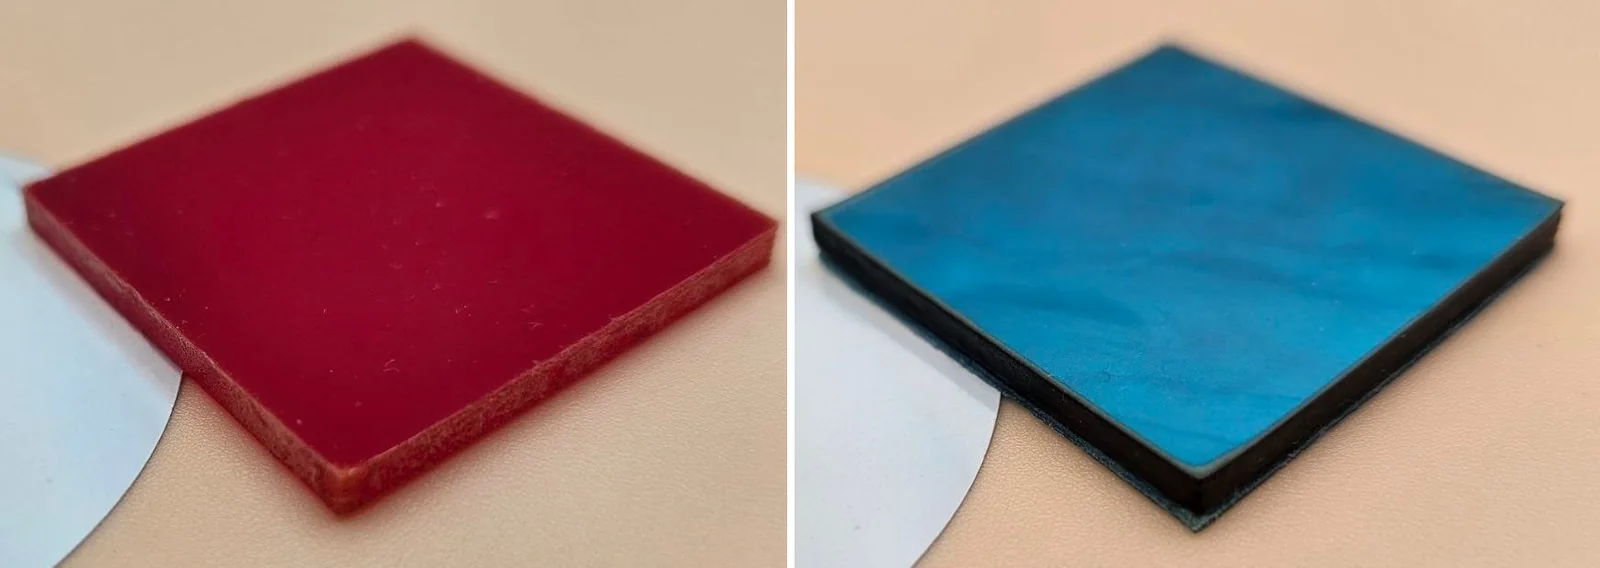
Material examples: leatherette and a diode setup
Keep safety gear next to the laser
Troubleshooting
- Unexpectedly severe burn or weak mark: confirm speed units, the selected laser/module and whether the job is Score, Engrave or Cut.
- One material batch behaves differently: check thickness, coating, supplier and focus, then retest.
- Grid looks good but the design loses detail: test the actual small features, not only a large filled square.
Manufacturer documentation
Next steps and project ideas
Use the chosen settings with the xTool operation guide, photo engraving workflow or layered laser workflow.
Was this guide helpful?
Keep up with MyLaserTools.
Email me about new tools, product updates, tutorials, and occasional MyLaserTools offers. Unsubscribe at any time.
© 2026 MyLaserTools.com. All rights reserved.