

Design Editor: make a name tag with engraved text
Practice project: a name tag. Allow about 15 minutes in the editor.
Make a tag with a solid backing and an engraved name. This small project teaches the controls you will use on signs, ornaments and labels: selecting objects, setting a physical size, arranging text and choosing what to cut or engrave.
You can use the built-in tools, import your own artwork and export without signing in. Sign in to save a project to My Designs. You can complete this lesson without a laser; the result is an SVG to prepare in your machine software later.

On this page (34)
- 1. Add a backing shape and set its size
- 2. Add the name and leave room around it
- 3. Give each object a job
- 4. Save the project and export an SVG
- 5. Open the file in your laser software
- Group, join or subtract?
- Bring in an existing design
- Troubleshooting
- Shapes, symbols & frames
- Text engines
- Fill patterns & textures
- Path & boolean tools
- Laser-ready layout
- Export & production
- Prep and clean up SVG cut files
- Combine designs onto one sheet
- Add engraving fill textures
- Signs and welded lettering
- Boxes, joints, and living hinges
- Puzzles and jigsaw cuts
- What is the Design Editor?
- Is the Design Editor really free?
- Is this a good SVG editor for laser cutting?
- Can I add fill patterns to a shape?
- Can I combine and edit imported SVG files?
- Does it support connected (welded) and single-line text?
- What boolean and path operations are available?
- What file formats does the Design Editor export?
- Which machines and software does it work with?
- Can I lay out my design on a real material sheet?
- Are there ready-made frames, joints, and living hinges?
- Do I need to create an account or install anything?
- Can I sell what I make with the Design Editor?
- Can I send designs from other tools into the editor?
What you need
- A desktop or laptop browser and a name to put on the tag.
- For the final import: your laser software, such as LightBurn or xTool Studio.
1. Add a backing shape and set its size
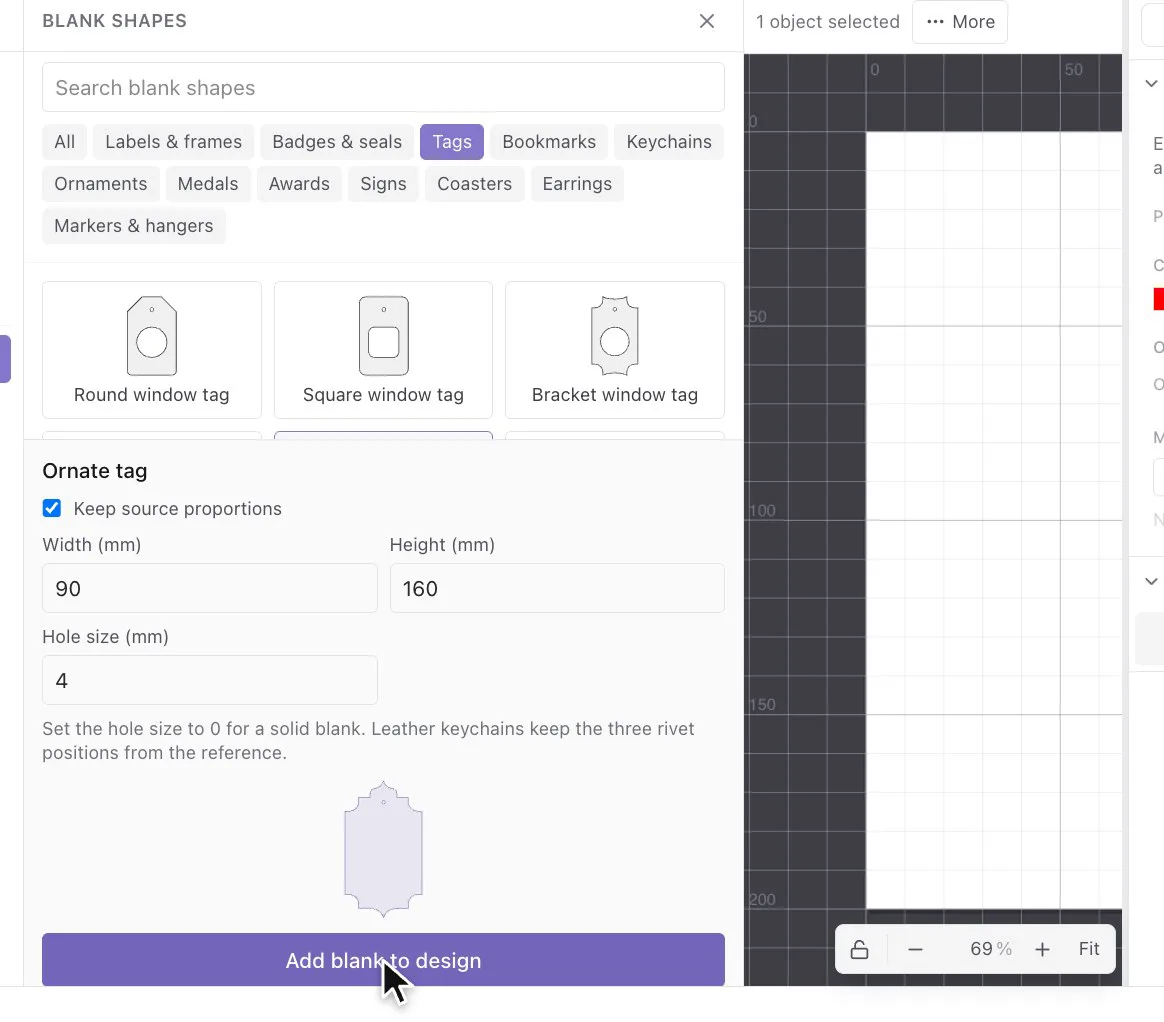
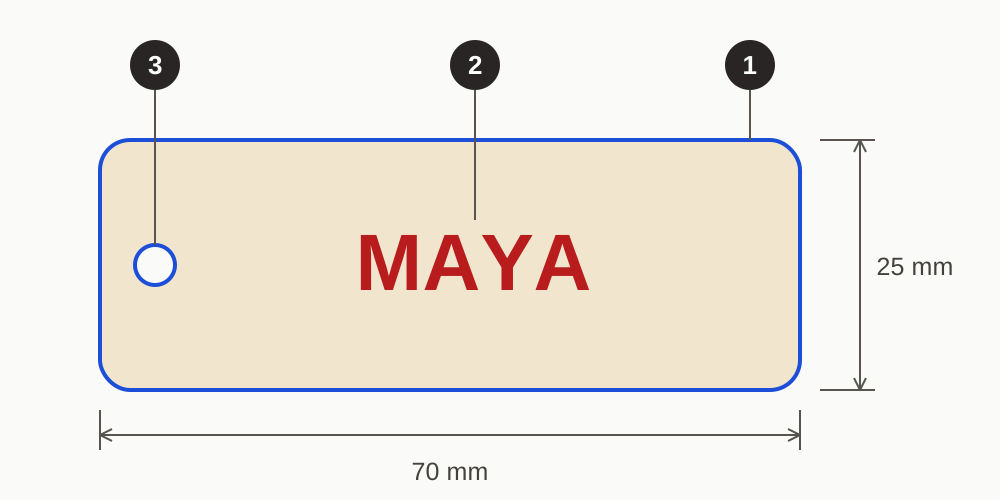
Open the editor and choose a rectangle or tag from Shapes. Select it and set its width to 70 mm and height to 25 mm. These are practice dimensions; change them to suit your project. Set the sheet size to the material you plan to use.
The sheet is the working area. The selected object's width and height describe the piece itself. Zoom changes how large the piece looks on screen, not its exported dimensions.
2. Add the name and leave room around it
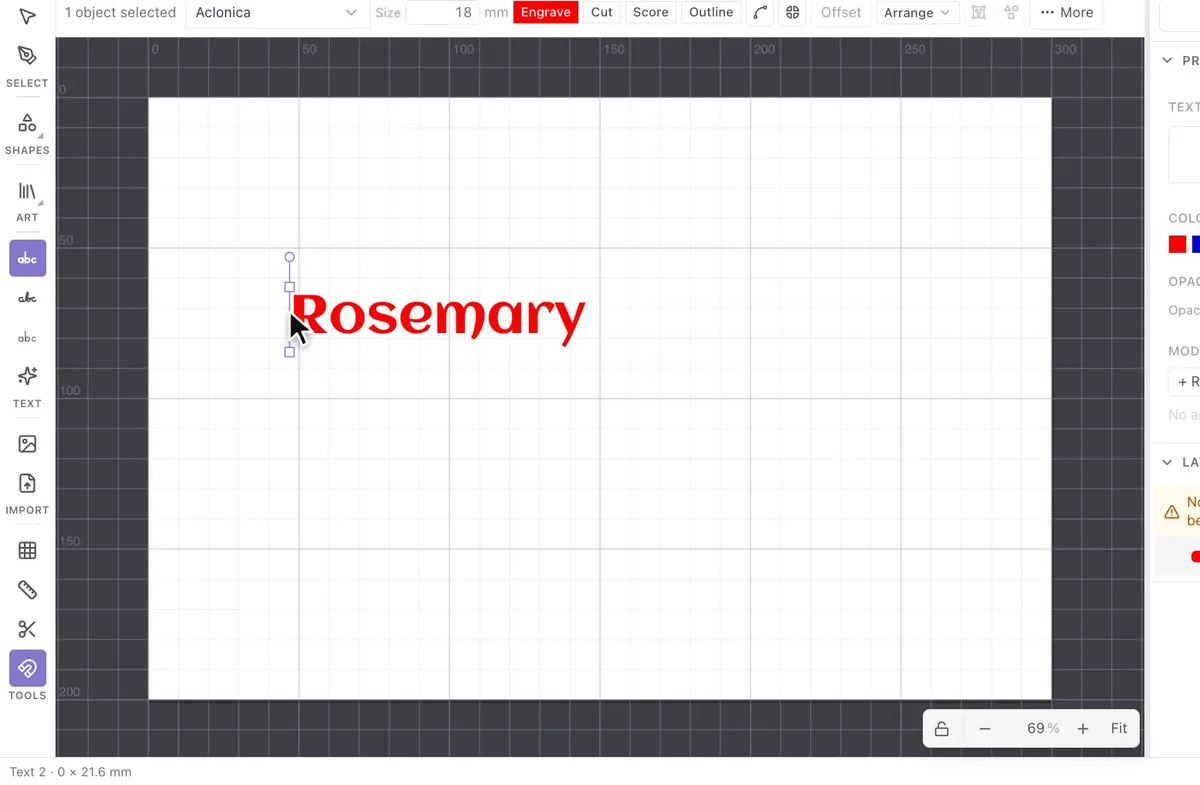
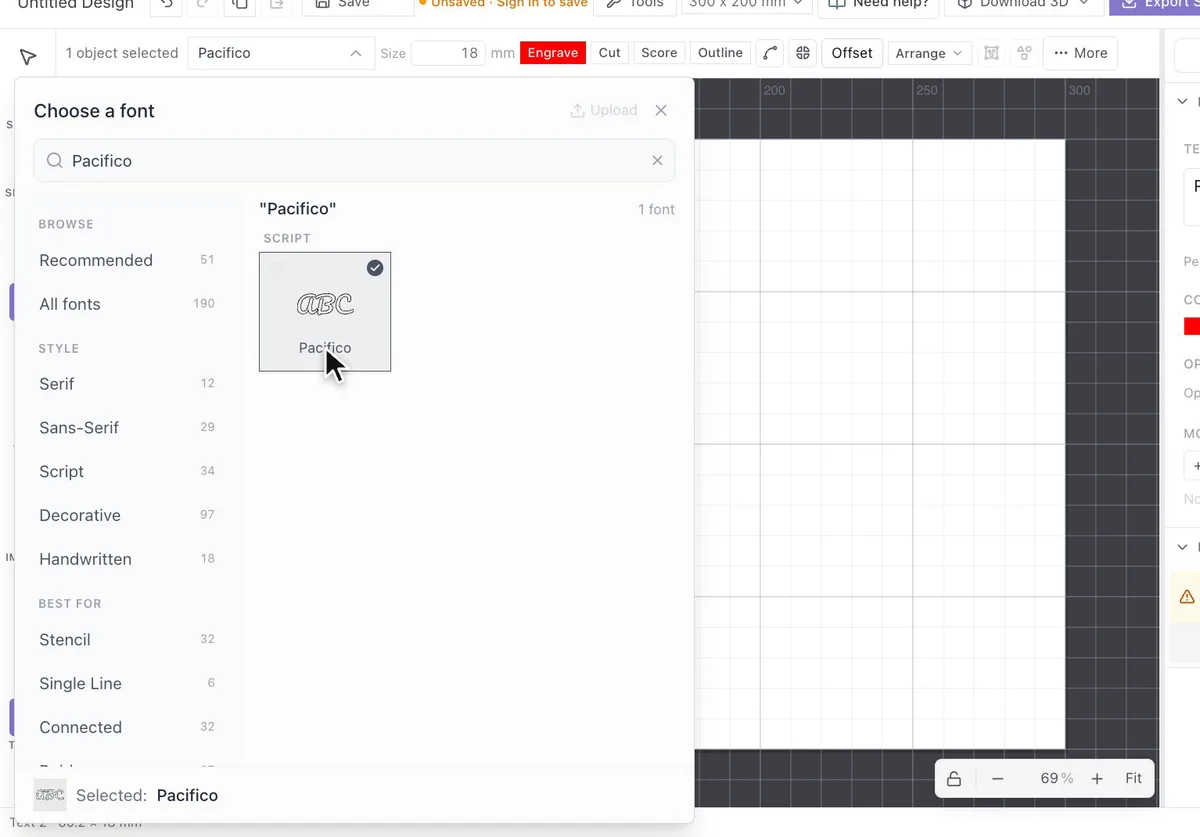
Choose the text tool, type a name and pick a font. Move the name onto the backing and reduce its size until there is space on every side. Start with a simple, heavy font so the letters stay clear at the tag's final size.
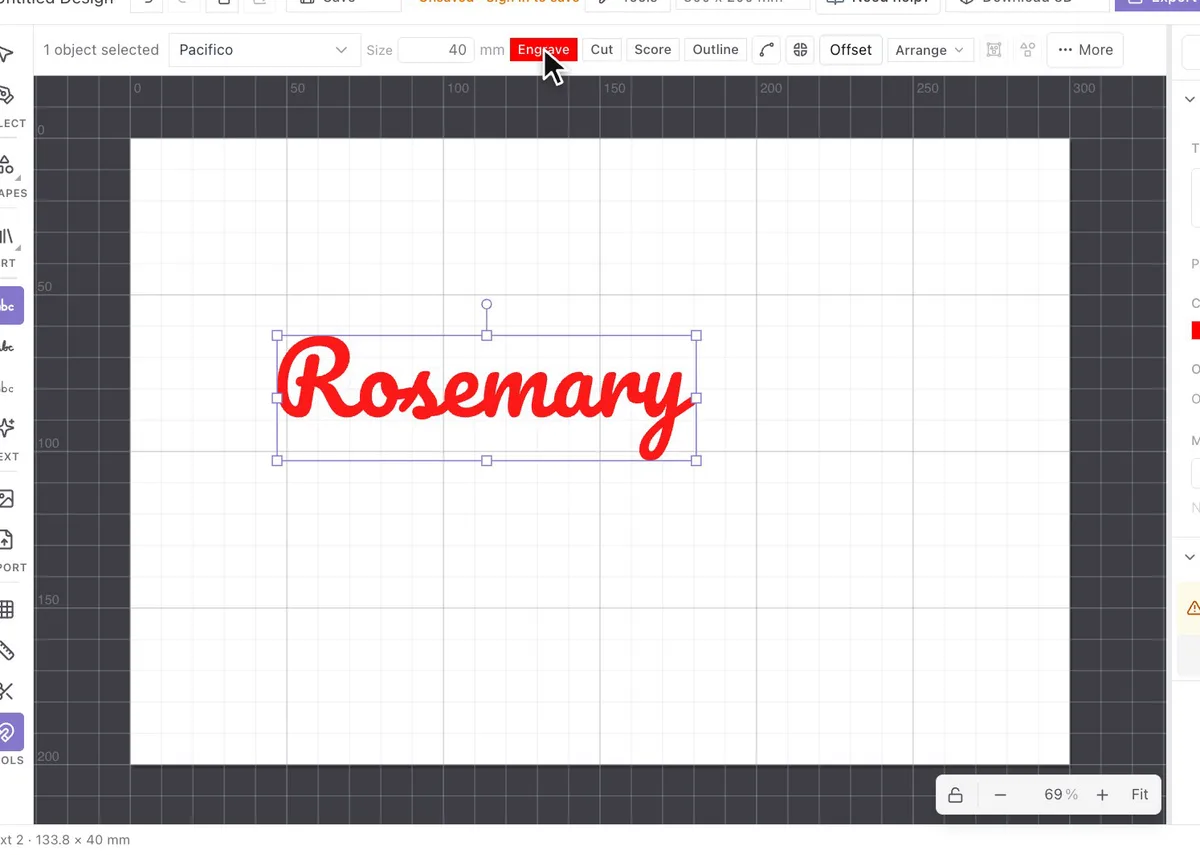
Select the name and choose Engrave. The letters will be marked on the surface, so they do not have to join one another. Cutting the same letters out would make separate pieces and could leave the centres of letters such as A or O loose.
3. Give each object a job
Select the backing and choose Cut. Keep the name set to Engrave. If you add a circle for a keyring hole, set that circle to Cut too. Leave material between the hole and the outer edge; the hole diameter and edge clearance need to suit your ring and material.
| Operation | What it does | Use it for |
|---|---|---|
| Cut | Goes all the way through the material. | The tag outline and keyring hole. |
| Score | Marks a thin line on the surface. | A fine border or line drawing. |
| Engrave | Fills an area or an image on the surface. | The name or a filled decoration. |
The editor gives each operation its own colour in the SVG. In your laser software, each colour becomes a layer, and that is where you set its power and speed.
4. Save the project and export an SVG
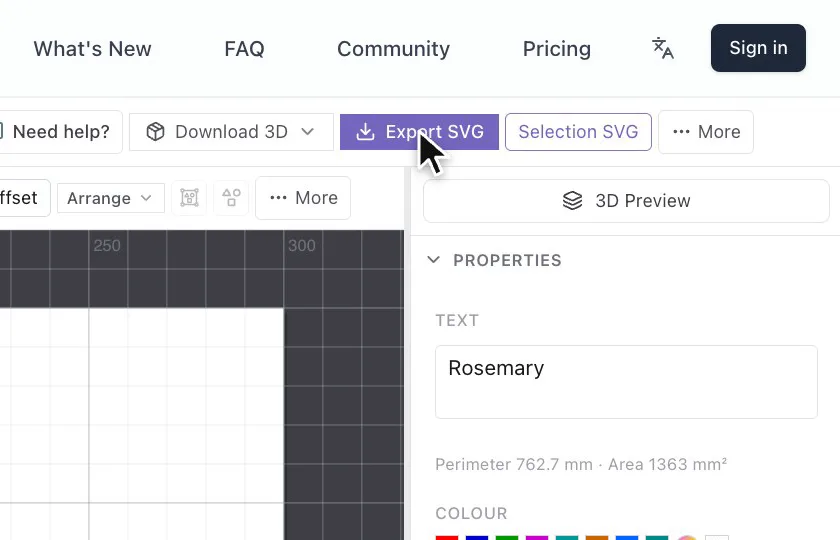
If you are signed in, save the project to My Designs so you can edit the name later. Download the SVG for your laser software. Text is converted to vector paths so the receiving computer does not need your font.
A PNG is useful for a picture of the design or a raster engraving, but it does not keep the tag's vector cut paths. Keep the editable project as well as your exported file.
5. Open the file in your laser software
- Import the SVG and measure the backing. It should still be 70 × 25 mm if you used the practice dimensions.
- Assign the backing and hole to cutting, and the name to engraving. Enter settings tested for your machine and material.
- Preview the job. Engrave the name before cutting the outer contour, and check for duplicate paths that would cut the same line twice.
- Save the machine project with those settings, then cut a test on an offcut of the same material before the real tag.
For screenshots of this handoff, see cut, score and engrave in your software.
Group, join or subtract?
Keep the backing and engraved name as separate objects for this project. When you start combining shapes, choose an operation according to what should happen to their outlines.
| Action | What changes | Example |
|---|---|---|
| Group | Objects move together but keep their own paths. | Move the whole tag without losing the engraved name. |
| Union | Overlapping filled shapes become a combined shape. | Join a loop to the outside of a tag. |
| Subtract | One shape removes an area from another; the object order matters. | Make a hole in a filled shape. Undo and change the order if the wrong area disappears. |
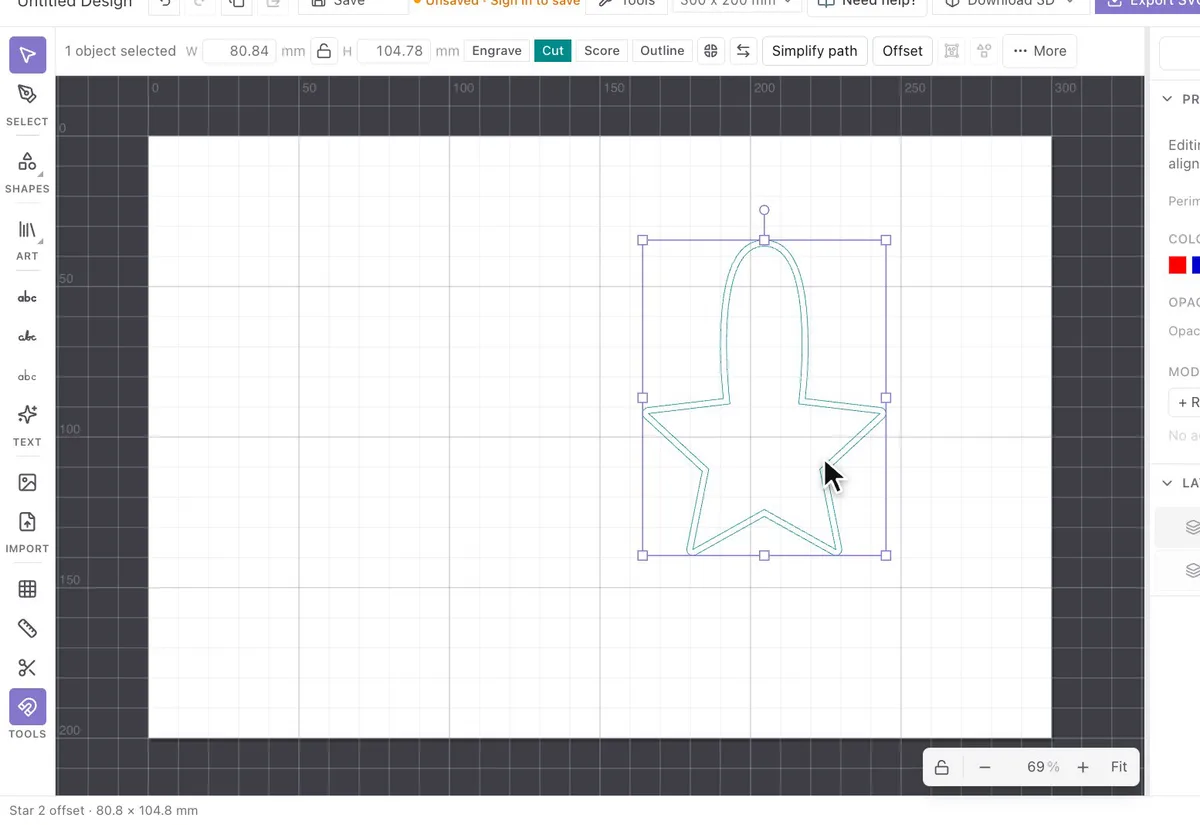
| Offset | Creates an outline at a distance from the original path. | Add a larger backing around a name. |
Try each operation on copies first. Grouping does not remove overlapping cut lines, and a union only connects pieces that touch or overlap.
Bring in an existing design
Use Import for your own SVG, or choose Open in Design Editor in a generator. Select the imported artwork and check its size before placing it on the sheet. A detailed illustration may work as engraving while being too fragile to cut out.
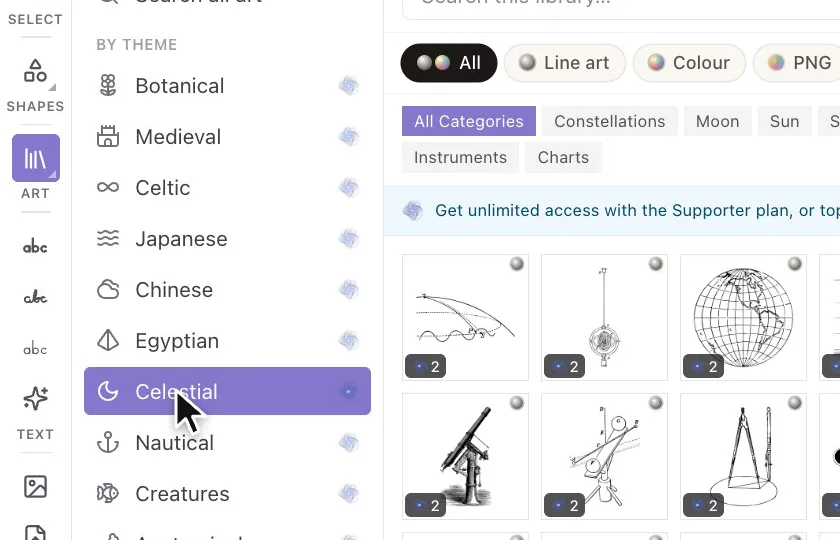
You can also browse the Art Library from the editor. A piece keeps its licence when you use it in a design. See plans and sparks for download access.
Troubleshooting
| What you see | What to try |
|---|---|
| The name cuts out instead of engraving. | Check the operation assigned to its colour in the machine software. |
| The file imports at the wrong size. | Compare the backing width with the editor. Check units and SVG import settings before resizing. |
| A shared edge is cut twice. | Look for overlapping or duplicate paths. Grouping shapes does not merge their edges. |
| Tiny letters disappear in the preview. | Enlarge the text or choose a heavier font, then test the detail at its final size. |
| Subtract removes the wrong shape. | Undo, check the selection and object order, then try again on a copy. |
Shapes, symbols & frames
- Basic and fun shape library: hearts, stars, arrows, badges, and more
- Searchable symbol palette to insert icons
- Frames and borders sized to your sheet
- Monograms in classic, circle, and diamond styles
Text engines
- Outlined text with any font, baked to paths on export
- Connected (welded) script lettering for strong single-path cuts
- Single-line stroke fonts for fast engraving
- Curve, wave, circle, and text-on-path effects
Fill patterns & textures
- Lines, grid, crosshatch, dots, squares, triangles, bricks, and waves
- Image-to-halftone engrave with adjustable dot size
- Adjustable spacing, angle, and density
- Every pattern clipped neatly to any shape
Path & boolean tools
- Union, subtract, intersect, exclude, weld, split, and divide
- Node editing, simplify, join, and reverse paths
- Remove duplicate lines and detect open shapes
- Circular and rectangular arrays, mirror, flip, and jigsaw break
Laser-ready layout
- Machine bed and material sheet presets, plus custom sizes in mm or inches
- Cut, score, and engrave layers with laser-standard colors
- Align, distribute, snap, smart guides, and out-of-bounds warnings
- Cut-order optimization to cut down machine travel
Export & production
- SVG with separate cut, score, and engrave layers
- PNG at up to 300 dpi
- Living hinges, finger joints, tab-and-slot, and kerf test strips
- Projects with autosave, revision history, and undo/redo
Prep and clean up SVG cut files
Fix imported vectors: join open paths, remove duplicate lines, and split cut from engrave before you run a job.
Combine designs onto one sheet
Nest keychains, tags, and ornaments together, then optimize cut order to save material and time.
Add engraving fill textures
Fill shapes and lettering with line, crosshatch, dot, or halftone patterns for rich engraved detail.
Signs and welded lettering
Build layered signs and cake toppers with connected script text that cuts as one strong piece.
Boxes, joints, and living hinges
Add finger joints, tab-and-slot edges, and flex hinges to build enclosures and bendable panels.
Puzzles and jigsaw cuts
Break any shape into interlocking jigsaw pieces, then arrange and cut them as a single set.
What is the Design Editor?
The Design Editor is a free, online SVG editor built for laser cutting, engraving, and CNC. It runs entirely in your browser, so there is nothing to install. Add shapes, symbols, and text, import and combine SVG files, apply fill patterns and boolean operations, arrange everything on a real material sheet, then export ready-to-cut files.
Is the Design Editor really free?
Yes. Editing, built-in patterns, your own uploads, and exports are free. Inserting generated library artwork requires a free account; traced historical artwork requires Supporter. Browsing library previews is free.
Is this a good SVG editor for laser cutting?
Yes. It is a vector editor made specifically for makers and laser cutters. Objects are organized into cut, score, and engrave layers with laser-standard colors, text is baked to paths so fonts never break, and you can optimize cut order so files drop straight onto your machine.
Can I add fill patterns to a shape?
Yes. The fill-pattern library includes lines, grid, crosshatch, dots, squares, triangles, bricks, and waves, plus an image-to-halftone engrave. Every pattern clips to your shape and you control spacing, angle, and density, which is ideal for engraving textures and decorative cutouts.
Can I combine and edit imported SVG files?
Yes. Import one or more SVG files, then move, scale, rotate, align, and arrange them together on one sheet. Break a file apart by color, weld or subtract shapes with boolean operations, edit nodes directly, and clean up paths by joining, simplifying, or removing duplicate lines before you export.
Does it support connected (welded) and single-line text?
Yes. Choose outlined text, connected script lettering that welds letters into one strong path for cake toppers and signs, or single-line stroke fonts for fast engraving. You can also curve text, wrap it in a circle or wave, and fit it along any path.
What boolean and path operations are available?
Union, subtract, intersect, exclude, weld, split, and divide, plus node editing, simplify, join, and reverse paths, circular and rectangular arrays, mirror and flip, and jigsaw break for puzzles. It is a full vector editing toolkit tuned for cut files.
What file formats does the Design Editor export?
It exports SVG with separate color-coded cut, score, and engrave layers, and PNG at up to 300 dpi. Text is always baked to paths so your files open cleanly anywhere, with no missing fonts.
Which machines and software does it work with?
The exported SVG files work with Glowforge, xTool, LightBurn, OMTech, Ortur, Epilog, Trotec, Thunder Laser, K40, and any machine that accepts vector files. SVG also imports into CNC software like Vectric, Carbide Create, Easel, and Fusion 360.
Can I lay out my design on a real material sheet?
Yes. Pick a machine bed or material sheet size, such as Glowforge, xTool, 12x12, 12x24, 18x24 inches, or A4 and A3 in millimeters, or set a custom size. The editor warns you when a part falls outside the sheet, and you can auto-center, align, distribute, and optimize cut order to save material.
Are there ready-made frames, joints, and living hinges?
Yes. Insert frames and borders sized to your sheet, generate finger-joint edges, tab-and-slot connectors, kerf test strips, and living-hinge flex patterns, and drop in monograms and symbols. Everything is live and adjustable before export.
Do I need to create an account or install anything?
Nothing to install. You can design with built-in tools, import your own files, and export without an account. Sign in to save projects or insert generated library artwork. Traced historical artwork requires Supporter.
Can I sell what I make with the Design Editor?
Yes, subject to the licenses of the artwork you use. Our generated designs allow commercial use. Public-domain artwork and MIT-licensed patterns retain their own terms; keep any required copyright and license notices included in exports. You are responsible for the rights to files you upload.
Can I send designs from other tools into the editor?
Yes. Every 2D generator on MyLaserTools has an Open in Design Editor button, so you can start with a keychain, sign, box panel, or map and then refine it, combine it with other shapes, add fills or text, and export from one place.
Next steps and project ideas
Make a second tag on the same backing with a different name and a scored border around the edge. Score is the fastest way to add a fine line without cutting through.
Was this guide helpful?
More in Using MyLaserTools

Keep up with MyLaserTools.
Email me about new tools, product updates, tutorials, and occasional MyLaserTools offers. Unsubscribe at any time.
© 2026 MyLaserTools.com. All rights reserved.