Learning Center

Quick start

One lesson for each part of MyLaserTools. If you are new, start with the tour, then open the lesson for the part you want to use. Each lesson lists what it covers and links to a written guide with the same steps.

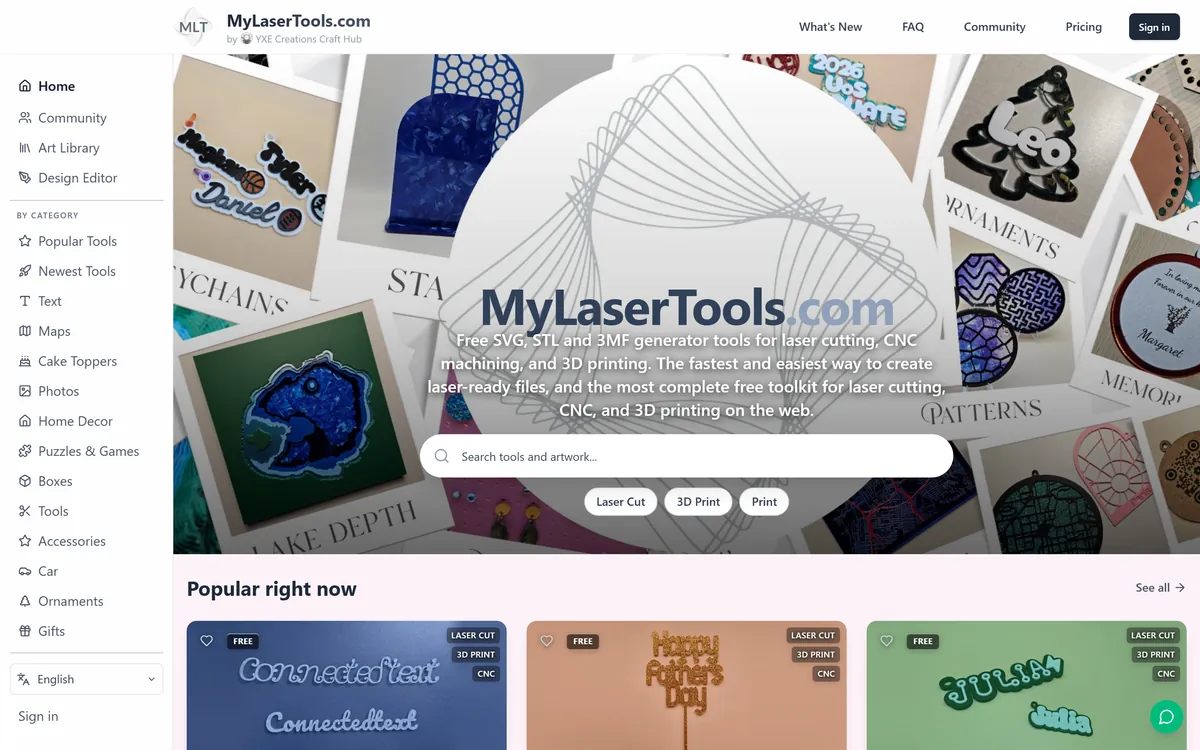
What MyLaserTools is and where things are

The tour for your first visit. Where the tools are, what happens after you make something, and what you pay for.

In this lesson

  1. Tools that make a finished file, like the keychain and box generators
  2. Opening any result in the Design Editor to change it
  3. The Art Library and community designs
  4. Choosing SVG, 3MF, STL or PDF for your machine
  5. What is free, and what sparks pay for
Read the written guide

The Design Editor

Change a design a tool made for you, or start from an empty sheet and lay out your own.

In this lesson

  1. Opening a design from a tool, or starting blank
  2. Text, fonts and text that follows a shape
  3. Adding art, blank shapes and QR codes
  4. Setting cut, score and engrave layers
  5. Editing nodes and offsetting outlines
  6. Exporting for your laser
Read the written guide

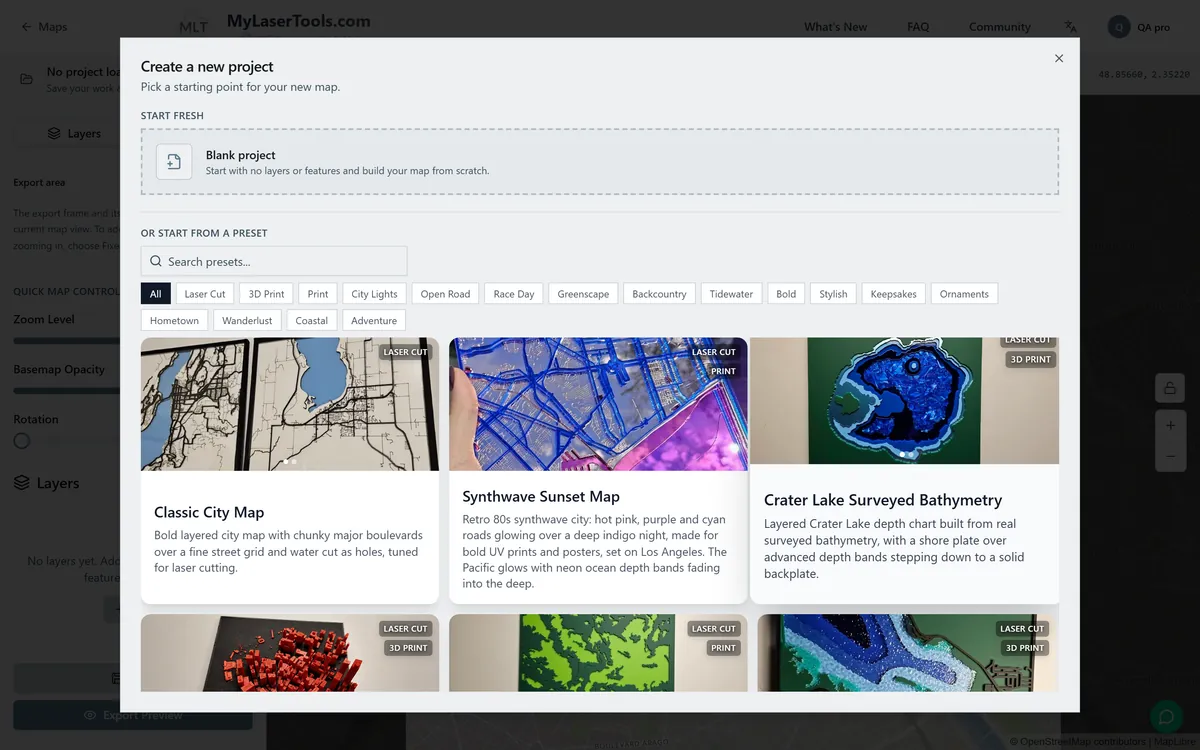
The Map Designer

From picking a style to a stack of cut layers, including what the download costs and where it is kept.

In this lesson

  1. Picking a style
  2. Finding your place and framing it
  3. Choosing the layers and the frame shape
  4. The export preview, map width and layer thickness
  5. Downloading, sparks and My Designs
  6. Cutting and gluing the layers in order
Read the written guide

KerfScript and the Workbench

Write a design once as code and get sliders for it. You do not need to know how to program to follow along.

In this lesson

  1. What KerfScript is for
  2. Your first shape in the KerfScript Playground
  3. Turning numbers into sliders
  4. Laser cut and 3D print versions in the Workbench
  5. Publishing a design other people can customize
Read the written guide

Community designs

Find and download what other makers have shared, and share your own.

In this lesson

  1. Browsing by category and by how a design is made
  2. Customizable designs with their own settings
  3. Downloading a design
  4. Sharing your design and a photo of the finished piece
  5. Earning sparks from what you share
Read the written guide

Short tool clips

There are also 88 clips of under half a minute, one per tool, that show the settings changing and the preview updating. Each one plays on its tool's guide, and all the clips are on one page.