

Prepare a photo engraving in LightBurn or xTool Studio
A colour print preview does not predict how a laser engraving will look. Material response, image processing and the smallest reproducible dot or line determine the result. Use the export intended for the engraving effect you want.
On this page (5)
What you need
- A photo or engraving-tool export and a sample of the final material.
- A compatible laser configured in LightBurn or xTool Studio.
1. Choose pixels or vector paths deliberately
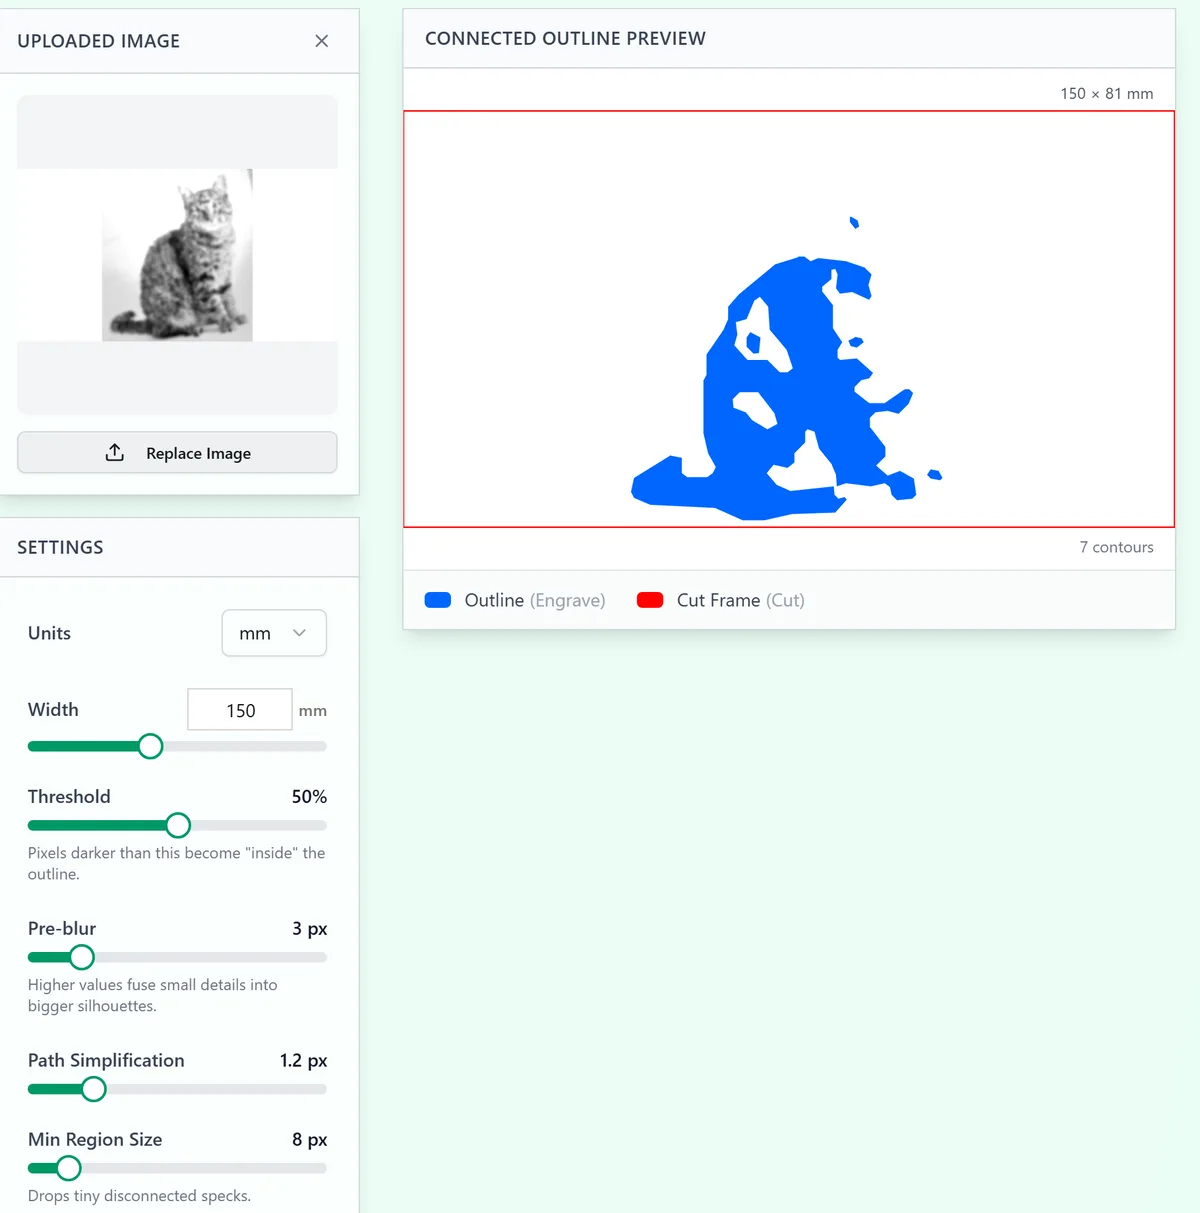
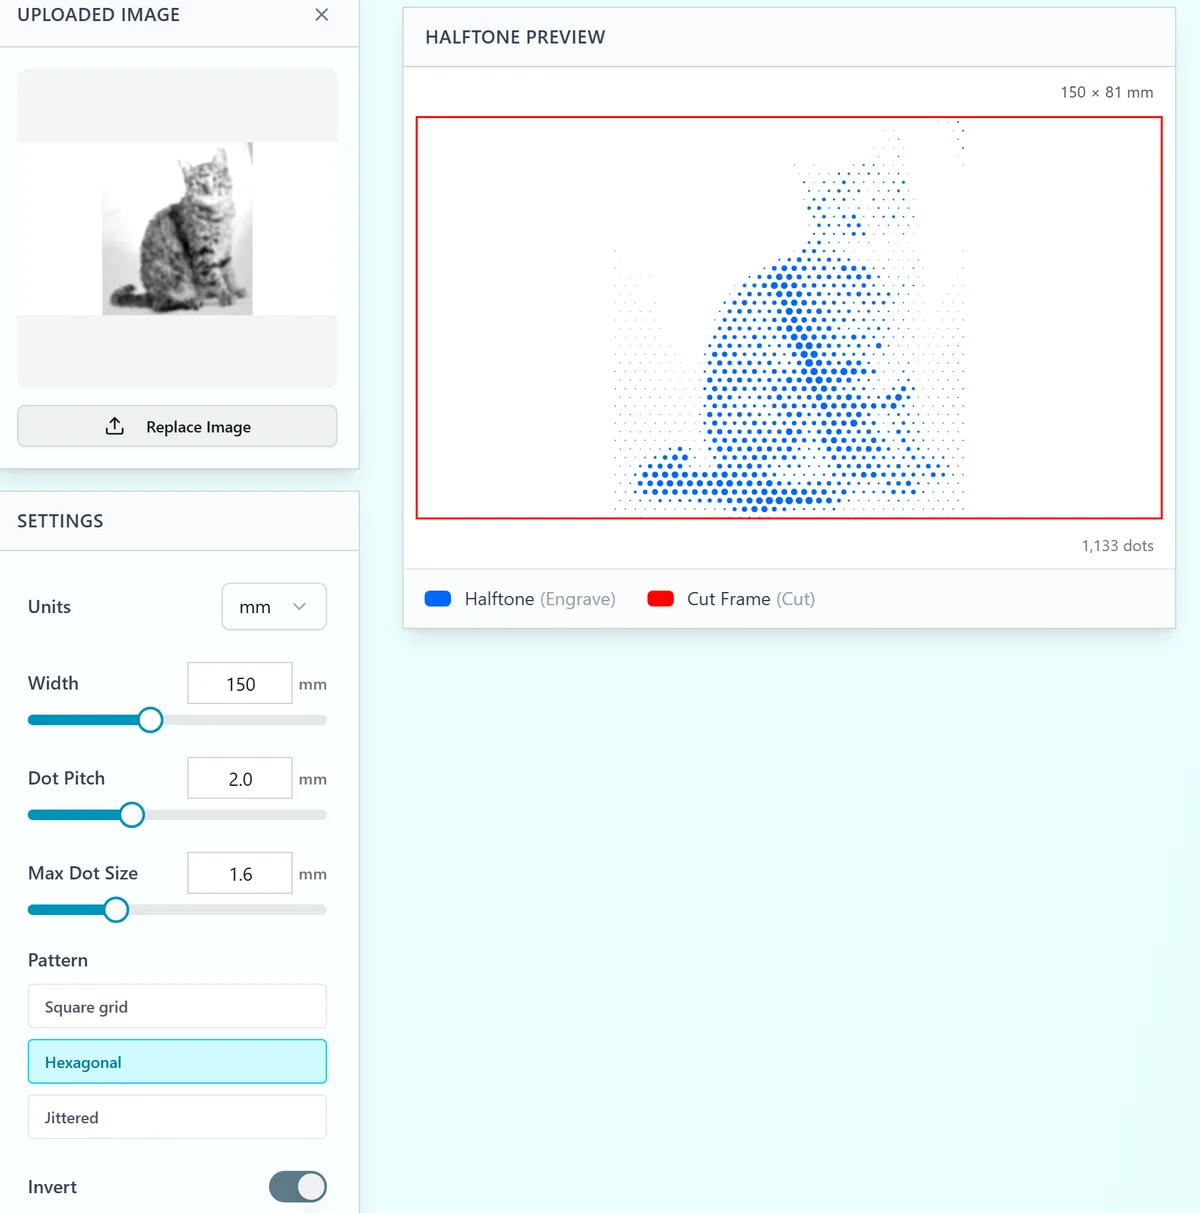
For a photographic tonal image, import a raster file into an image engraving operation. For a tool that generates line art or halftone vectors, import SVG and inspect the paths before choosing the operation. A vector outline around a photo is a separate object; do not cut it just because it arrived in the same file.
2. Set size before image processing
Set the physical width, crop for the composition and inspect the face or other important details at that size. Review the image mode, brightness/contrast and line interval or resolution offered by your software. Increasing resolution cannot restore detail that is missing from the source image or beyond the material’s capability.
3. Test a representative crop
Use a crop containing highlights, midtones and dark detail. Test on the same material and finish as the final piece. Compare the engraved result, not just the software preview, before changing image processing or machine settings. Save the successful project and record material and settings for repeat work.
Troubleshooting
- Muddy face or lost detail: compare the source crop, material test and image processing; do not just increase power.
- Unexpected outline cut: review the SVG path operations and disable unwanted output.
Manufacturer documentation
Next steps and project ideas
Next: using MyLaserTools with LightBurn, or go back to the Learning Center.
Take the design into your software
Was this guide helpful?
More in Laser techniques
Keep up with MyLaserTools.
Email me about new tools, product updates, tutorials, and occasional MyLaserTools offers. Unsubscribe at any time.
© 2026 MyLaserTools.com. All rights reserved.