

3D print MyLaserTools models: Bambu, Snapmaker, PrusaSlicer and Cura
A slicer turns a model into instructions for your printer, nozzle and filament. Every MyLaserTools 3D download opens in Bambu Studio, OrcaSlicer, Snapmaker Orca, Luban, PrusaSlicer and Cura. The file carries the shape and the size; the print settings come from your own printer profile.
On this page (14)
- 1. Pick your printer, then import the model
- 2. Check size, orientation and separate parts
- 3. Slice and inspect before printing
- Two colours with one nozzle
- More finished 3D-printed projects
- Finished 3D-printed maps and cityscape
- A finished 3D-printed floral panel
- One floral keychain in four slicers
- Snapmaker Orca: Prepare before Slice plate
- Bambu Studio: confirm the selected hardware
- Snapmaker Luban: Generate G-code and inspect Preview
- PrusaSlicer: replace the default profiles first
- Troubleshooting
- Manufacturer documentation
What you need
- An STL or 3MF from a tool with Download STL or Download 3MF
- Your slicer, set up with your printer, nozzle and filament
1. Pick your printer, then import the model
In Bambu Studio, OrcaSlicer or Snapmaker Orca, add the model to the Prepare plate. Snapmaker Orca is a separate app from OrcaSlicer, with its own printer list. In Snapmaker Luban, choose the 3D Printing workspace and import the model. In PrusaSlicer, use Add or File → Import. In Cura, open the model and review it in Prepare. If a 3MF asks whether to open it as a project, import the geometry only, so your own printer settings stay.
2. Check size, orientation and separate parts
Compare the model width with the size you set in the tool. An STL has no units, so this matters most there. Put the flat side on the plate. A 3MF with several colours comes in as one object made of several parts; keep them together, because auto-arrange pulls the colours apart. An STL comes in as one colour: the colours on the website preview are not in the file.
3. Slice and inspect before printing
Pick the profile for your printer, nozzle, filament and build plate. In Bambu Studio and Snapmaker Orca, use Slice plate; in PrusaSlicer, Slice now; in Luban, Generate G-code, then inspect its Preview. OrcaSlicer and Cura also need a slice before the preview shows toolpaths. Drag the layer slider to check the first layer, thin details, the hanging hole and any colour changes. Then send it to the printer, and save the slicer project so your settings are there next time.
Two colours with one nozzle
No AMS or multi-material unit? A flat two-colour piece, like a name on a backing, still prints in two colours. Add a filament change at the first layer of the raised part, and the printer stops there so you can swap the filament:
- Bambu Studio and OrcaSlicer: after slicing, drag the layer slider to the first layer of the letters, right-click the + and choose Add pause.
- PrusaSlicer: in the preview, drag the slider to that layer and click the + icon to add a colour change.
- Cura: open Extensions > Post Processing > Modify G-Code, add Filament Change and enter the layer number.
More finished 3D-printed projects
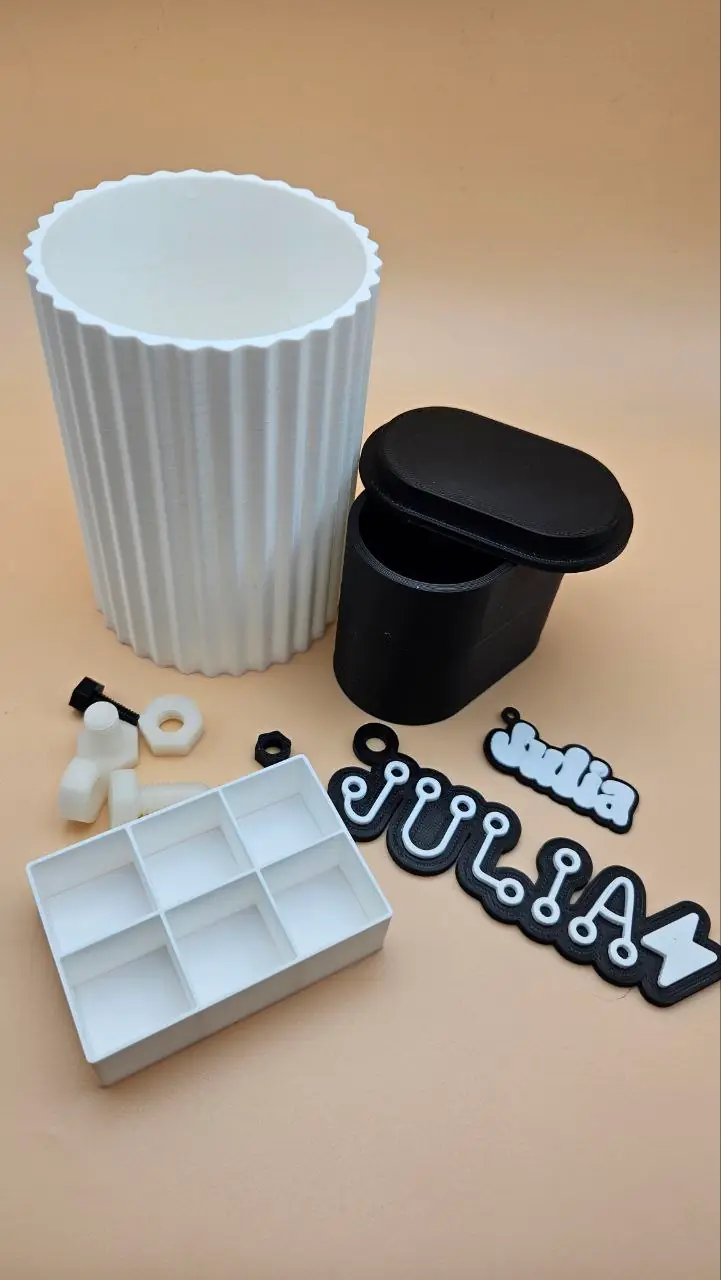
Try the vase, grid box, bolt and nut or backpack tag. Keep separate parts such as a lid and container identifiable, and test their fit before making a batch.
Finished 3D-printed maps and cityscape
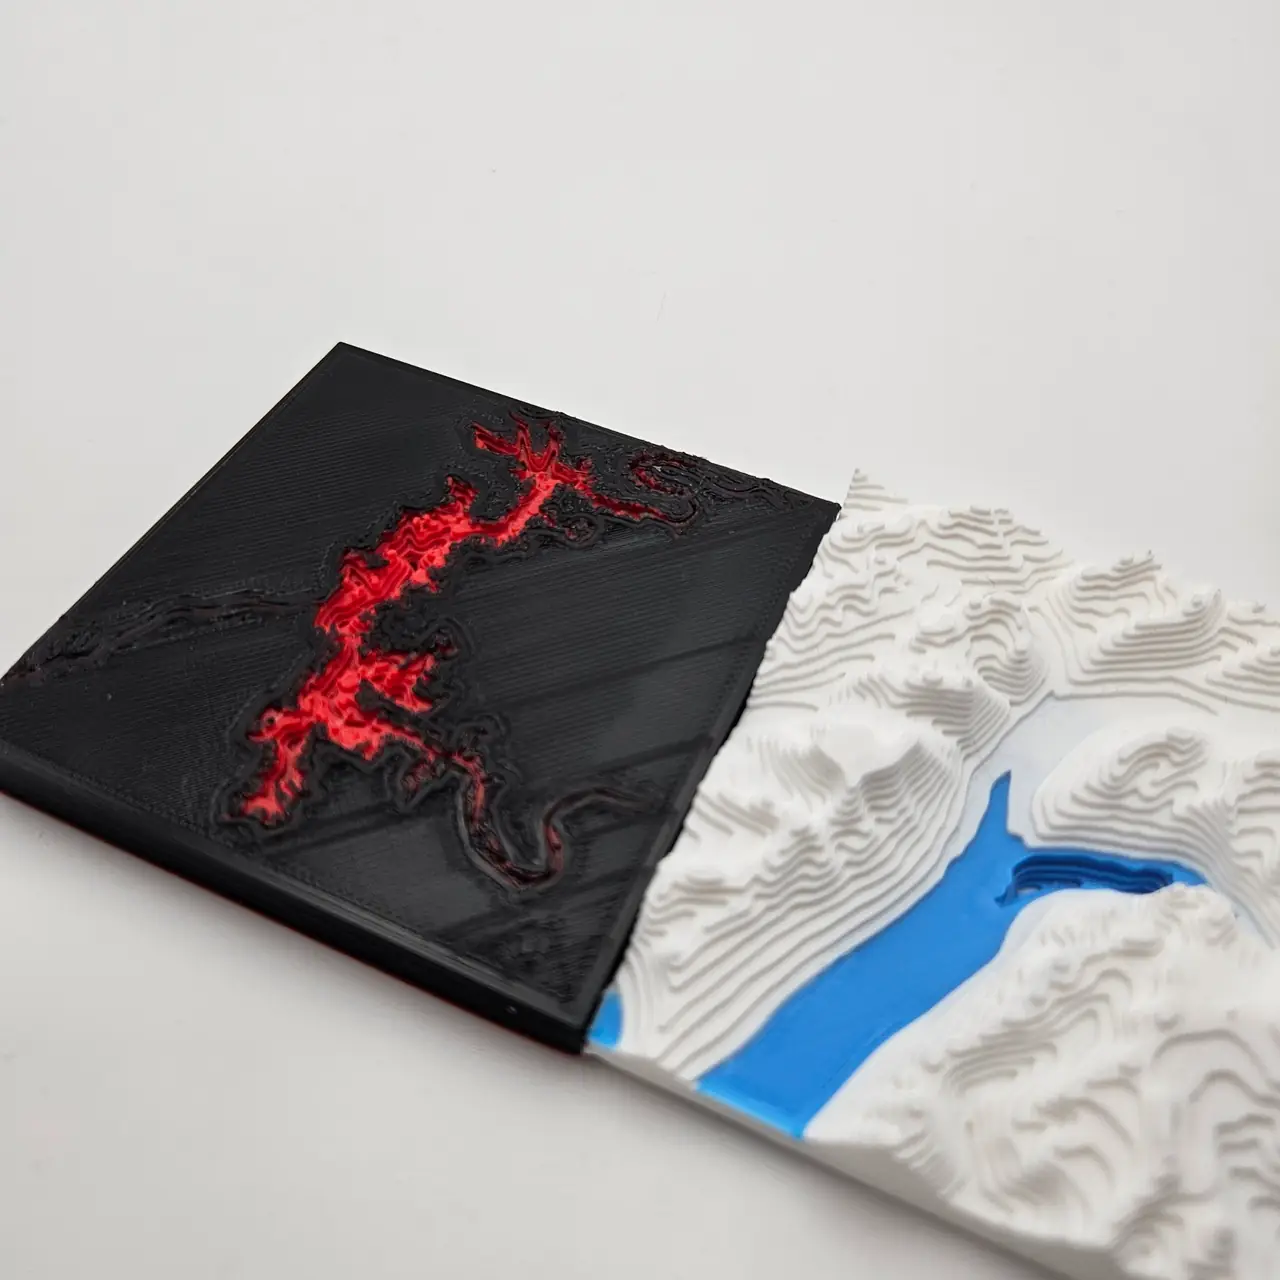
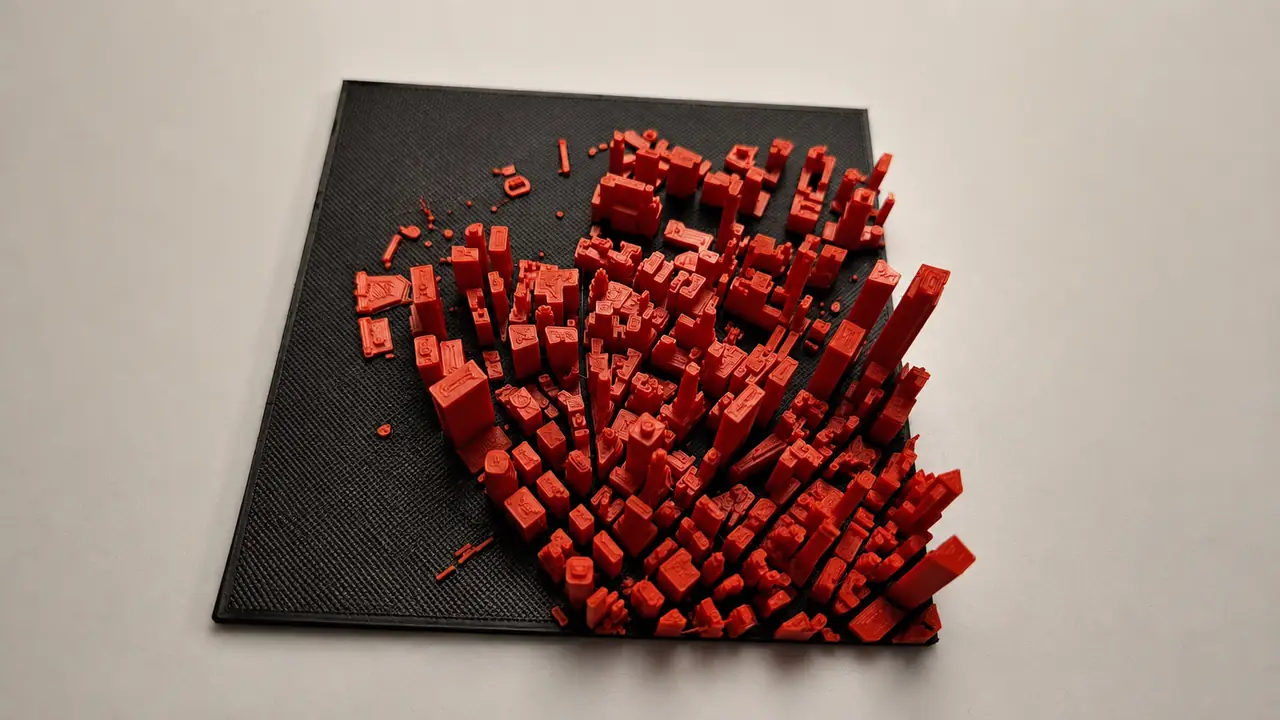
Choose layer height, supports and colour changes for your own model and printer. Look at the tallest and the smallest parts in Preview before you print.
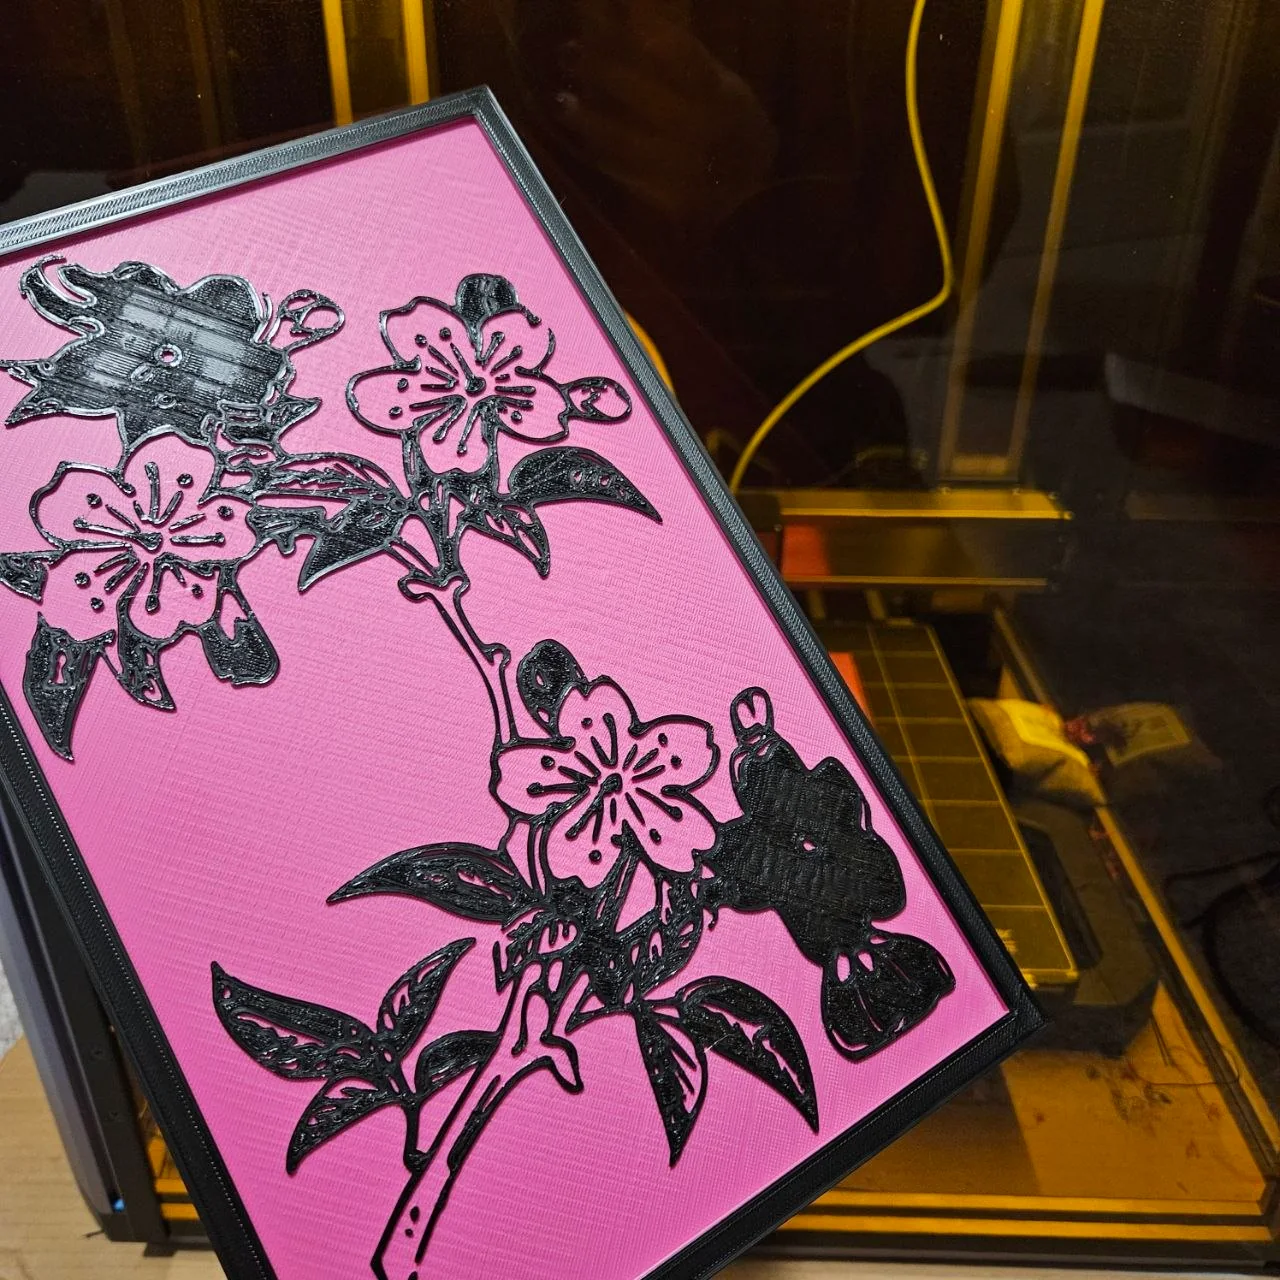
A finished 3D-printed floral panel
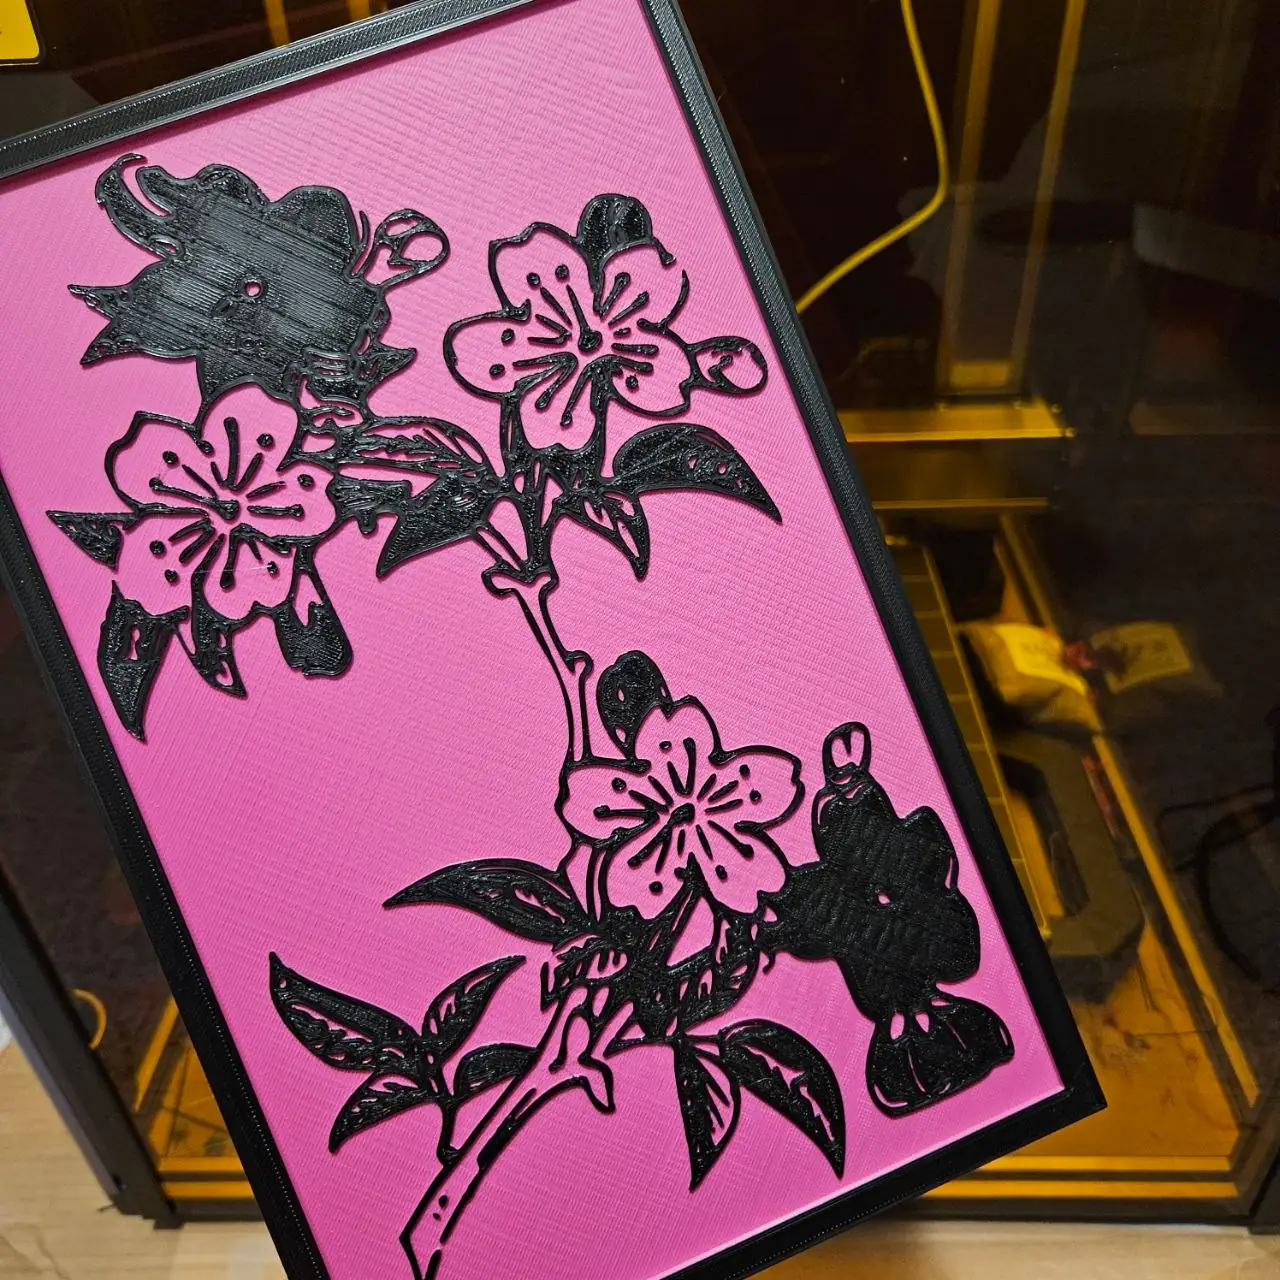
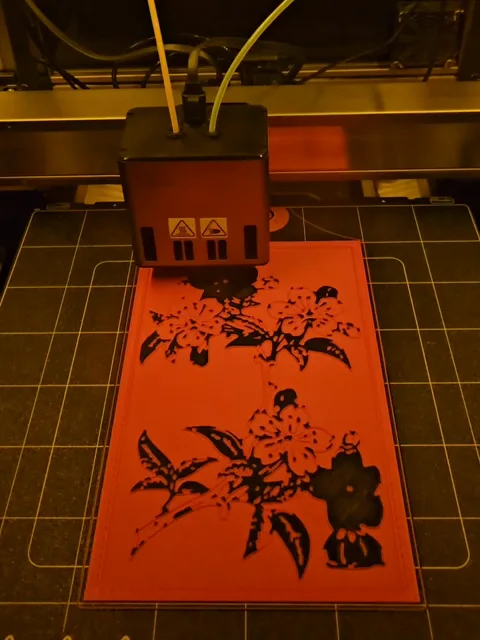
In the sliced preview, check the thin lines, the filled areas and the edges where the raised artwork meets the base. Lines thinner than your nozzle disappear.
One floral keychain in four slicers
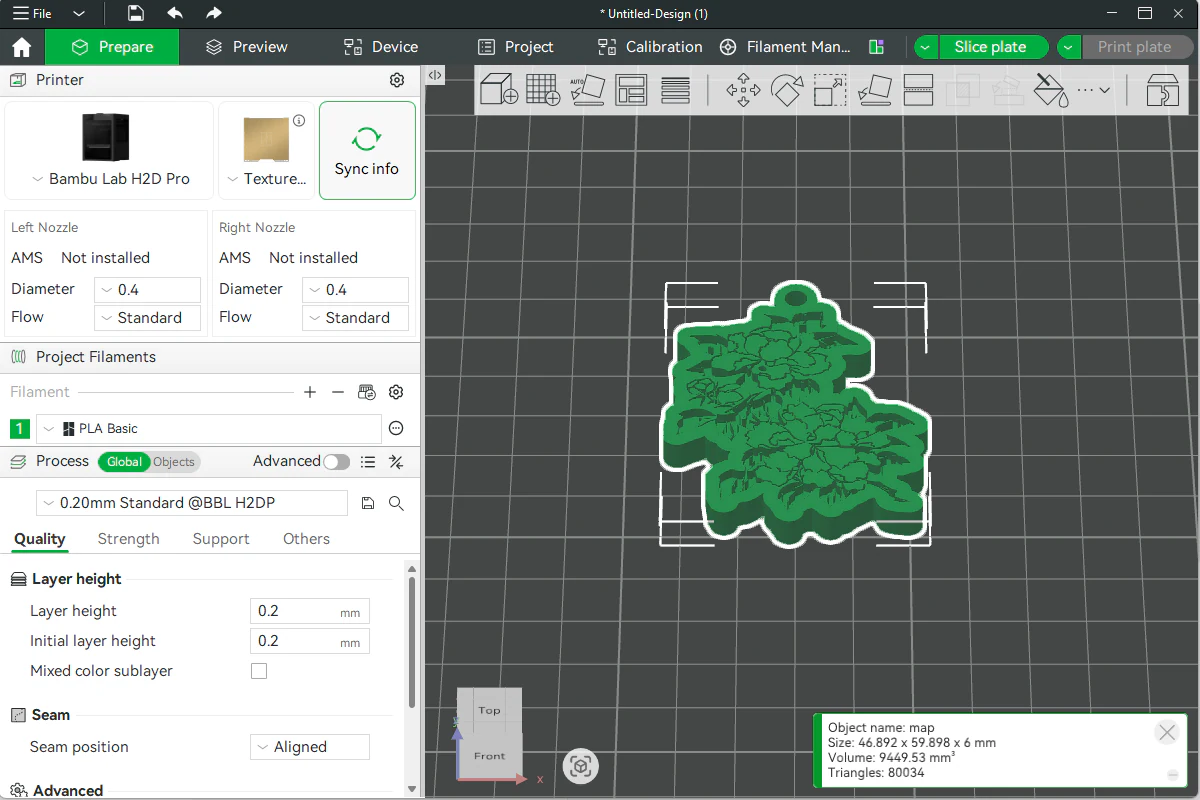
The same keychain model, 46.9 × 59.9 × 6 mm, opened in four slicers. Each one reads the size correctly. The colour on screen is only how the slicer displays the model; you choose the real filament colours yourself.
Snapmaker Orca: Prepare before Slice plate
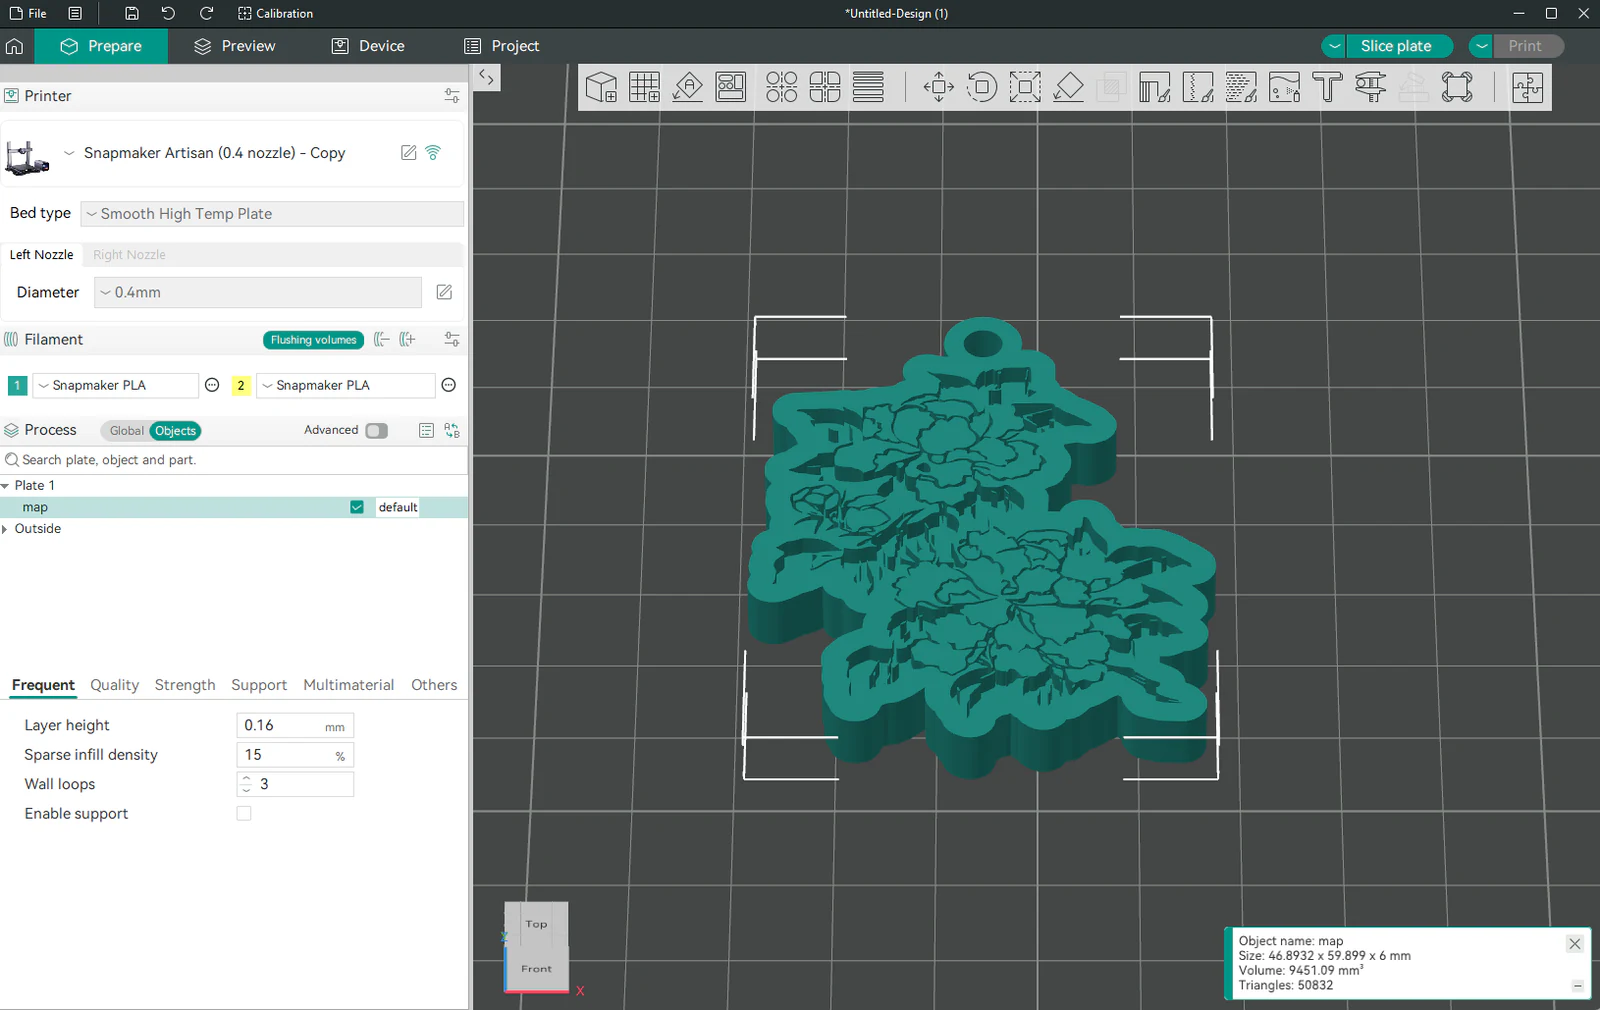
Choose your own printer, nozzle and filament. Keep the flat base on the plate, slice, then check the small flowers and the hanging hole in Preview.
Bambu Studio: confirm the selected hardware
Choose your own printer, nozzle, build plate and filament. A 3MF from MyLaserTools comes in as separate parts, one per colour, so you can give each part its own filament. Then slice and check Preview.
Snapmaker Luban: Generate G-code and inspect Preview
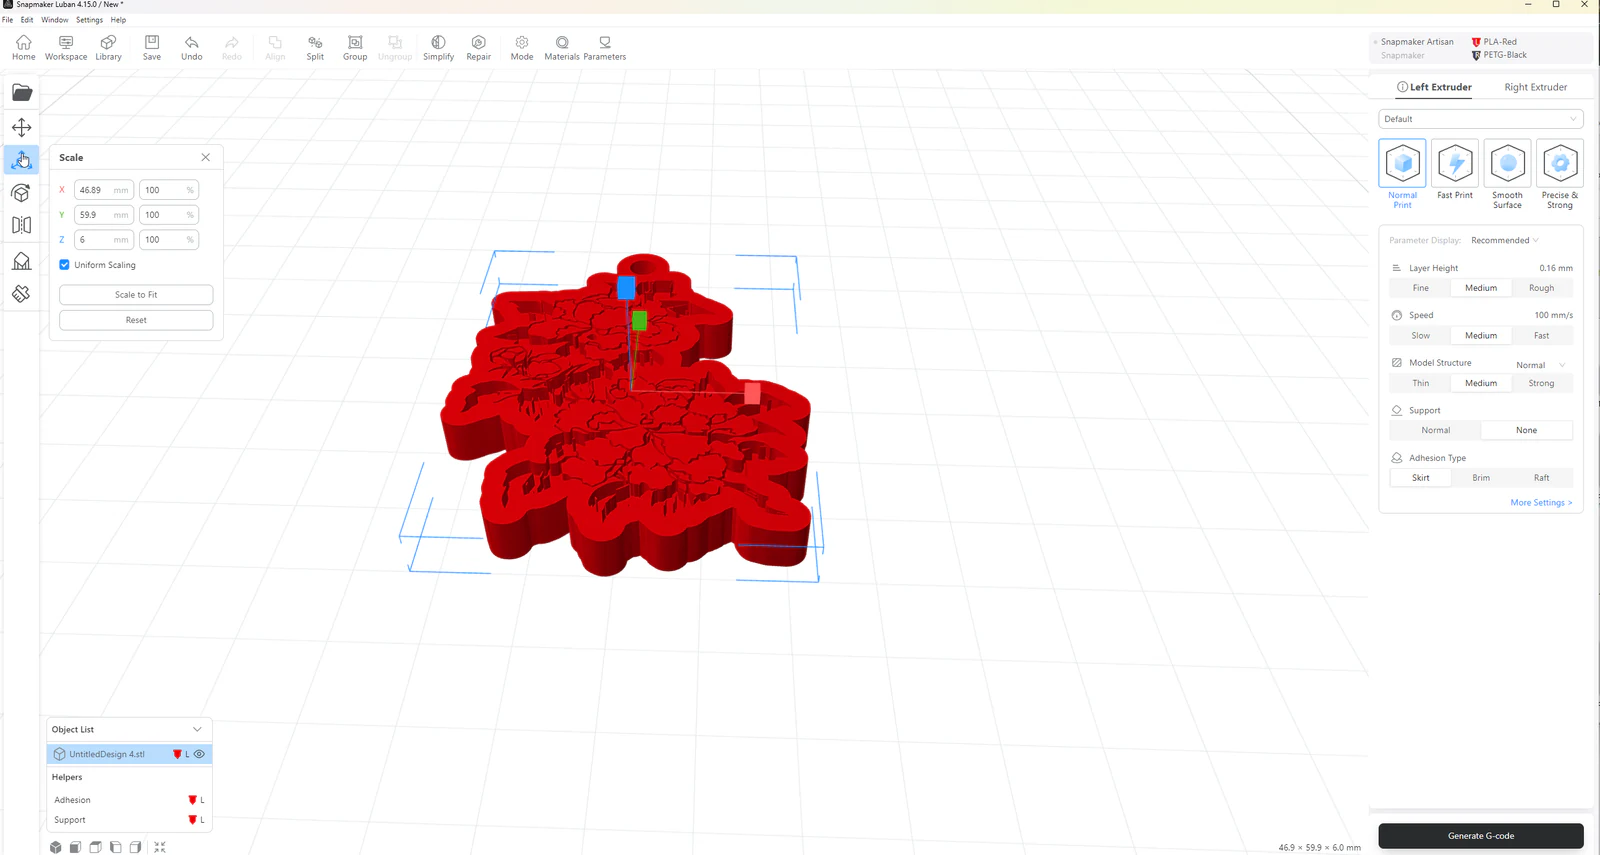
Choose your Snapmaker machine and print head, then the material for each extruder. Generate G-code, check the layer preview, then send the file to the printer or save it.
PrusaSlicer: replace the default profiles first
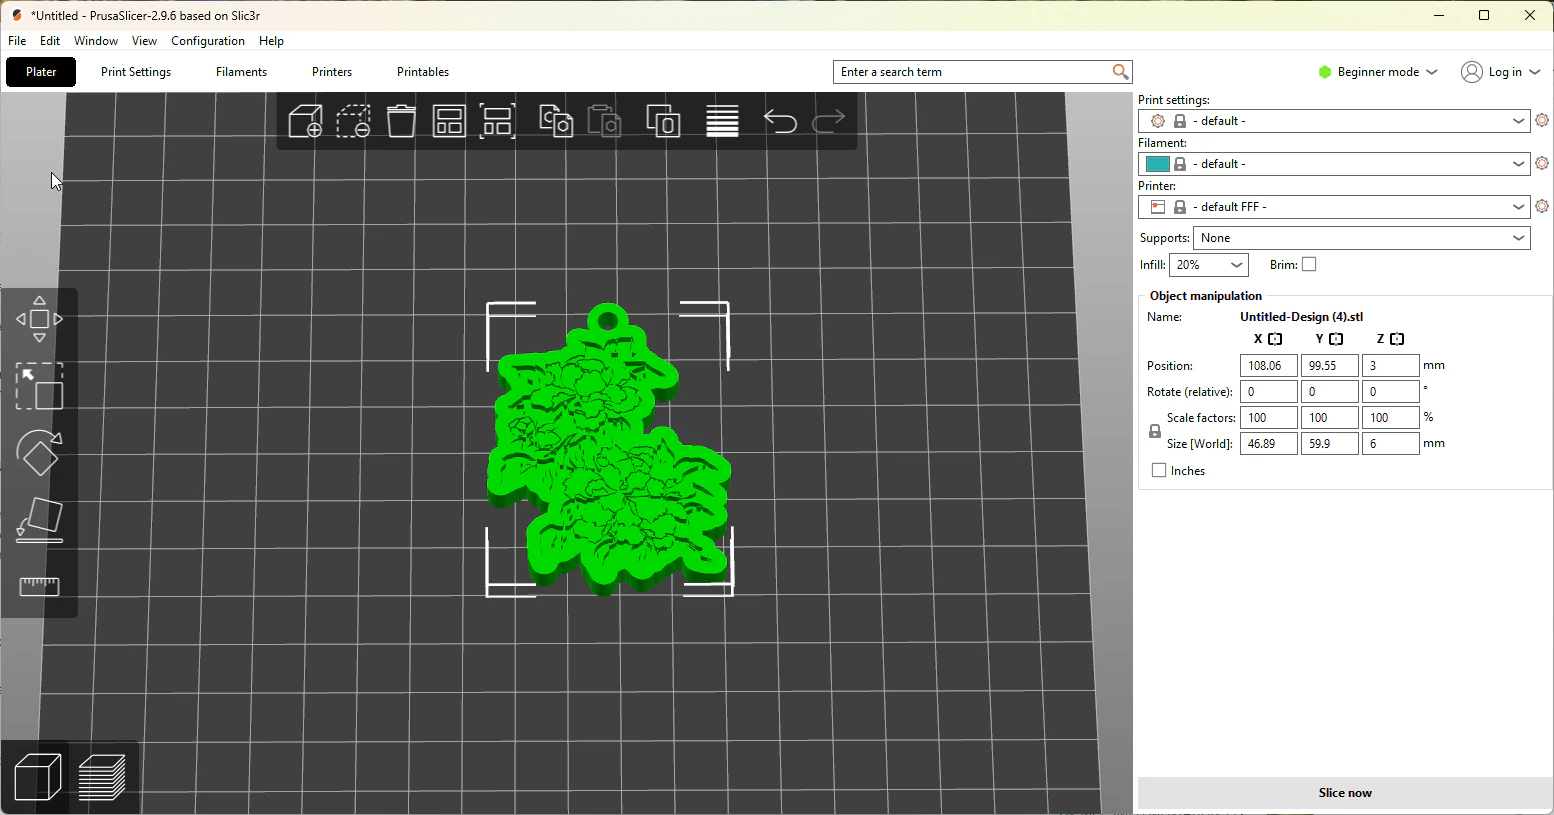
Set your printer, nozzle and filament in those menus first, then use Slice now. In Preview, check that the hanging hole is still open and that the raised flowers have toolpaths.
Troubleshooting
- The model is tiny or huge: the slicer read the wrong units. Check one known size and convert between mm and inches instead of guessing a percentage.
- Missing detail: inspect it in the sliced preview; nozzle width and layer height limit printable features.
Manufacturer documentation
Next steps and project ideas
Next: 3D printed relief maps, or go back to the Learning Center.
Was this guide helpful?
More in Your software
Keep up with MyLaserTools.
Email me about new tools, product updates, tutorials, and occasional MyLaserTools offers. Unsubscribe at any time.
© 2026 MyLaserTools.com. All rights reserved.