

Making a lit Christmas village house with the Christmas Village House Generator
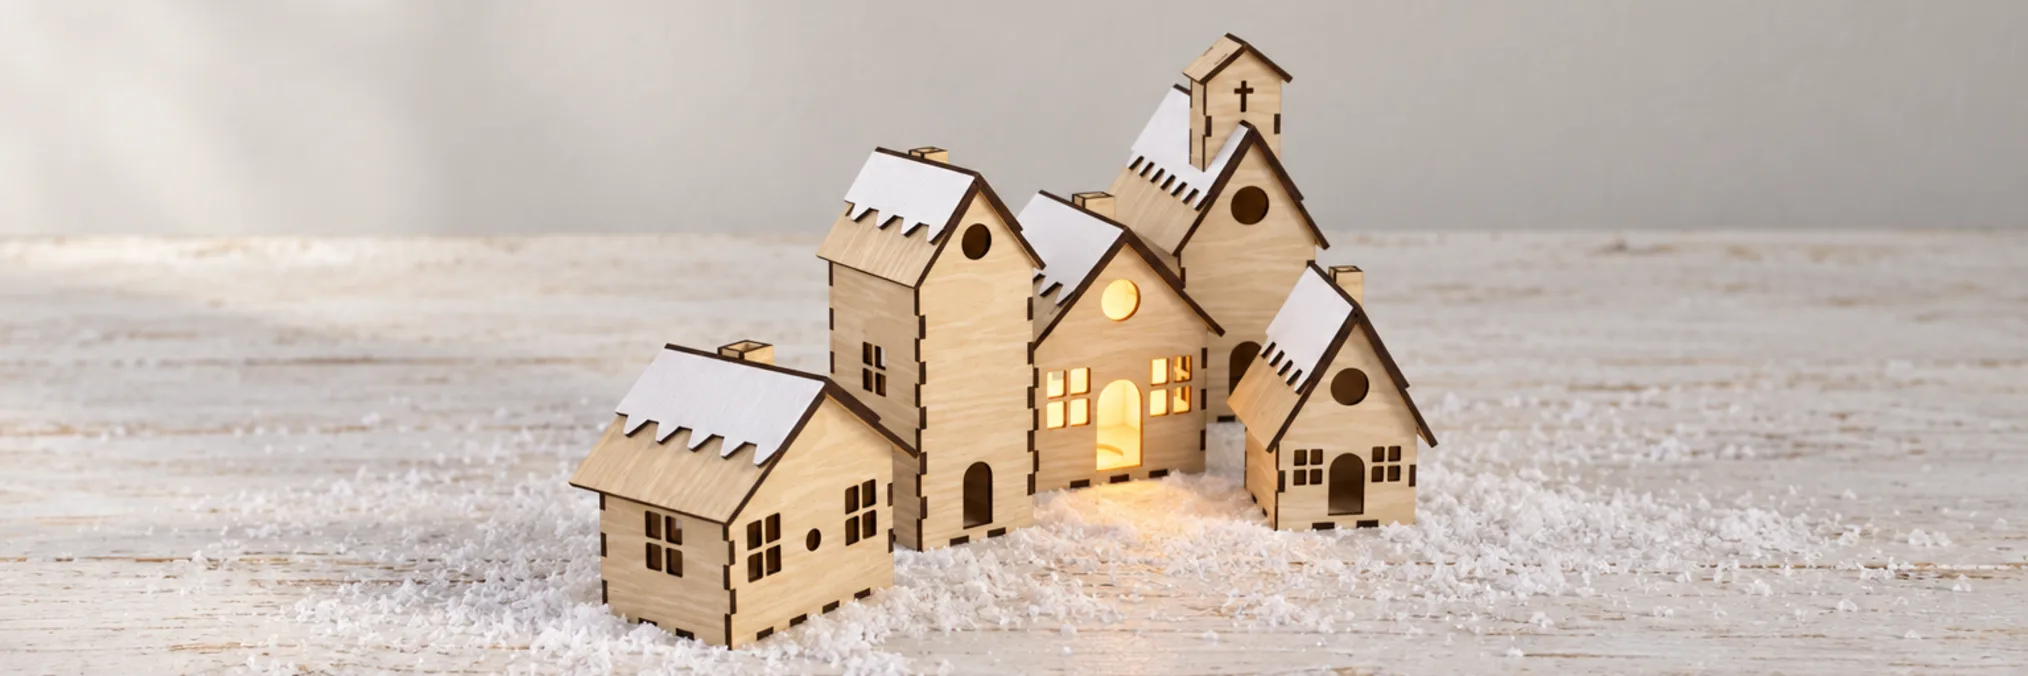
Difficulty: easy. Time: 10 minutes to design, about an hour to cut and assemble. Best method: laser cut 3 mm plywood.
Each Style sets the size, the roof pitch, the windows and the engraving. Change any of it afterwards.
Most village houses are 60 to 120 mm across. Keep a row of houses close in height so the street reads as one place.
On this page (4)
What you need
- 3 mm plywood. Measure it with calipers.
- Wood glue
- A battery LED tealight
- Optional: vellum or tracing paper for the windows, and white acrylic for the snow
1. Choose a style and size
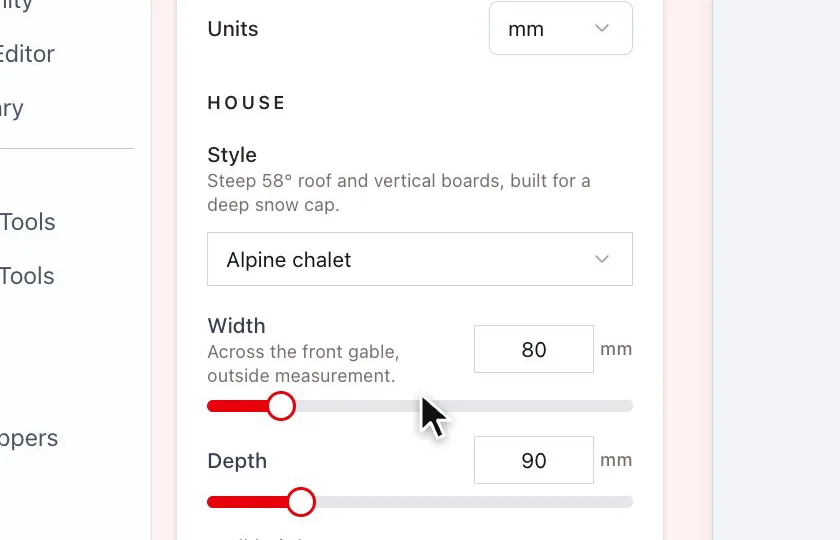
Pick a Style, then adjust the Width across the front gable, the Depth and the Wall height up to the eaves. The roof adds height on top.
2. Pick the windows and the door
- Windows beside the door puts one window on each side of the door, where there is room.
- Windows per side sets the windows in the side walls.
- Round gable window adds a window up in the gable, front and back.
- Cut-out windows glow when the light is on. Glue vellum or tracing paper behind them to soften the light.
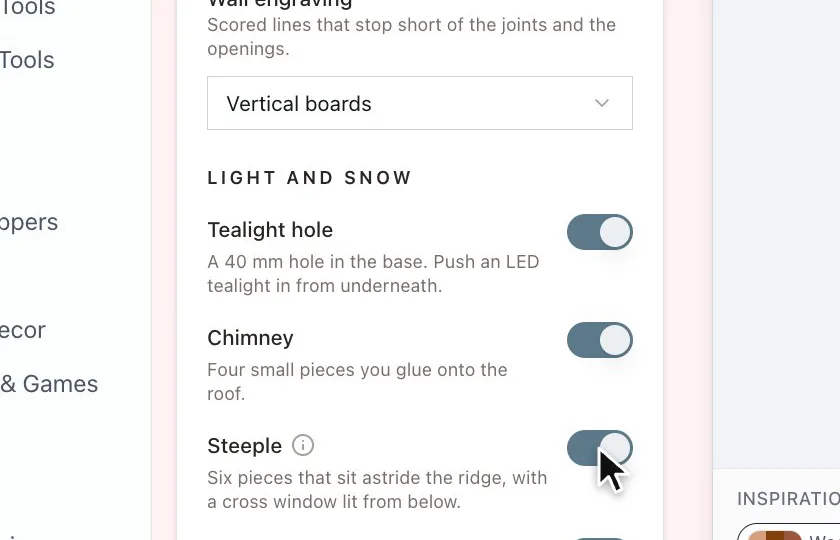
3. Add light and snow
- Tealight hole cuts a hole in the base for an LED tealight pushed in from underneath. The floor has to be wide enough inside for the hole to fit.
- Chimney adds four small pieces you glue onto the roof.
- Steeple adds six pieces that sit astride the ridge, with a cross window lit from below.
- Snow on the roof adds two pieces with a dripping edge. Cut them from white acrylic or paint them.
Choose your build method
Laser cutting
Cut and assemble
- Download the SVG and cut every piece.
- Glue the walls to the base, then add the roof.
- Add the chimney, the steeple or the snow pieces.
- Push a battery LED tealight up through the hole in the base. Real candles and a wooden house don't mix.
Next steps and project ideas
- Build a whole street from different styles and sizes.
- Cut the snow from white acrylic for contrast.
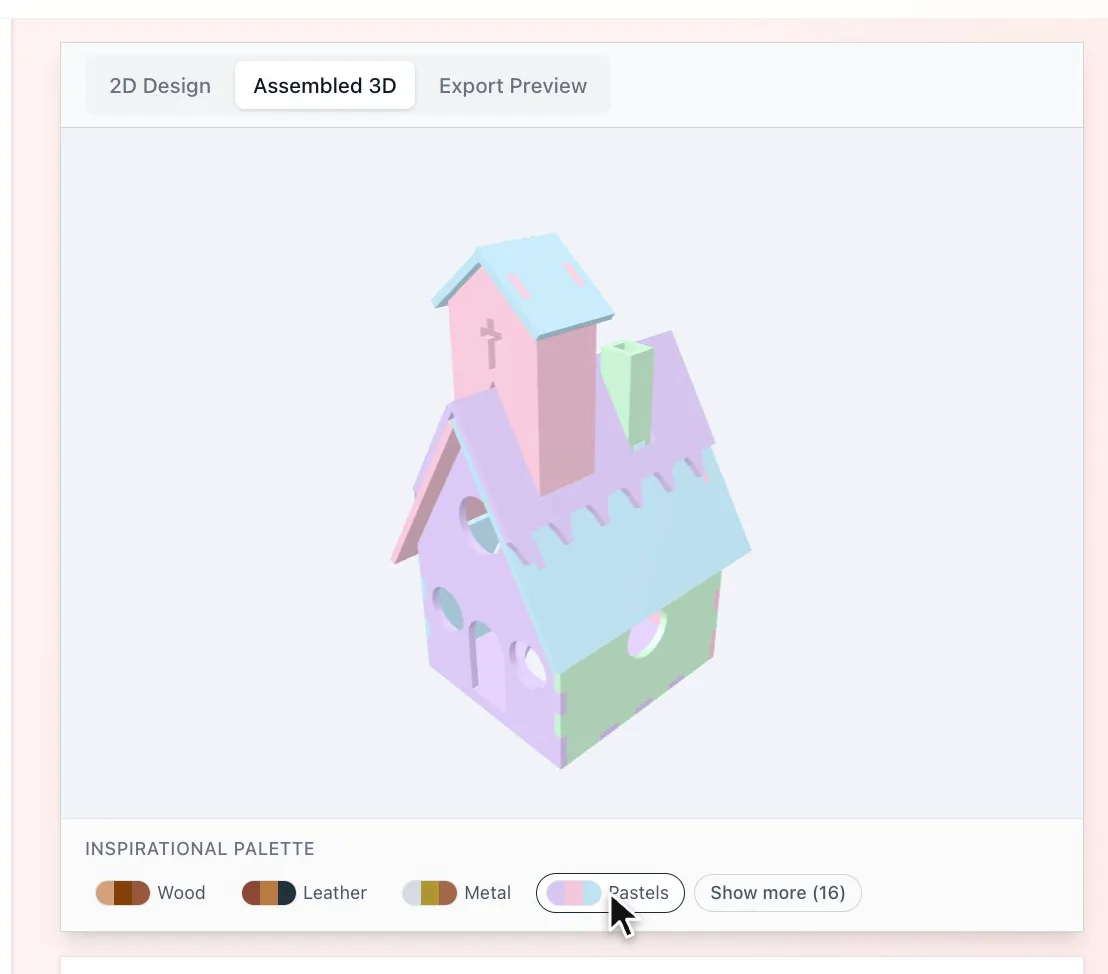
- Try the Inspirational Palette under the preview to compare wood and colour combinations.
Take the design into your software
Was this guide helpful?
More in Boxes and storage

Email Updates
Keep up with MyLaserTools.
Email me about new tools, product updates, tutorials, and occasional MyLaserTools offers. Unsubscribe at any time.
Tag us on Instagram
Share what you made with @mylasertools
Join our Facebook Group
Share creations, ask questions, get inspired
Contact & Follow
Resources
YXE Creations Craft Hub Inc
© 2026 MyLaserTools.com. All rights reserved.