

Building a box with hinged doors with the Door Box Generator
Difficulty: medium. Time: 10 minutes to set up, about an hour to cut and assemble. Best method: laser cut 3 mm plywood or acrylic.
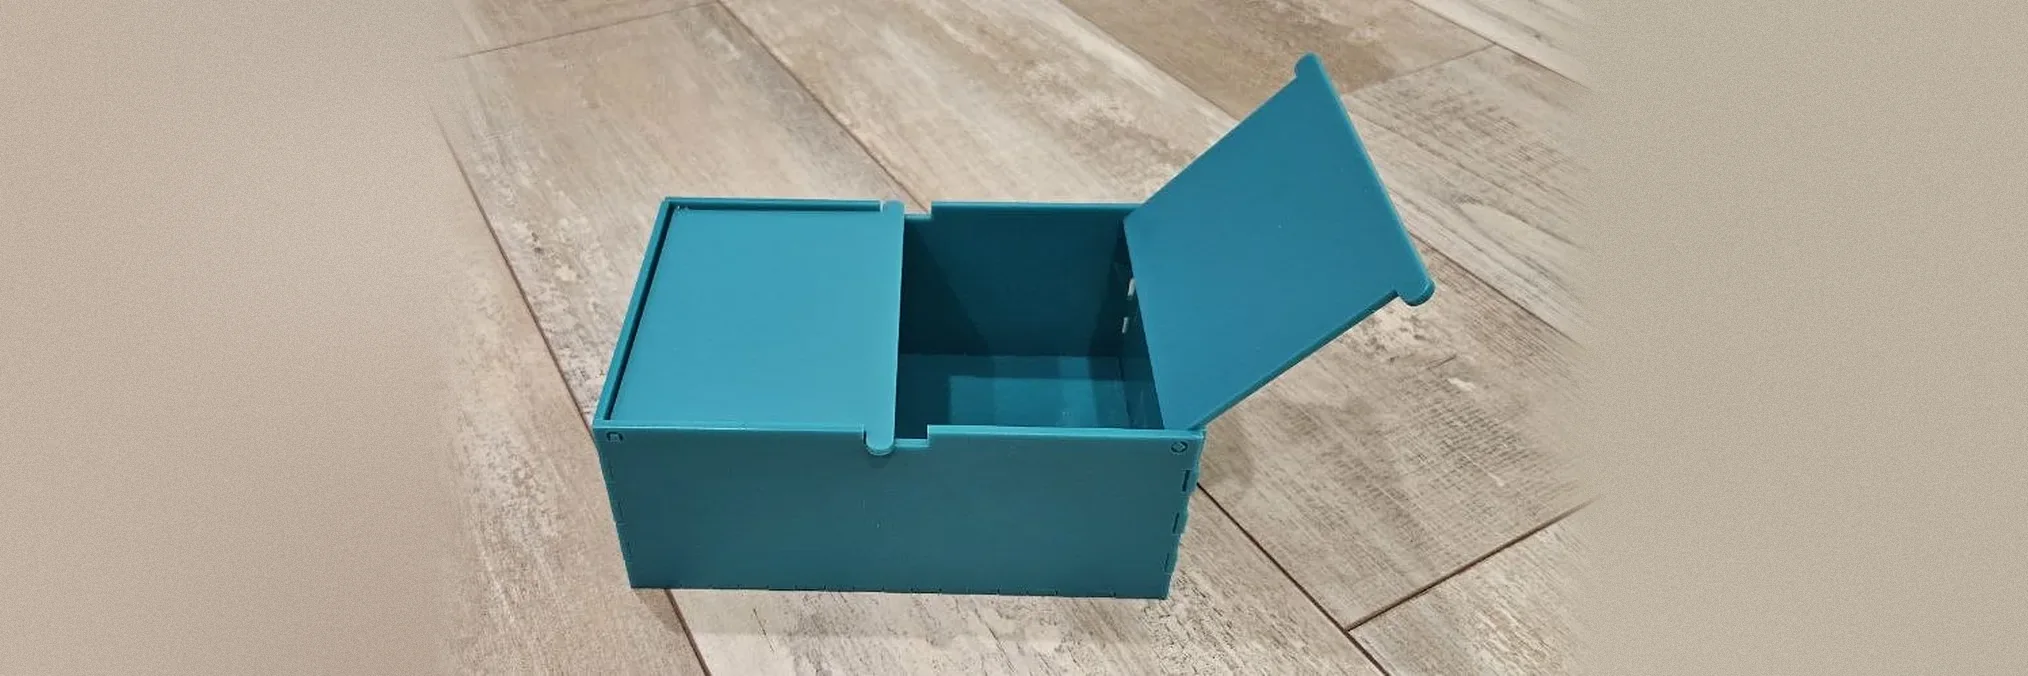
The hinges need no hardware. Each door turns on small pins cut from your sheet, so the pins are exactly as thick as your material.
If the doors turn stiffly, raise the Hinge clearance and cut the lid again.
What you need
- 3 mm plywood or acrylic. Measure it with calipers.
- Wood glue, or acrylic cement for acrylic
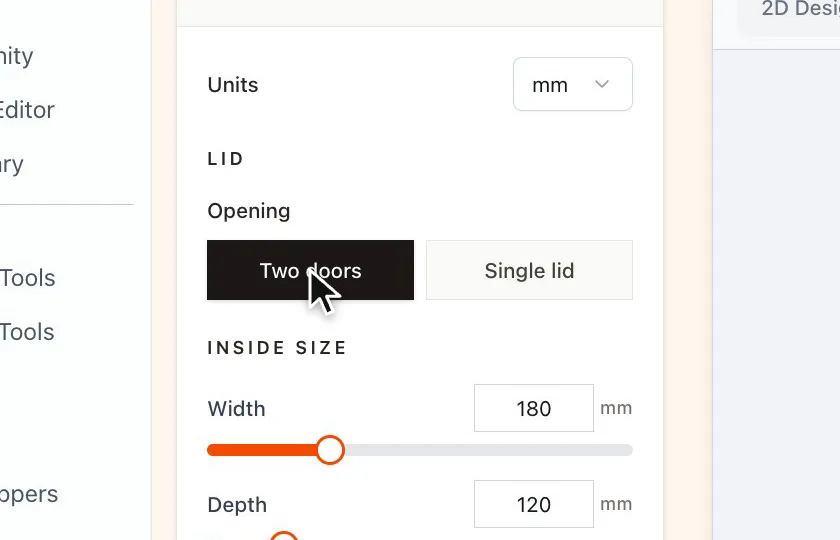
1. Choose the opening
Under Opening, pick Two doors that open to the left and right, or a Single lid that flips up from the back.
2. Set the inside size
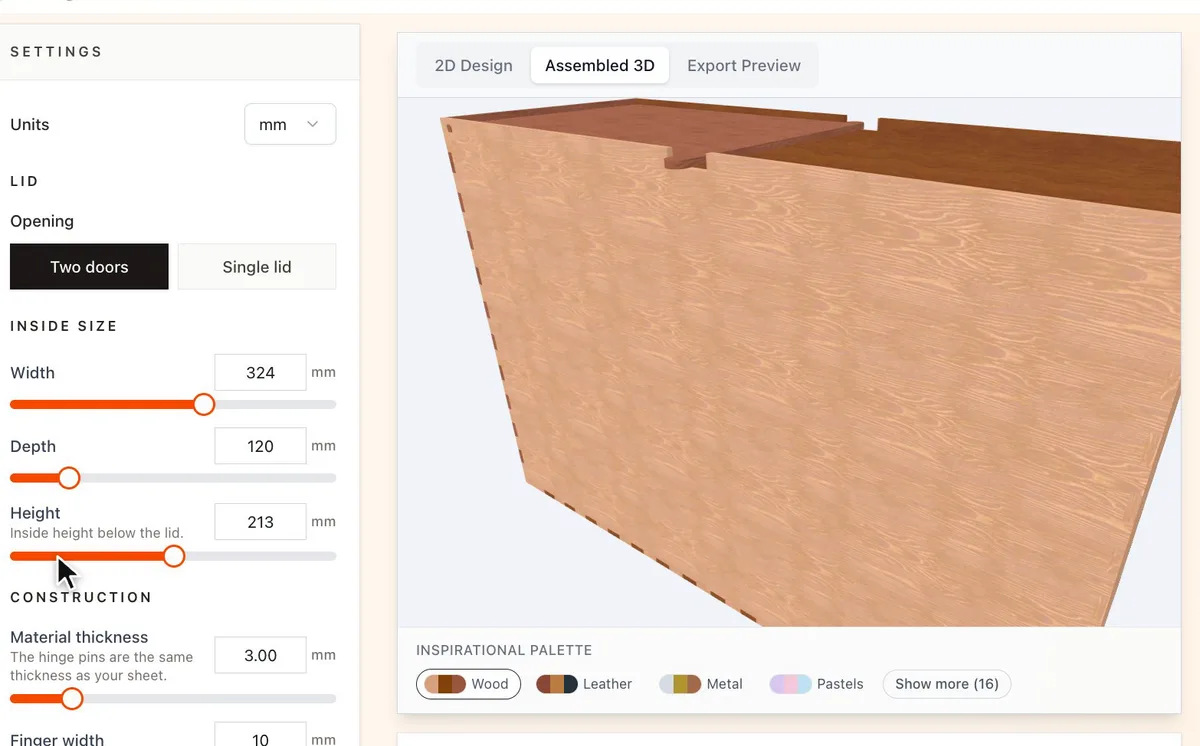
Under Inside size, enter the Width, Depth and Height you need below the lid.
3. Match your material
- Set Material thickness to what you measured. The hinge pins and their holes are sized from it.
- Finger width sets how many fingers each joint gets.
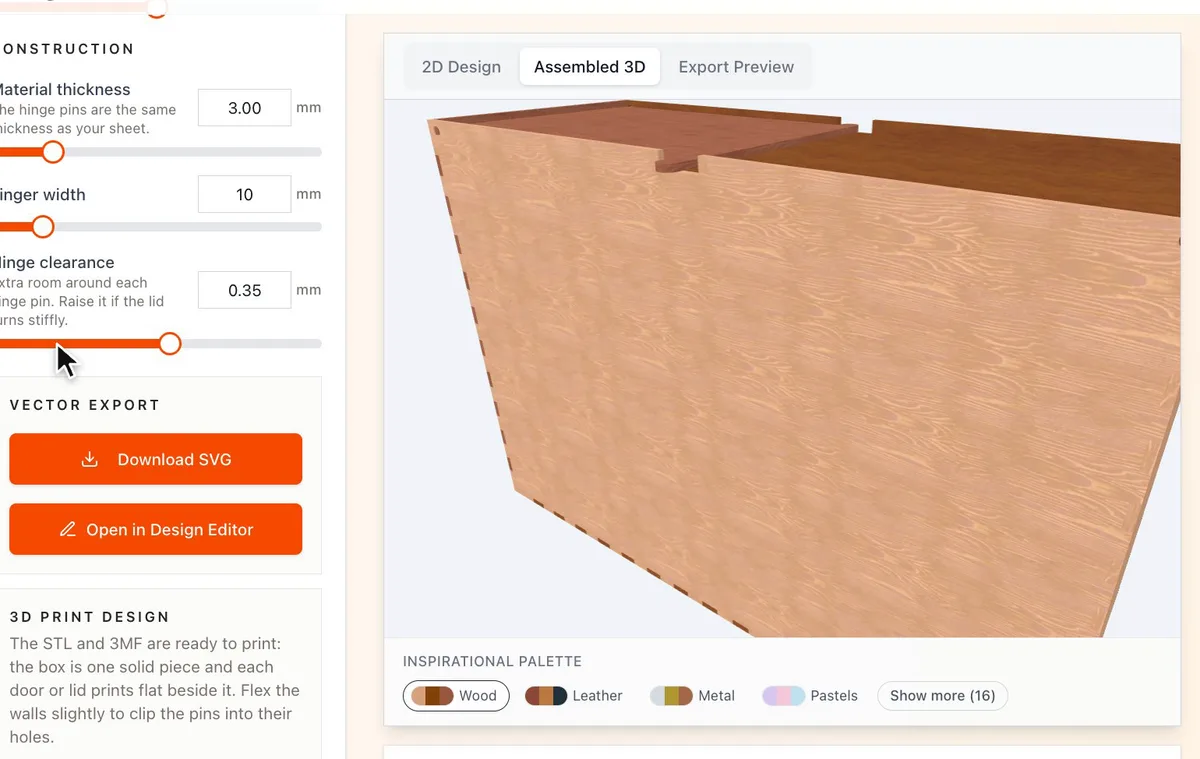
- Hinge clearance adds room around each hinge pin. Raise it if the lid turns stiffly.
Choose your build method
Laser cutting
Cut and assemble
- Download the SVG and cut every panel and pin.
- Assemble the walls and the base.
- Fit the doors on their pins before the glue sets, and check that they turn freely.
- Glue the walls, keeping glue away from the pins.
Next steps and project ideas
- Engrave a pattern across both doors so it lines up when they close.
- Cut the doors from a contrasting colour of acrylic.
- Try the Inspirational Palette under the preview to compare wood and colour combinations.
Take the design into your software
Was this guide helpful?
More in Boxes and storage
Email Updates
Keep up with MyLaserTools.
Email me about new tools, product updates, tutorials, and occasional MyLaserTools offers. Unsubscribe at any time.
Tag us on Instagram
Share what you made with @mylasertools
Join our Facebook Group
Share creations, ask questions, get inspired
Contact & Follow
Resources
YXE Creations Craft Hub Inc
© 2026 MyLaserTools.com. All rights reserved.