

Make a postage stamp gift tag
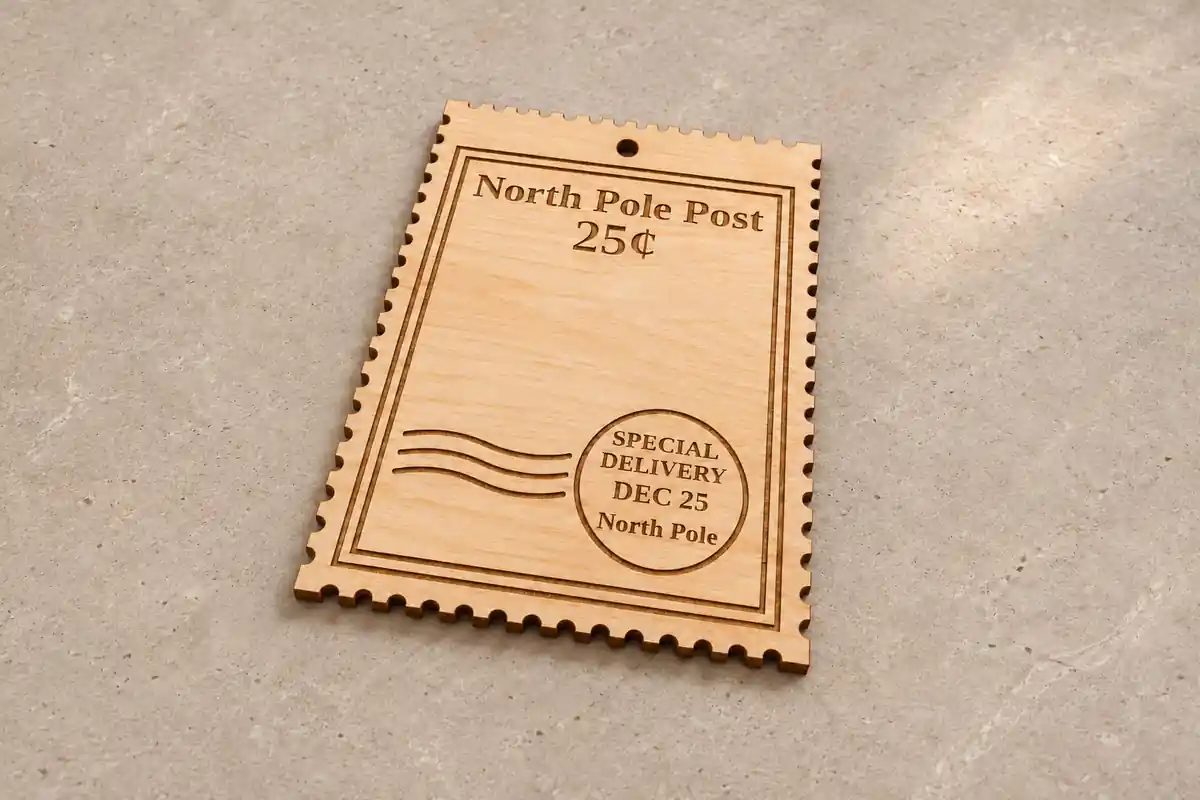
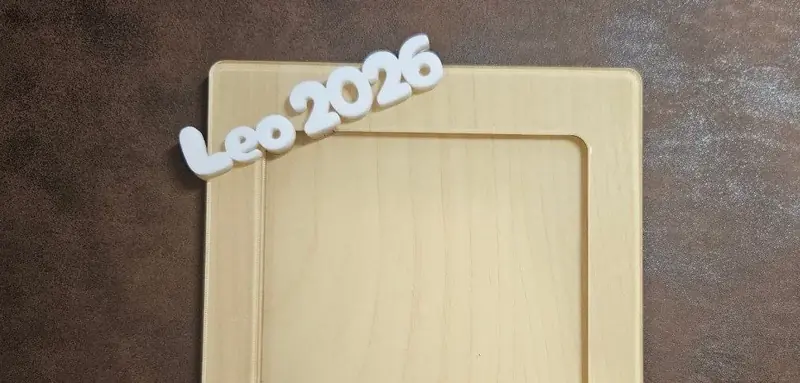
The outline has inward semicircular notches separated by straight sections, like the perforated edges of a postage stamp. The corners stay solid. The optional hole sits above the frame with space around it for the ribbon.
What you need
- Plywood or acrylic for laser cutting, or filament for printing
- Ribbon or twine if you add a hole
Choose the stamp and lettering
Choose a stamp shape and frame. Set the width, height and perforation spacing.
Choose a postal heading preset or enter your own. Edit the postage value, recipient and message, then choose a font.
Set the postmark wording, date and place. Add a ribbon hole if you want to hang the tag.

Choose your build method
Laser cutting
Engrave and cut
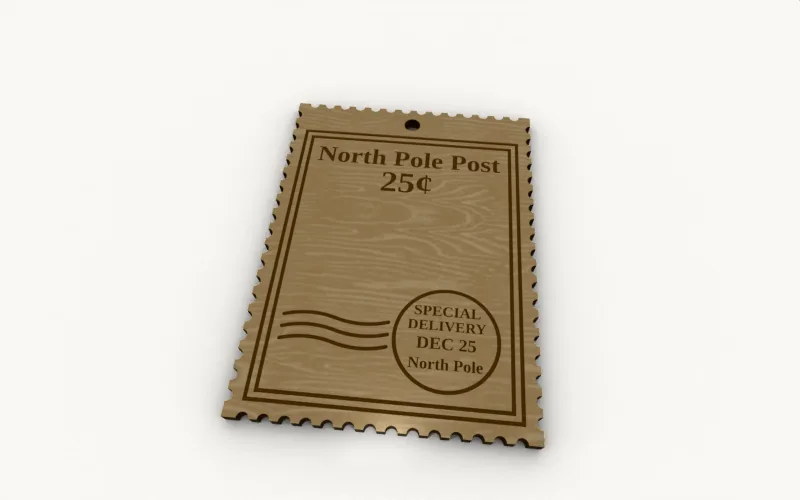
Engrave the postal details before cutting the outline and hole. Match the ribbon to your chosen hole diameter.
3D printing
Print the tag
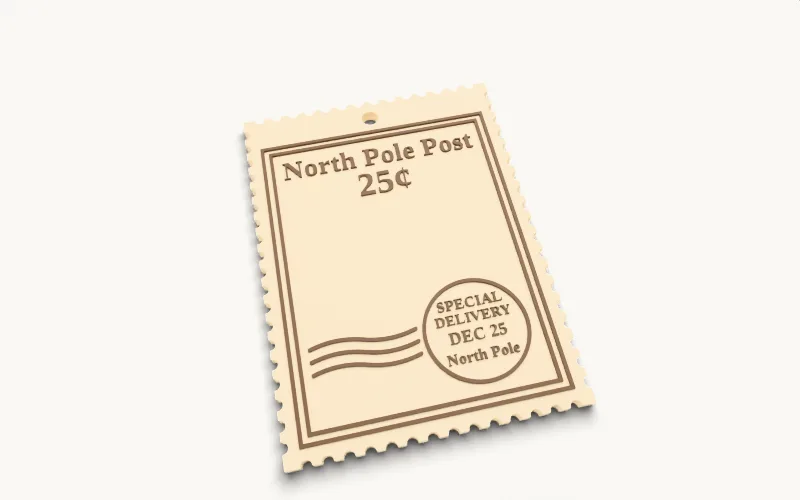
Print flat with the lettering facing up. Use STL for one solid body or 3MF for separate base and lettering colours. Check thin letter strokes in the slicer.
Next steps and project ideas
This version makes frames and postal lettering. The centre can stay blank or hold your recipient and gift message.
Common questions
Can I make a stamp without a hole?
Yes. Turn off Add a hole. The frame and lettering use the extra space at the top.
Take the design into your software
Was this guide helpful?
More in Workshop and crafts

Keep up with MyLaserTools.
Email me about new tools, product updates, tutorials, and occasional MyLaserTools offers. Unsubscribe at any time.
© 2026 MyLaserTools.com. All rights reserved.