

Check a depth map before relief engraving
Try the built-in samples before opening your own file.
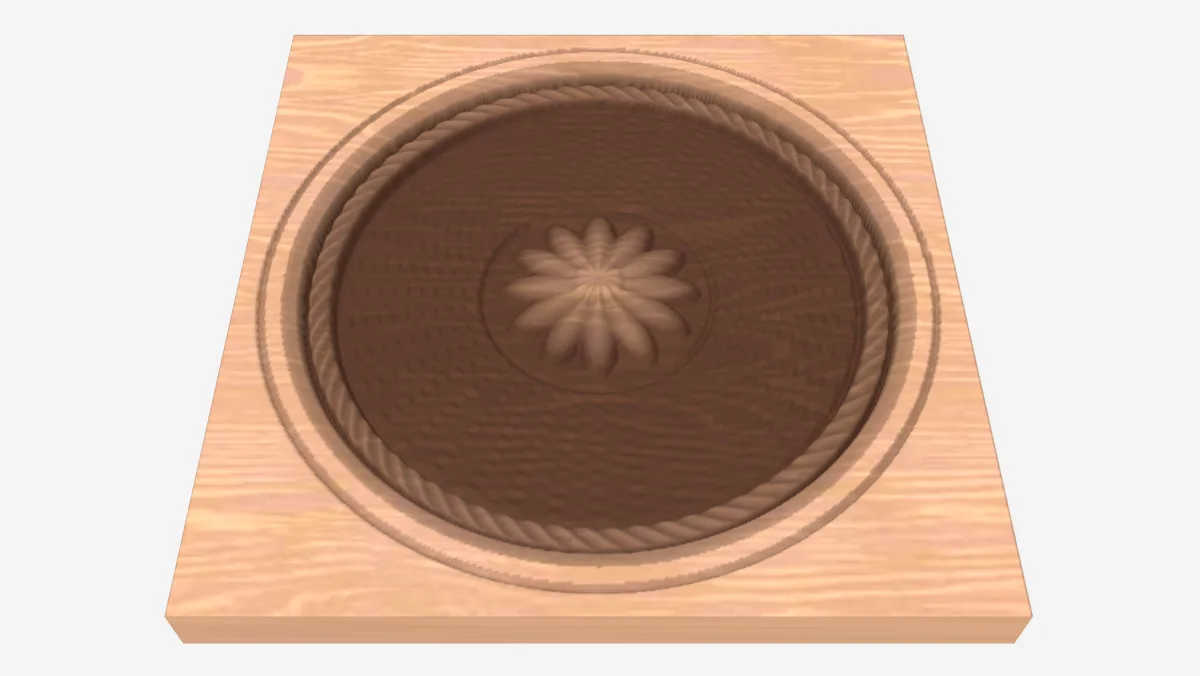
A depth map uses pixel values to describe height. In this tool, black is deepest and white is the untouched surface. The inspector shows the values in the file and a relief preview; it does not calculate laser power, speed or the depth your material will actually reach.
On this page (5)
What you need
- A depth-map image, or one of the built-in samples. PNG, PGM and PPM preserve the stored values for exact inspection in this tool.
1. Open a sample or your depth map
Choose a sample first, or use Choose a depth map. You can also paste an image with Ctrl+V. The image is processed in your browser. Use a PNG, PGM or PPM when checking the original bit precision; JPEG, WebP and BMP are read through the browser at 8 bits per channel.
2. Read the report
Compare the reported bit depth with the distinct levels actually present. An 8-bit channel can hold up to 256 values; a 16-bit channel can hold up to 65,536. Saving an 8-bit image in a 16-bit file does not recover missing height detail. A simple design may legitimately use only a few levels.
3. Preview your engraving passes
Set Passes to the count you plan to use and turn on Show the passes. Compare the terraced preview with the smooth view. Change the exaggeration to inspect small steps, then check the report for passes that add shape versus passes that only deepen a flat recess.
The width and engraving depth set the preview dimensions. Confirm the image’s depth direction and job settings again in your laser software, and test on the intended material.
4. Adjust levels only when needed
If the map uses only part of the available range, open Fix levels. Choose the values that should become full depth and untouched surface, inspect the result and download the 16-bit greyscale PNG. Keep the original file. Stretching or clipping levels changes the relief and cannot recreate detail that was absent.
Troubleshooting
| What you see | What to check |
|---|---|
| A 16-bit file with only 256 levels | Compare it with the original export. A larger file format alone does not add more height detail. |
| Terraces in the pass preview | Compare the pass count and the distinct levels in the source. Raising the pass count cannot create missing source detail. |
| The entire surface is recessed | Check whether the lightest pixels reach white. Only expand the range if those pixels should represent untouched material. |
Next steps and project ideas
Compare the Genuine 16-bit sample with the byte-copied 16-bit sample at the same pass count. Explain why a similar-looking image can produce a different set of height steps.
Was this guide helpful?
More in Workshop and crafts
Keep up with MyLaserTools.
Email me about new tools, product updates, tutorials, and occasional MyLaserTools offers. Unsubscribe at any time.
© 2026 MyLaserTools.com. All rights reserved.