

Making Christmas tree ornaments with the Tree Ornament Generator
Difficulty: easy. Time: 10 minutes design, 15-30 minutes making. Best methods: layered laser-cut plywood and acrylic, multicolor 3D printing.
A tree-shaped ornament with a name across it and a star on top: simple, giftable, endlessly batchable. Type the Ornament Text and pick a Design Type: Single Layer cuts everything from one sheet, Two Layers pairs a Solid Backplate with a cut Text Top, and Three Layers stacks a Frame Backplate, Frame Middle, and Text Layer for shadow-box depth. Sliders cover Tree Size, Star Size, Text Size, Border Thickness, and the Hole Size for the hanging ribbon.

What you need
- Laser cutting: 3 mm laser-grade plywood plus green or glitter acrylic for layered builds
- Assembly: 3M 467 tape or CA glue
- 3D printing: any FDM printer; green tree plus a gold star color swap
- Finishing: ribbon or ornament hooks
1. Name and layers
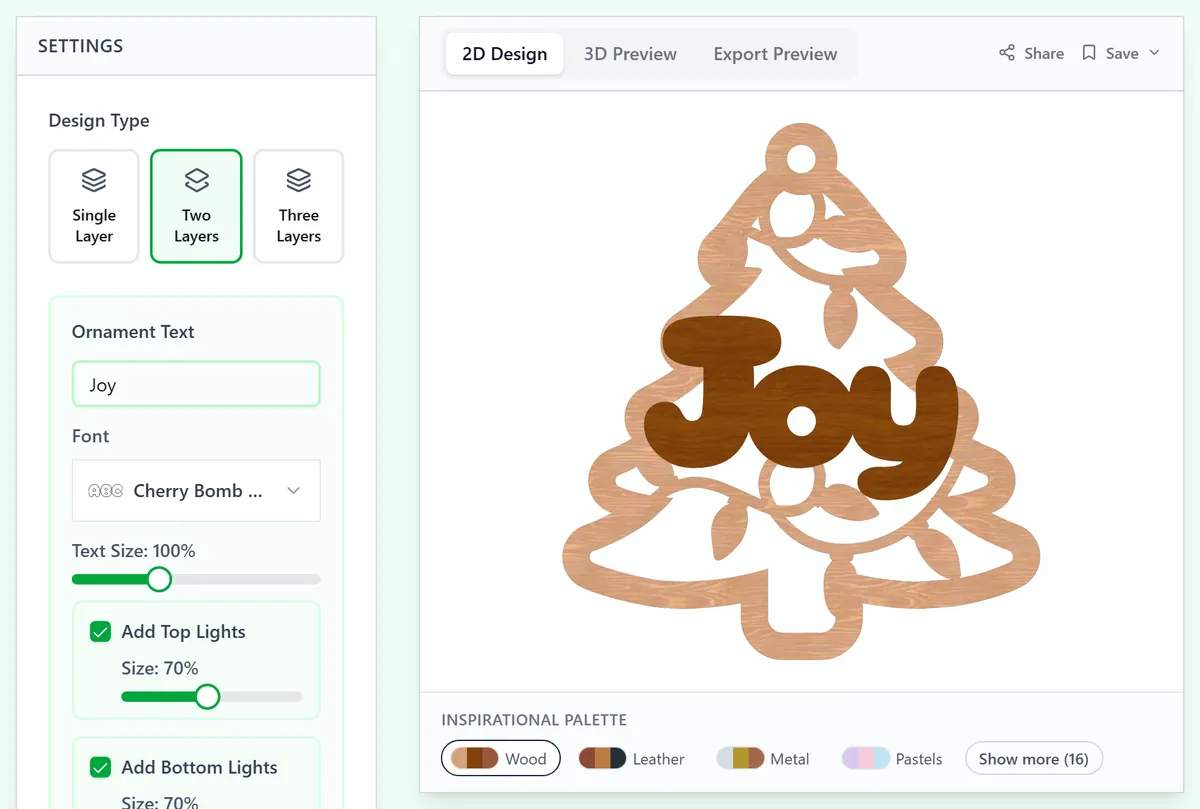
Enter the name and choose the design type. Two layers is the fastest path to a polished ornament: solid backplate in a contrasting color, text-and-tree layer in front. Pick a bold connected font so the name bridges the tree silhouette cleanly.
2. Proportions
- Ornament Size of 80-100 mm suits a full tree; scale Tree Size and Star Size until the star reads as a crown, not a blob.
- Text Size balances against the branches: bigger for short names.
- Set Hole Size to 4 mm+ for ribbon, and keep Border Thickness generous enough that branch tips stay sturdy.
3. Export
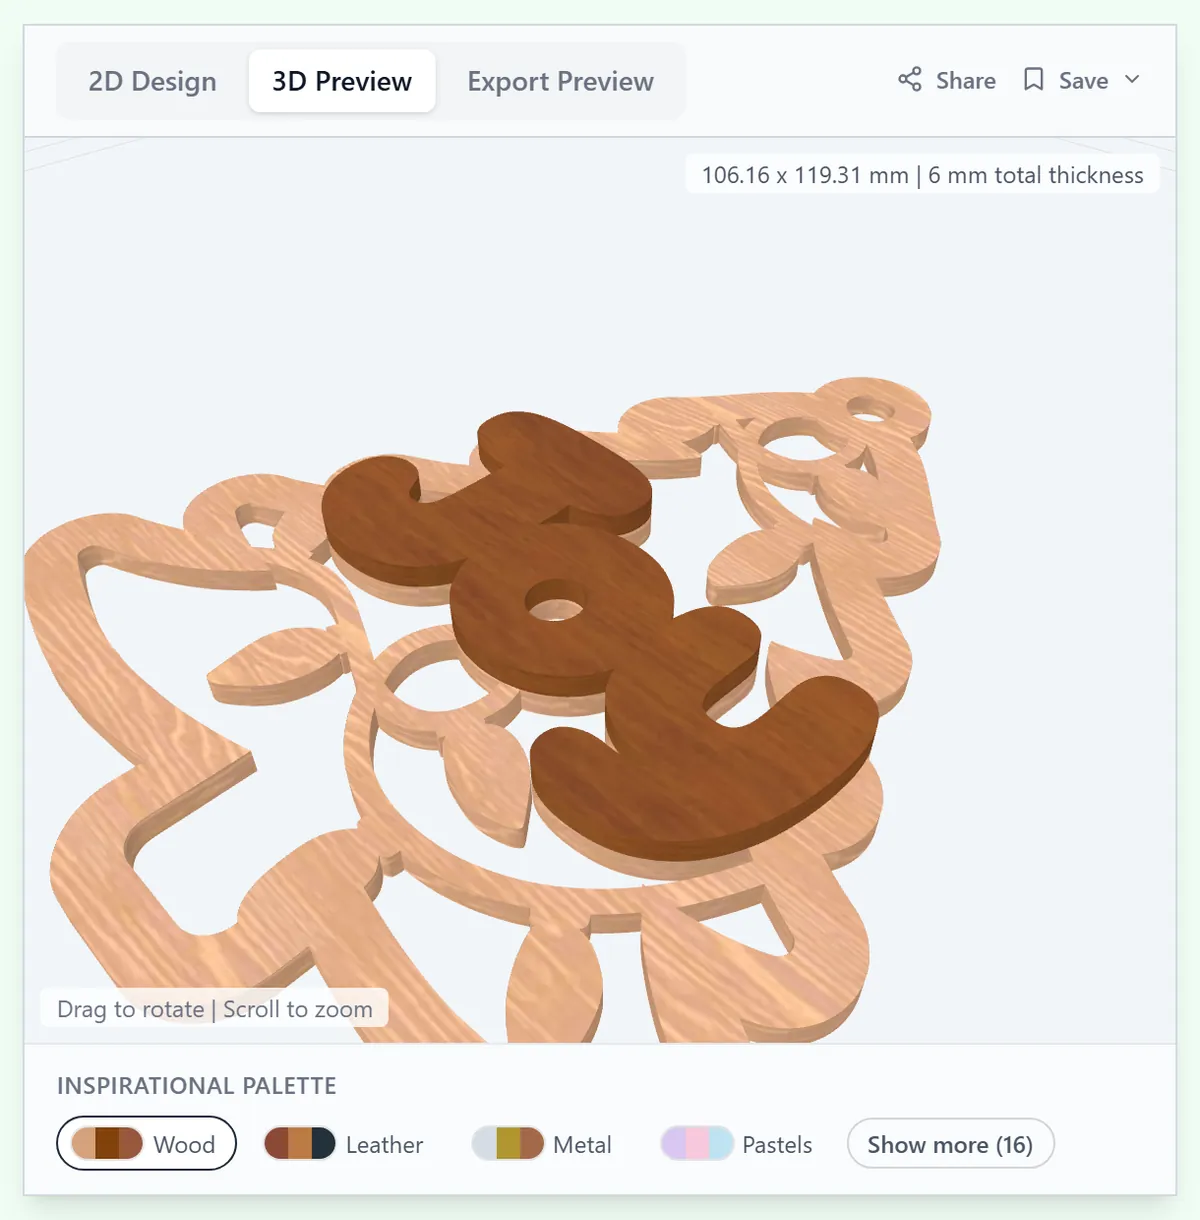
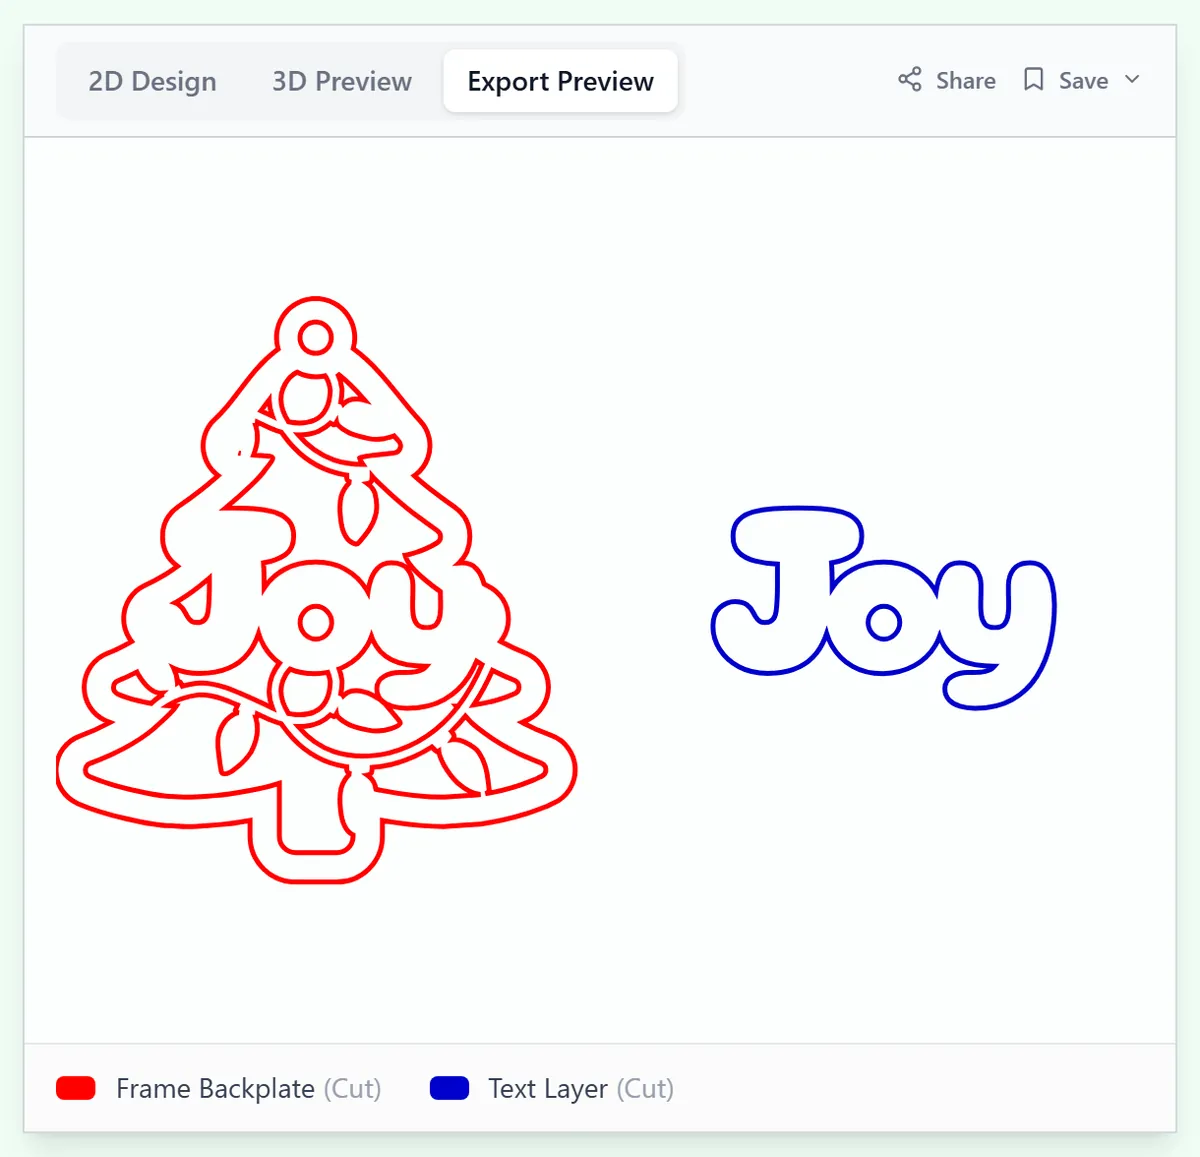
Download the SVG with each layer as a separate path, or STL/3MF for a printed ornament with raised layers.
Choose your build method
Laser Cutting
Laser cutting
- Cut the backplate from glitter or mirror acrylic and the tree layer from plywood or green acrylic.
- Bond layers with 3M tape, aligning the hanger holes first.
- A light engrave pass of the year on the backplate's visible rim dates the keepsake.
- Thread ribbon and hang.
3D Printing
3D printing
- Export the 3MF at 3-4 mm total thickness and print flat.
- Swap to green where the tree layer starts and to gold or white for the raised text and star if your printer supports more swaps.
- A plate of six ornaments prints in an evening: perfect for classroom gift batches.
- Silk green filament catches tree lights beautifully.
Next steps and project ideas
- Family forest: one tree per member, sizes scaled by age, hung as a cluster.
- Walnut tree on a frosted white backplate for Scandinavian-minimal trees.
- Put the year instead of a name and make one every Christmas.
- Glitter gold star layer on an otherwise plain plywood tree: one accent, big effect.
- Teacher and coworker gifts: batch ten with names in one laser session.
- Mini 50 mm versions as gift toppers and wine charms.
- Pair with the Christmas Ornament Generator ball design for a coordinated ornament set.
Take the design into your software
Was this guide helpful?
More in Ornaments


Keep up with MyLaserTools.
Email me about new tools, product updates, tutorials, and occasional MyLaserTools offers. Unsubscribe at any time.
© 2026 MyLaserTools.com. All rights reserved.