

Making a name snowflake ornament
Difficulty: easy. Laser cutting or flat 3D printing.
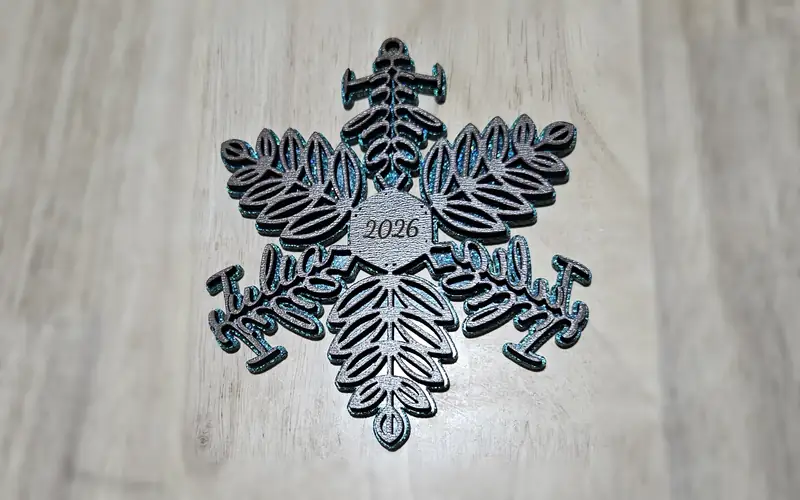
Names form the cut branches of this ornament. Repeat one name or arrange a list around the center, with optional mirrored lettering and a separate backing layer. SVG includes cut, score and engraving paths. STL is one solid; 3MF keeps the backing and front as separate colour parts.
On this page (6)
What you need
- Plywood or acrylic for laser cutting, or filament for printing
- Ribbon or cord for hanging
1. Add names
Enter one name or a list in Names, then choose a Font.
2. Arrange the branches
Set Total branches and Branches with names. Mirror each word reflects the lettering; turn it off to center one name between the decorative branches.
3. Check the connections
Choose a Snowflake style. Adjust Space around center and Stem & connection width, then check the preview.
4. Choose the output
Download SVG for cutting, or STL or 3MF for printing. Under 3D print, set Layer thickness and Groove depth.
Choose your build method
Laser cutting
Prepare the SVG
Score the letter joins and engrave the center before cutting the red outlines. The optional backing is a separate piece; glue it behind the snowflake. Make a small test cut before committing to the full ornament.
3D printing
Print flat
Use STL for one solid or 3MF for separate backing and front colour parts. Print flat without supports. Each layer uses the selected thickness; a backed ornament is twice that thick. The inscription and letter joins are recessed grooves. Check thin details in the slicer before printing.
Next steps and project ideas
Shorter names leave more room for readable lettering. For a dense design, increase the diameter or reduce the number of branches.
Take the design into your software
Was this guide helpful?
More in Ornaments


Keep up with MyLaserTools.
Email me about new tools, product updates, tutorials, and occasional MyLaserTools offers. Unsubscribe at any time.
© 2026 MyLaserTools.com. All rights reserved.