

Make a split monogram ornament
Difficulty: easy. Default size: 100 mm wide. Laser cutting or flat 3D printing.
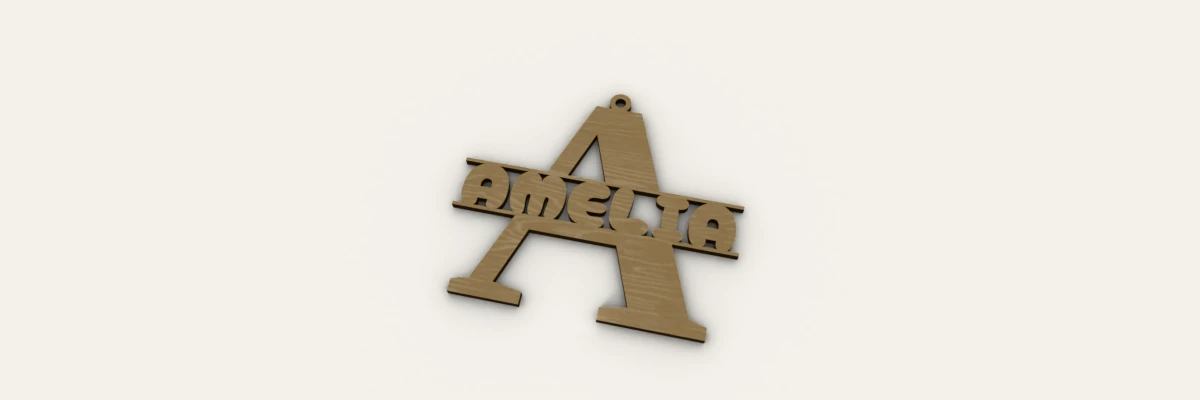
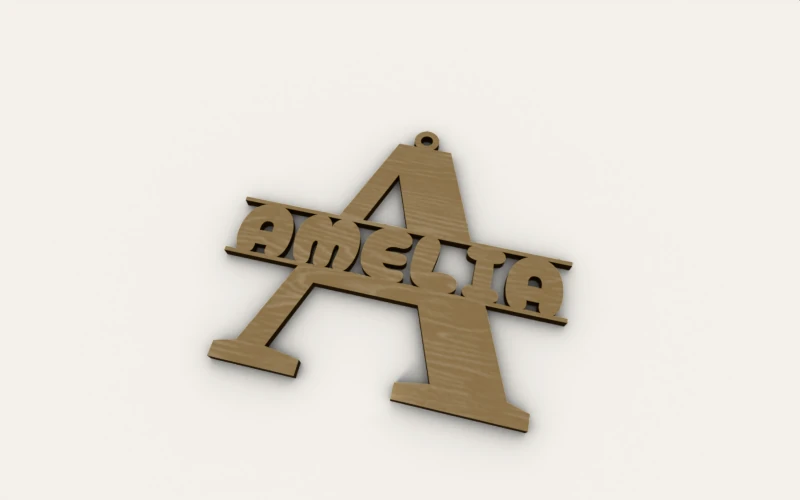
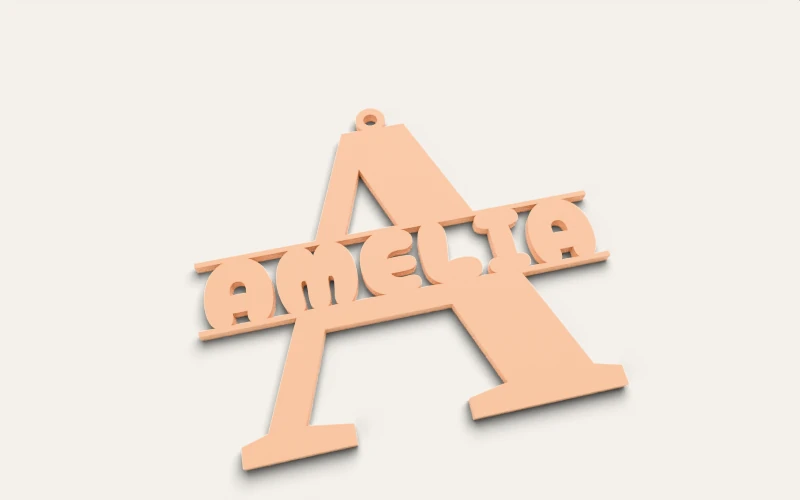
The first letter of your name becomes the large split initial. The full name sits between two bars across its middle.
The hanging-loop style is one cut piece. The snowflake style adds a solid backer behind the monogram, with branches extending around it. The SVG lays the two pieces apart for cutting; the preview shows them assembled.
On this page (6)
What you need
- For laser cutting: 3 mm plywood or suitable acrylic, ribbon, and glue for the two-layer style.
- For 3D printing: filament and a slicer that accepts STL or 3MF.
1. Add the name
Enter Your Name. Choose Letter Font for the large initial and Text Font for the name. Start with a short name and check that the lettering joins the bars.

2. Choose the construction
Under Ornament style, select Hanging loop for one piece or Snowflake backing for two layers. The snowflake is a background layer, not a circular frame. Its silhouette follows the monogram so there is no large empty ring around the name.
3. Set the size and hanger
Set Monogram Width for the full ornament. Adjust Bar Extension, Bar Thickness and Text Size while checking the preview. Under the hanger settings, set Hanging hole diameter for your ribbon and Loop wall thickness for the material around it. The hole keeps its diameter when you change the ornament width.
4. Check the details
Long names, small ornaments and thin fonts can produce fragile strokes. Inspect the export at its final size: keep structural walls at least 1.2 mm, raised text strokes at least 0.8 mm, gaps at least 0.4 mm, and the loop wall at least 1.5 mm. Enlarge the ornament, shorten the name or choose a heavier font if necessary. Check that no letter or decorative island is loose before cutting.
Choose your build method
Laser cutting
Cut and assemble
- Download SVG and import it at its stated millimetre size. Both coloured layers in the snowflake design are cut paths; neither is an engraving layer.
- Cut a small material test first. For the snowflake version, cut both pieces, align the monogram using the assembled preview, and glue it onto the backer. Keep glue away from the hanging hole.
- Let the glue cure, then thread the ribbon through the hole. The single-piece version needs no gluing.
3D printing
Print flat
- Set the thickness in the 3D print section. It applies to each layer: the default is 3 mm for the hanging-loop style and 6 mm total for the two-layer snowflake style.
- Download STL for a single solid mesh or 3MF to retain separate parts and palette colours. For two colours, use the backer colour below the monogram and change filament at the layer boundary, or assign colours to the parts in your slicer.
- Place the flat back on the bed and inspect the sliced paths before printing. No supports are needed for this flat construction. Check that thin lettering produces continuous extrusion paths.
Next steps and project ideas
- Use the snowflake backer in a contrasting material to make the name easier to read.
- Save or share the design settings before making matching ornaments for other names.
Take the design into your software
Was this guide helpful?
More in Ornaments


Keep up with MyLaserTools.
Email me about new tools, product updates, tutorials, and occasional MyLaserTools offers. Unsubscribe at any time.
© 2026 MyLaserTools.com. All rights reserved.