

Making heart ornaments with the Heart Ornament Generator
Difficulty: easy. Time: 10 minutes design, 15-30 minutes making. Best methods: layered laser-cut acrylic, multicolor 3D printing.
A heart with a name (or two) on a ribbon banner across it. Type the Ornament Text, then sculpt the ribbon with Banner Curvature, Banner Height, and Banner Text Size: the text follows the banner's arc across the heart's widest point. Design Type picks the build: Single Layer, Two Layer (a solid Backplate behind a Front with Text), or Three Layer with a separate Frame and Text Layer for shadow-box depth. Letter Spacing Adjustment and Text Offset fine-tune long names, and Thickness sets up the 3D export.

What you need
- Laser cutting: 3 mm acrylic (red, blush, frosted white, mirror gold) or laser-grade plywood
- Assembly: 3M 467 tape or CA glue for layers
- 3D printing: any FDM printer plus a color swap
- Finishing: ribbon or twine
1. Words on the banner
One name, two names joined by an ampersand, or a date: keep it short so the banner stays elegant. Adjust Banner Curvature until the ribbon hugs the heart's curve, and relax tight names with Letter Spacing Adjustment.
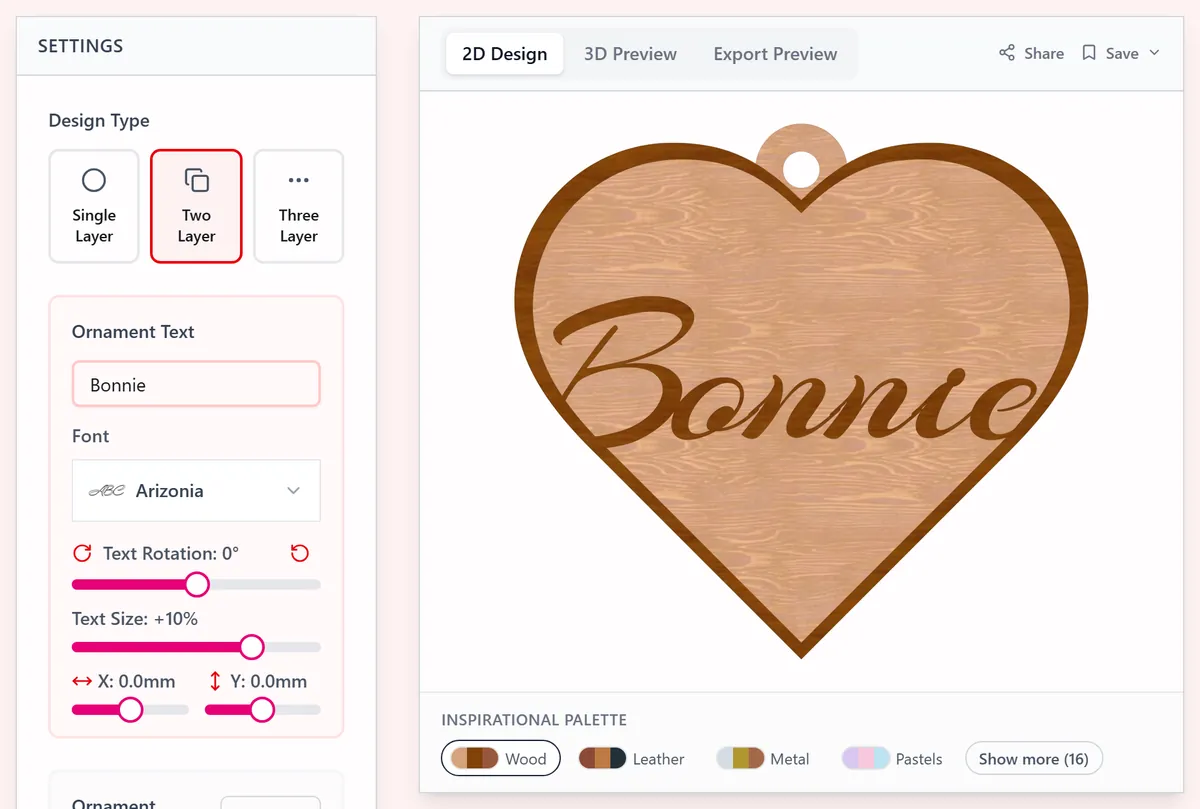
2. Layers and size
- Two-layer with a mirror or glitter backplate behind a solid front is the wedding-favor formula.
- Hearts around 80-100 mm suit trees and wall hooks; 60 mm works for favors and gift toppers.
- Use Text Offset to center the banner visually: hearts are wider above the midline.
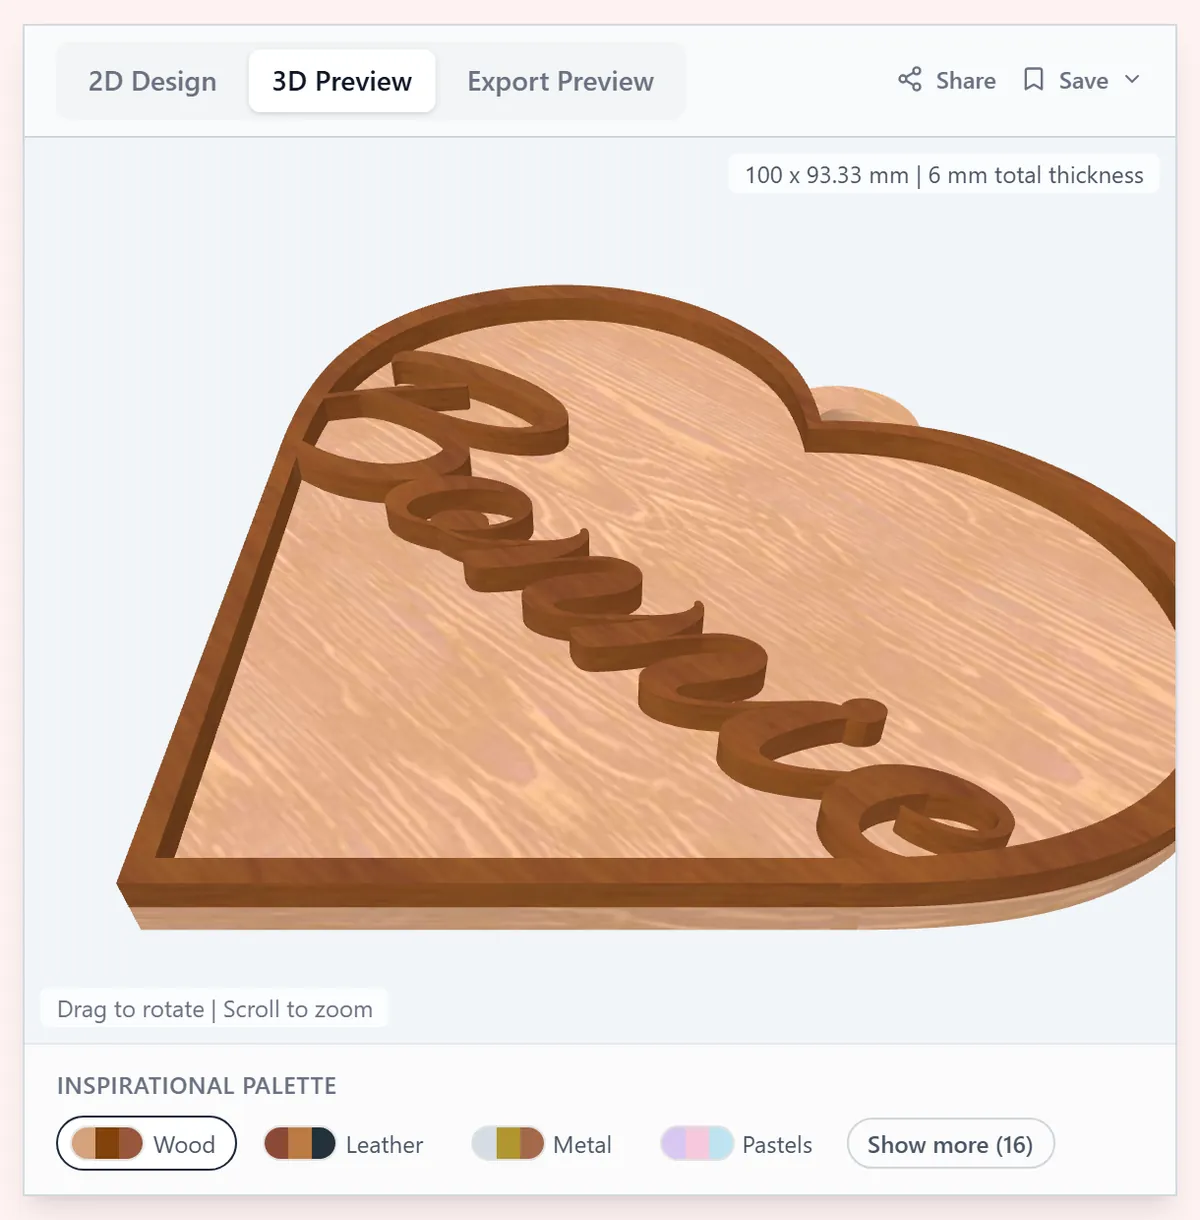
3. Export
Download the SVG with each layer as its own path, or set Thickness and grab the STL/3MF.
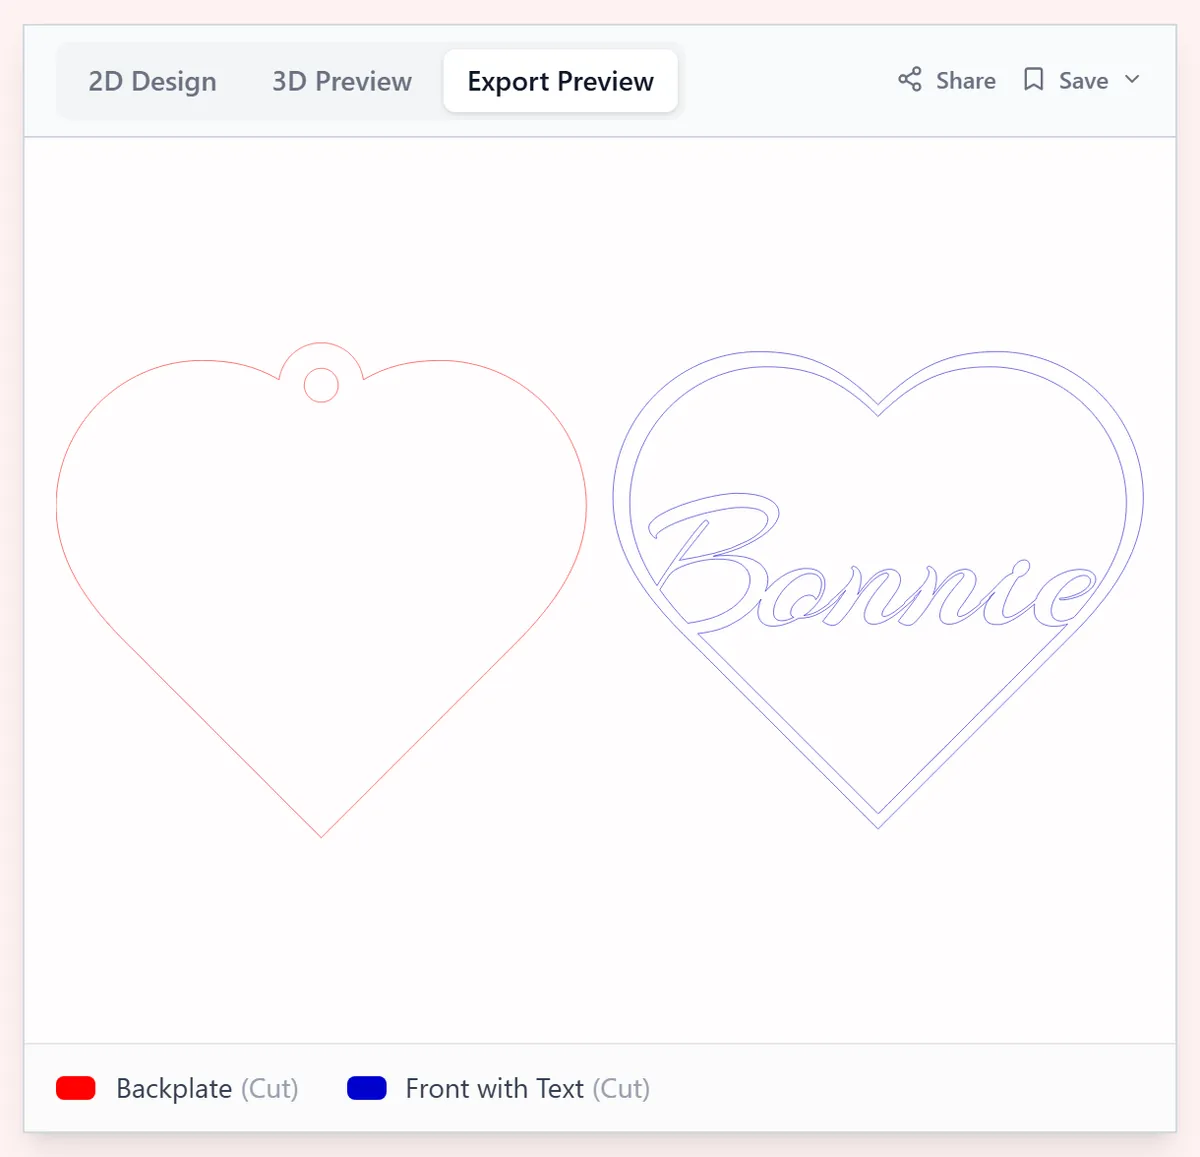
Choose your build method
Laser Cutting
Laser cutting
- Cut the backplate from your accent color and the front from the main color; bond with 3M tape.
- Wedding-favor batches: nest 20 hearts per sheet, swap names in the tool, re-export, repeat.
- On plywood, engraving the banner text instead of cutting it gives a quieter heirloom finish.
- Thread ribbon and tie to the gift, the chair, or the tree.
3D Printing
3D printing
- Export the 3MF at 3 mm thickness, print flat, swap to white at the banner layer.
- Silk red filament makes the Valentine version look glazed.
- A plate of favors prints overnight before the party.
- Glue a small magnet on the back for fridge keepsakes.
Next steps and project ideas
- Wedding favors: the couple's names and date, one heart per place setting.
- Anniversary hearts with the year count: 25 in gold mirror acrylic says it all.
- Valentine class gifts: each kid's name on a small red heart.
- First-home ornament with the family name and move-in year.
- Frosted white heart on a blush backplate for a soft nursery wall hanging.
- Memorial heart with a name and dates in walnut, oiled.
- Pair with the Split Monogram and Heartypify tools for a full Valentine product line.
Take the design into your software
Was this guide helpful?
More in Ornaments

Keep up with MyLaserTools.
Email me about new tools, product updates, tutorials, and occasional MyLaserTools offers. Unsubscribe at any time.
© 2026 MyLaserTools.com. All rights reserved.