

Make a family bell stack ornament
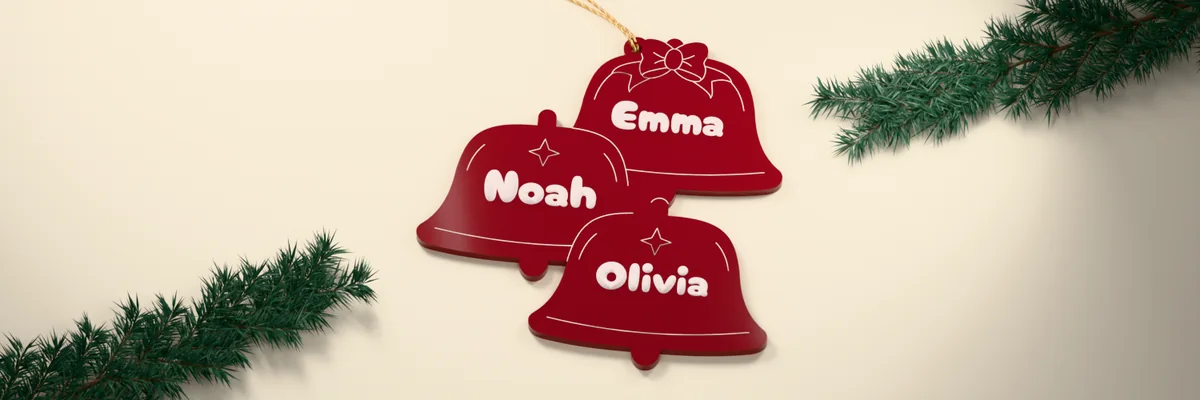
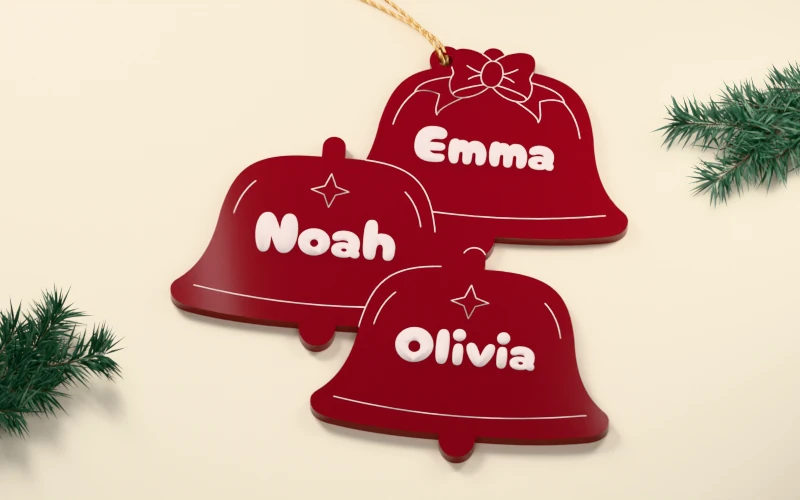
The example shows the default three-bell design in ruby-red acrylic. Emma’s bell has a bow, and a gold cord passes through the ring at its upper edge.
What you need
- A laser cutter and a sheet of red cast acrylic compatible with your machine, or a 3D printer and filament
- Cord that fits through the hanging ring
Arrange the names and ribbons
Enter one name per line in hanging order, starting at the top. Select a font and turn on a ribbon beside each name that needs one. Check the longest name in Preview, since the lettering shrinks to fit its bell.

Size the stack
Adjust bell width and overlap, then check the overall dimensions against your sheet or print bed. Set the ring’s inner diameter to fit your cord.
Choose your build method
Laser cutting
Assign the three operations
Download the SVG at its original size. In Laser Preview, blue marks the names to engrave, teal marks the details to score, and red marks the cuts. Test the engraving and scoring on a scrap of the same acrylic. On the ornament, engrave and score first, cut the ring opening, then cut the outer edge. Thread your cord through the ring.
3D printing
Print with the names facing up
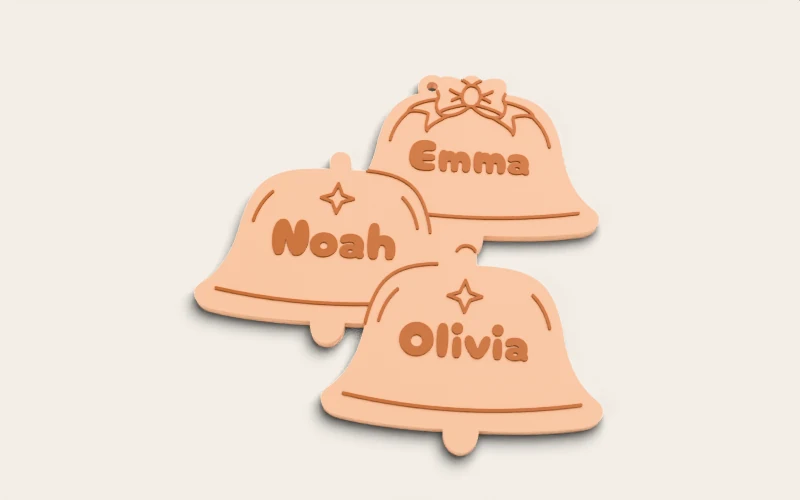
Set the extrusion depth for the base. The names, bows and bell lines rise another 0.6 mm. Download STL for a single solid or 3MF to keep the base and details as separate color parts. Place the flat back on the print bed and check the lettering and ring opening in the sliced preview.
Take the design into your software
Was this guide helpful?
More in Ornaments


Keep up with MyLaserTools.
Email me about new tools, product updates, tutorials, and occasional MyLaserTools offers. Unsubscribe at any time.
© 2026 MyLaserTools.com. All rights reserved.