

Making a layered mahjong tile ornament
Difficulty: easy. Methods: laser cutting and engraving, UV printing or 3D printing.
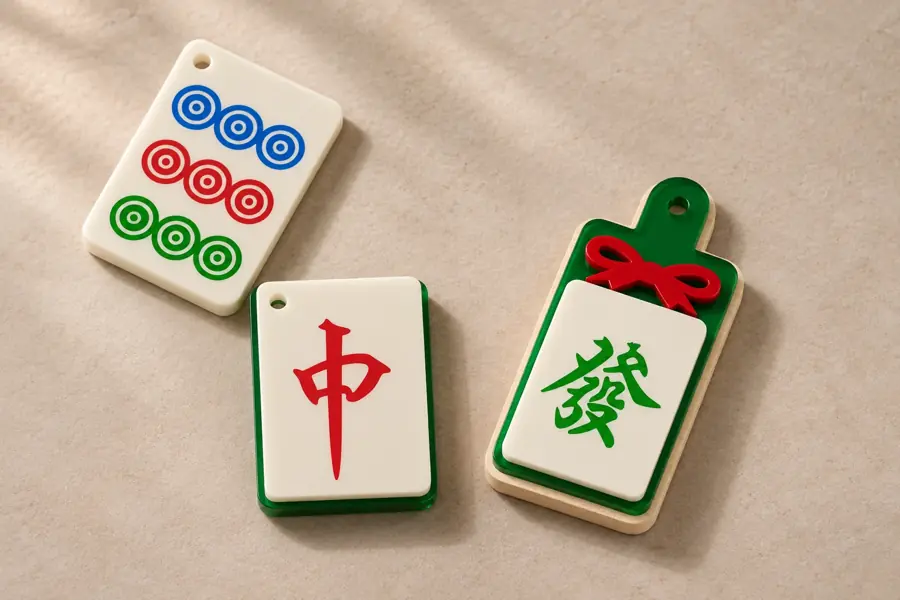
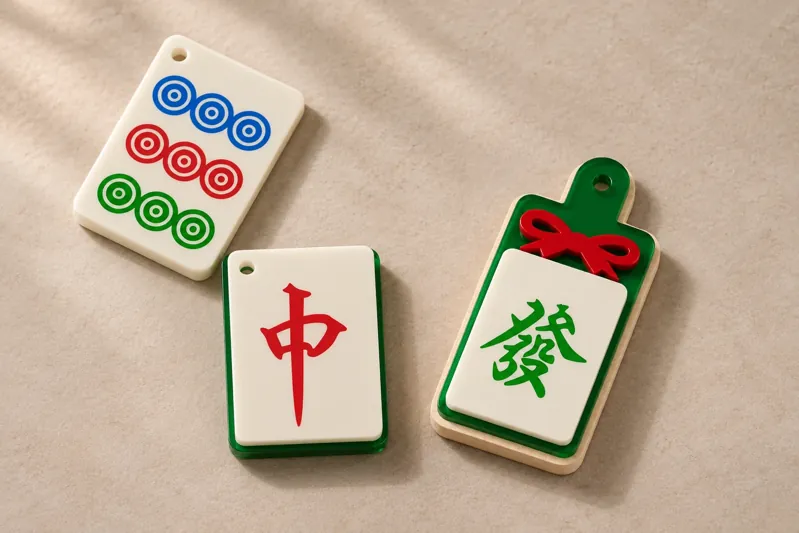
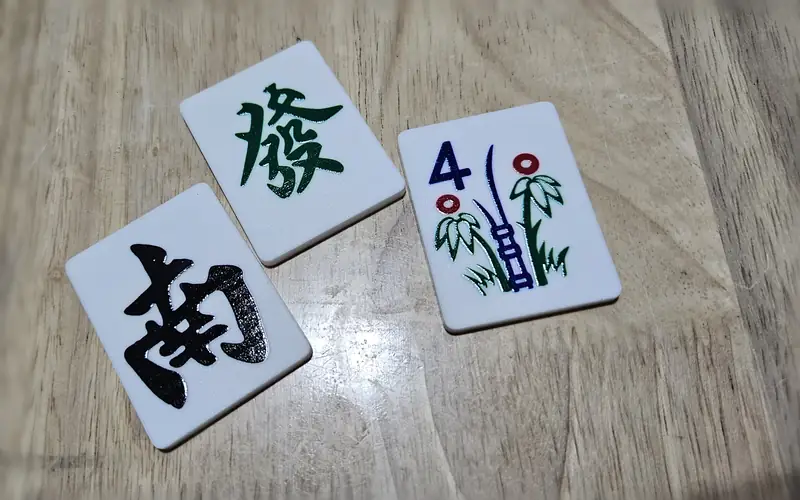
A coloured backing and a smaller face give the two-layer tile its stepped edge. Use one sheet for a simple engraved tile.
On this page (5)
What you need
- Laser-compatible sheet material, such as suitable plywood or acrylic
- Adhesive suitable for your chosen materials
- Cord or a jump ring that fits the hanging hole
- For the printed version: an FDM printer, slicer and filament
1. Choose a tile and construction
Choose an artwork collection and tile. Use the classic style for a tile or keychain, or the Christmas style for a hanging loop and a separate bow with two layers. Select one or two layers.
- One layer: a single tile carrying the artwork.
- Two layers: a coloured back with a smaller face.
2. Set the size and hanging hole
Set the tile width, body height and sheet thickness. Body height excludes the Christmas hanger. Match the hole to your cord or ring, and check the overall dimensions in the preview. With 3 mm sheets, one and two layers produce depths of 3 and 6 mm before adhesive.
3. Check the artwork and download
Inspect the assembled 3D preview and the export layout. Download SVG for the cutting layout, or Download SVG + PNG for a ZIP with that layout and transparent colour artwork in both formats. Import at the original size in millimetres and confirm one dimension before cutting.
Choose your build method
Laser cutting and assembly
4. Engrave, cut and assemble
- Assign red outlines to cutting and blue filled artwork to engraving in your laser software. Test the artwork on a scrap at its final size, then engrave before cutting.
- Dry-fit the pieces. Glue the face onto the back and align the holes on classic tiles. On Christmas ornaments, glue the bow beside the face on the same backing.
- Keep adhesive out of the hanging hole. Let it cure according to its instructions before threading the cord or attaching the ring.
3D printing
4. Print the tile flat
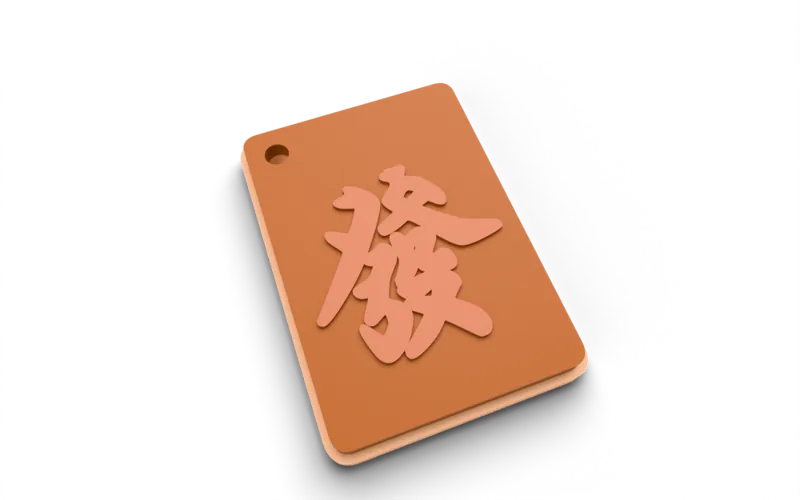
Open 3D print and set Sheet thickness, Motif relief and Relief depth. Raised detail adds height above the face; recessed detail leaves at least 1.2 mm under the groove. Fine motif edges expand by 0.4 mm in the printable model. The laser and UV SVGs retain the original artwork detail.
- Download STL for one solid tile, or 3MF for separate palette-coloured parts. Keep the parts in their assembled positions when importing the 3MF.
- Place the flat back on the print bed. Supports are not needed. Check thin strokes and gaps in the slicer at the chosen size.
- Use filament changes between the stacked layers. The Christmas bow and face share a height, so different colours there require multiple materials or one shared filament colour.
Next steps and project ideas
Choose Download SVG + PNG for UV printing. The ZIP contains all-cut-layers.svg, uv-print-face.svg and uv-print-face.png. The print files contain original-colour artwork on a transparent background without cutting lines. The PNG is 600 dpi and includes its physical print size. Import at 100% scale and confirm the dimensions. Set registration and any white-ink underbase in your print software. Use the cutting layout for the backing, face and bow. Ordinary laser engraving will not reproduce the illustration colours.
Take the design into your software
Was this guide helpful?
More in Ornaments

Keep up with MyLaserTools.
Email me about new tools, product updates, tutorials, and occasional MyLaserTools offers. Unsubscribe at any time.
© 2026 MyLaserTools.com. All rights reserved.