

Making an alpine keepsake with the Glacier Map preset
Difficulty: Beginner (print) to Intermediate (laser) · Time: 20 minutes (print) to 90 minutes (layered laser) · Methods, ranked: 1) High-res print / UV print, 2) two-layer laser build with ice inlaid over the backplate, 3) single-surface engrave with ice and rock as tonal fills.
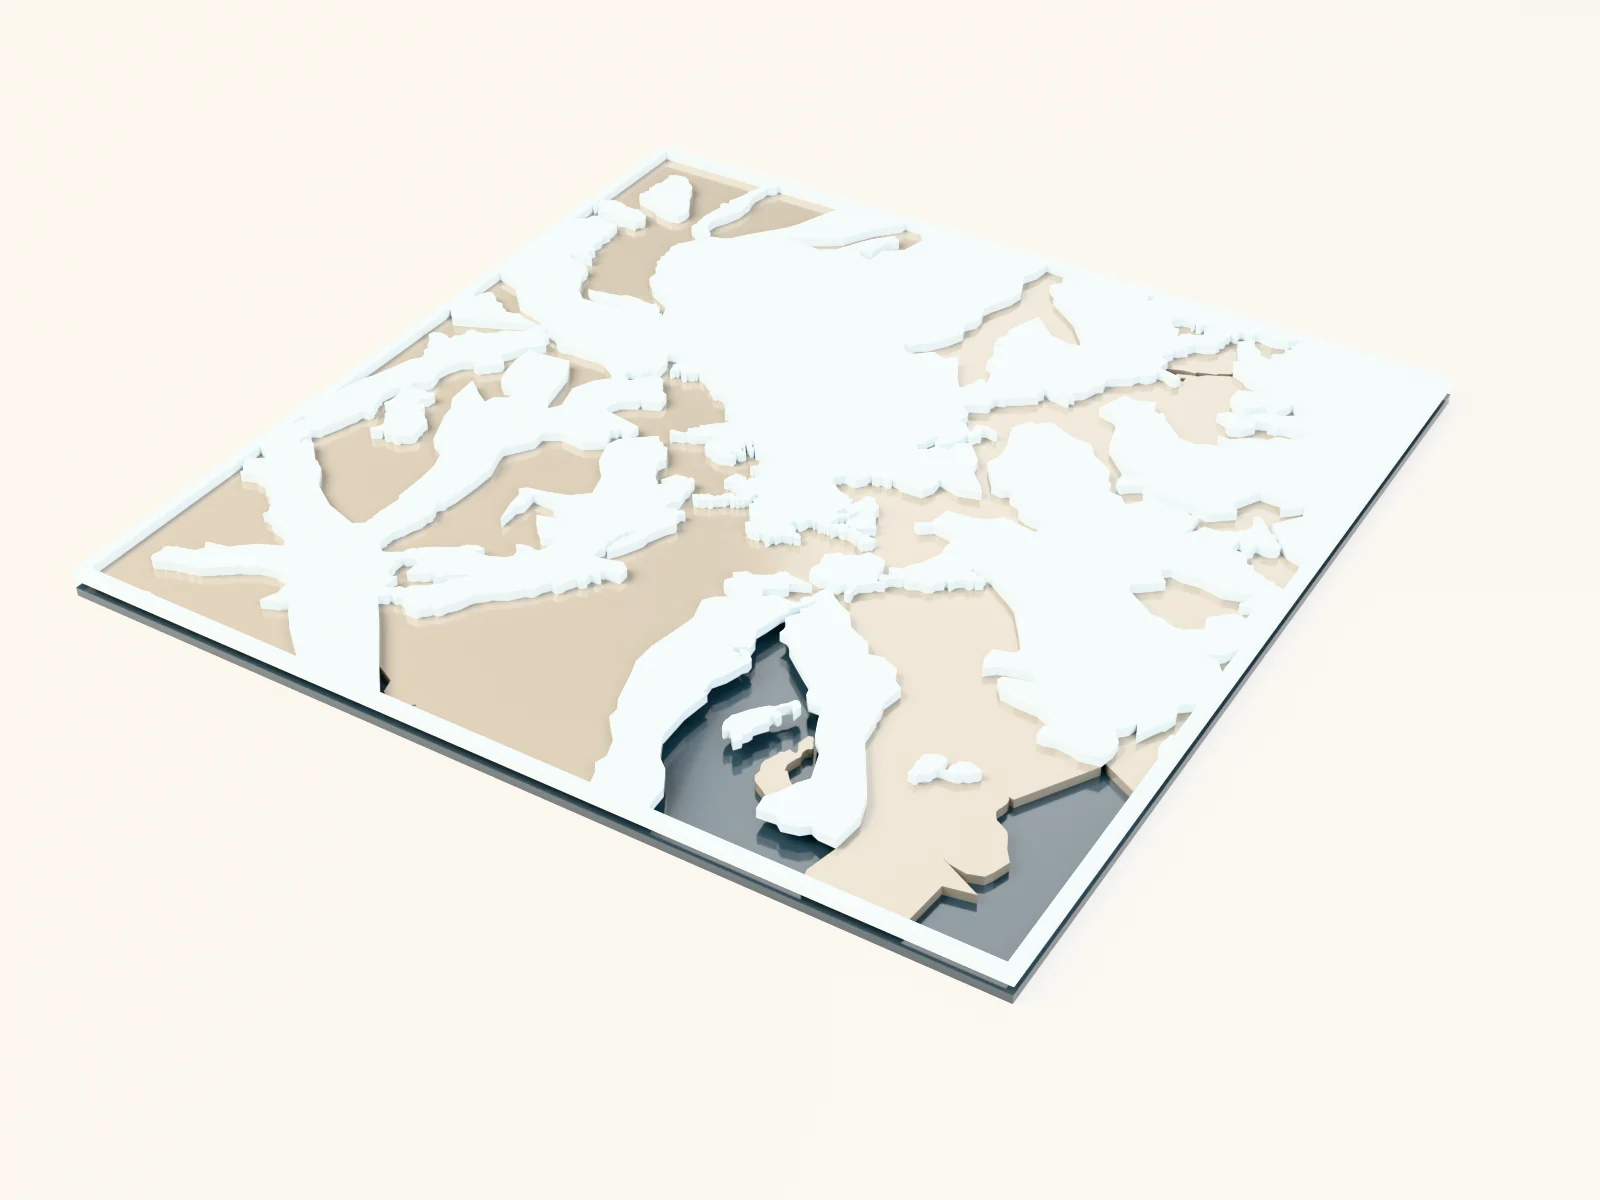
High mountains read beautifully as maps: smooth glacier tongues against bare rock ridges. This preset fills glaciers in pale ice-blue and rock in stone grey over a slate backplate: a clean, graphic alpine portrait. It ships set up on Mont Blanc; search any glaciated peak or icefield (the Rockies, the Alps, the Andes, Alaska) and the ice and rock follow.
On this page (5)
What you need
Print (recommended)
- The exported 4096 px PNG and a frame, or a UV flatbed onto white acrylic for a glacial-blue finish
Laser
- 3 mm Baltic birch plus frosted/pale-blue acrylic for the ice; laser engraver or cutter
1. Center the peak
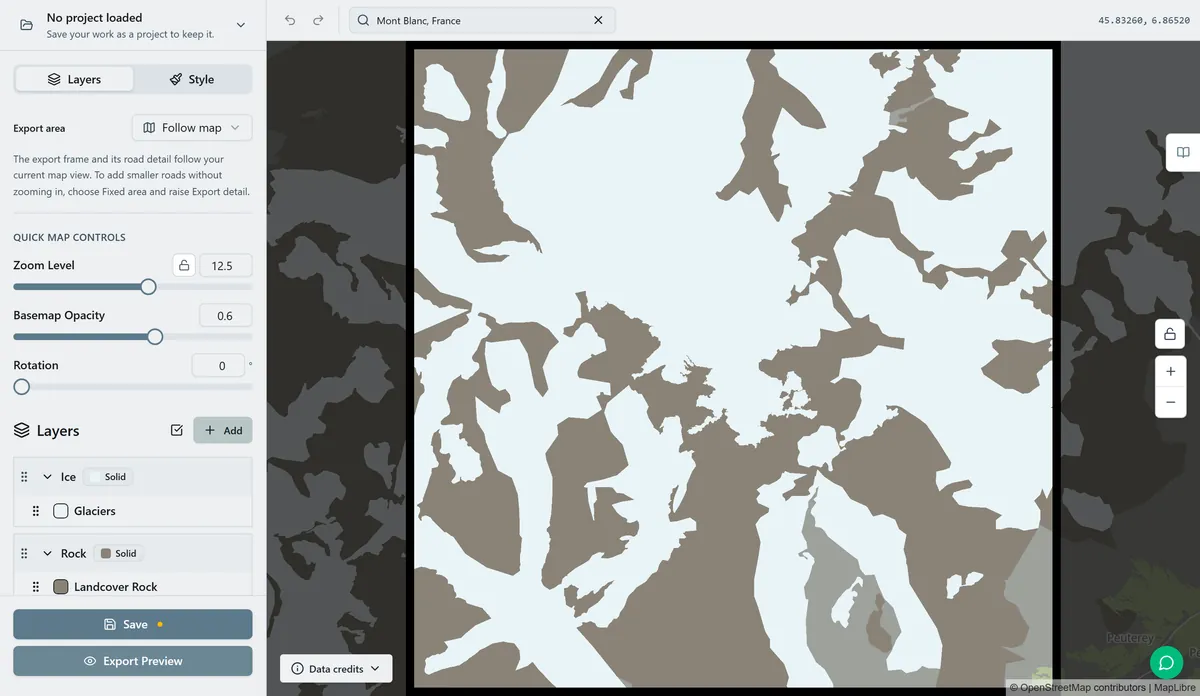
Open the Glacier Map preset. It loads on Mont Blanc at zoom 12.5. Search your peak and center the summit; zoom so the glaciers and surrounding rock fill the frame: the ice forms are the hero, so give them room.
2. Tune the layers
Ice & rock: glaciers as a pale ice-blue (#EAF4F7) fill, bare rock as stone grey (#8A8377), and any tarns as blue water. Push the ice toward white for higher contrast against the slate, or the rock darker for a starker ridge line.
Backplate: slate (#2B3A42) behind everything; it reads as the frame surround in prints and the physical base layer in a build. Shift toward black for a high-altitude, dramatic feel.
3. Export
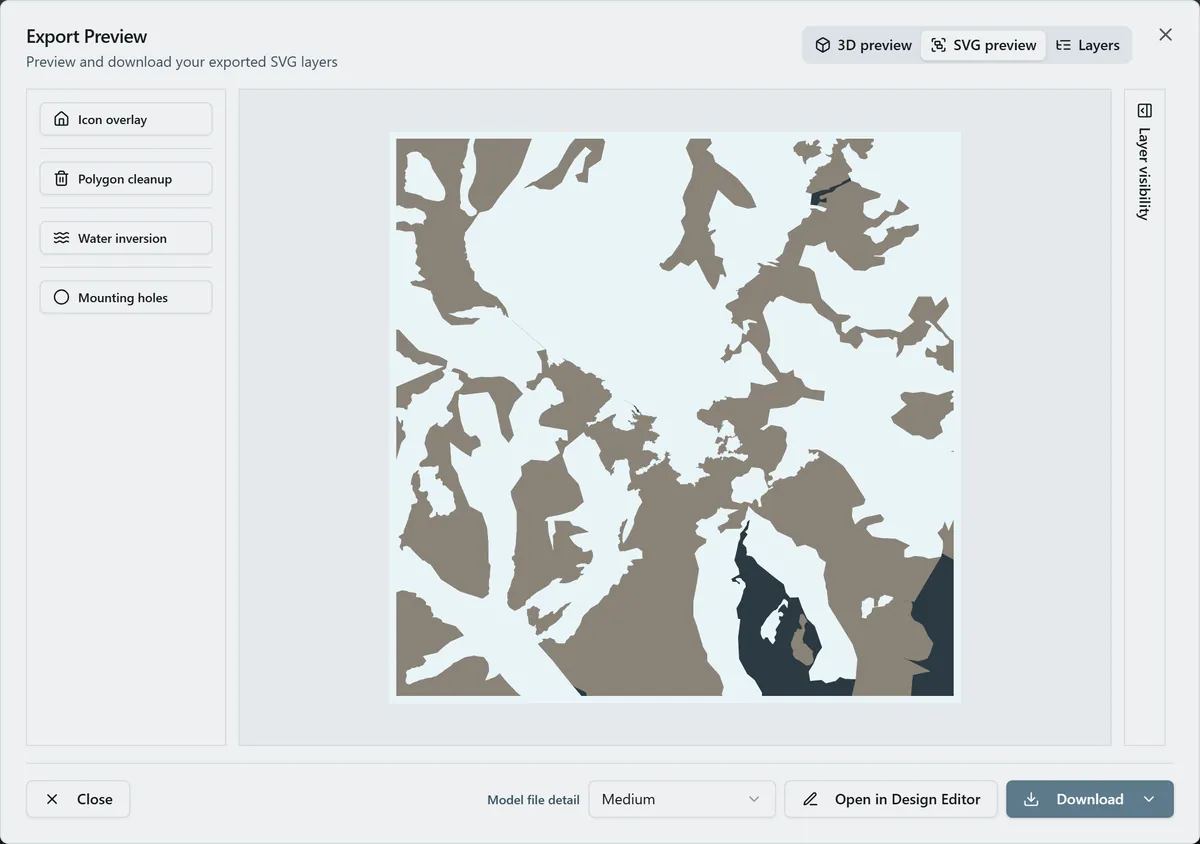
- Print: high-res PNG (4096 px), Background on.
- Laser engrave: combined SVG; ice and rock map to two tonal passes.
- Two-layer build: export the Ice & rock SVG and cut the ice from frosted acrylic to inlay over the backplate base.
- Small-polygon cleanup on so thin glacier slivers don't become fragile pieces.
Choose your build method
UV & Sublimation Printing
Framed alpine print
- Export the PNG and print at 250 to 300 mm on matte paper.
- Caption with the peak name, elevation, and summit date for a climber's keepsake.
- UV variant: print on white acrylic for a crisp, glacial-blue finish.
Laser Cutting & Engraving
Engrave or inlay the ice
- Engrave the ice and rock shapes onto slate-stained birch in two tonal passes for a flat portrait.
- Or cut the backplate from slate-stained ply and inlay the glaciers, cut from frosted acrylic, on top for a literal icy sheen: 3M tape makes a clean bond.
- Finish with matte spray; engrave the peak name and summit elevation on the base.
Next steps and project ideas
- Summit gift: the peak someone climbed, with the date and elevation engraved on the base.
- Icefield portrait: zoom out for a whole glacier system rather than a single summit.
- Seven-summits series: matching pieces, one per peak.
- Frosted inlay: cut the glaciers from frosted acrylic set into dark wood for a cold, premium look.
Take the design into your software
Was this guide helpful?
More in Map Designer
Keep up with MyLaserTools.
Email me about new tools, product updates, tutorials, and occasional MyLaserTools offers. Unsubscribe at any time.
© 2026 MyLaserTools.com. All rights reserved.