

Making heart-filled text with the Fancy Text Generator
Difficulty: easy. Time: 5 to 15 minutes of design, plus machine time. Best methods, in order: laser cutting, 3D printing, vinyl cutting.
Heartypify takes a word and weaves hearts into it: counters, gaps, and openings in the letters become little heart cutouts and accents. The output is one merged design, so it cuts as a single piece and reads instantly as a love-themed keepsake.
It shines for Valentine's Day, weddings, anniversaries, and Mother's Day: names, MAMA signs, couple monikers, and gift toppers. Export SVG for cutting or STL/3MF to print the word as a chunky 3D piece.

On this page (6)
What you need
- Laser cutting: laser cutter, 3 mm laser-grade plywood or pink/red acrylic
- 3D printing: any FDM printer; red, pink, or silk filament suits the theme
- Vinyl cutting: Cricut or similar, adhesive or heat-transfer vinyl, transfer tape
1. Type your word
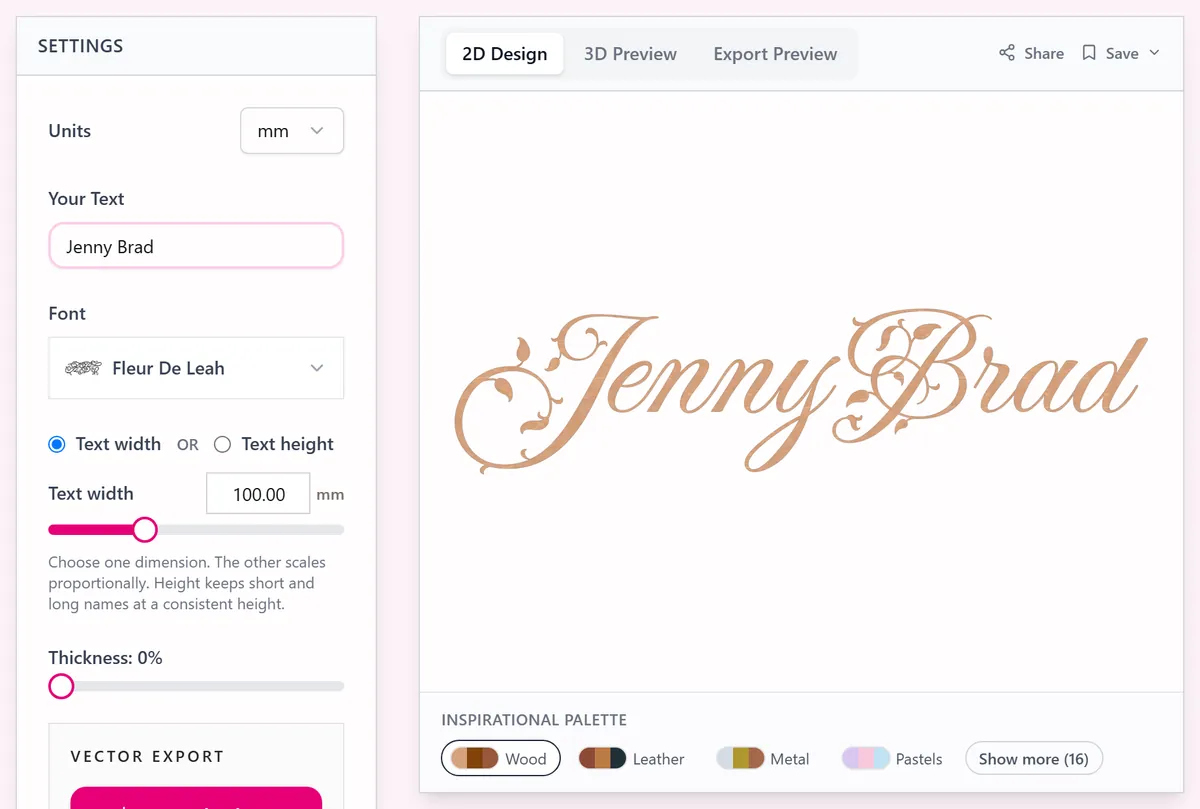
Open the tool and enter a name or short word in Your Text. Pick a Font; rounded, chunky faces leave the most room for hearts to nest into the letters. The preview updates live as the hearts are placed.
2. Balance hearts and letters
- Heart Size scales the hearts relative to the letters. Bigger hearts read from across the room; smaller hearts keep the text primary.
- Text Width sets the finished size in real units via the Units toggle.
- Short words work best; one to eight characters keeps every heart visible and the piece structurally sound.
3. Export
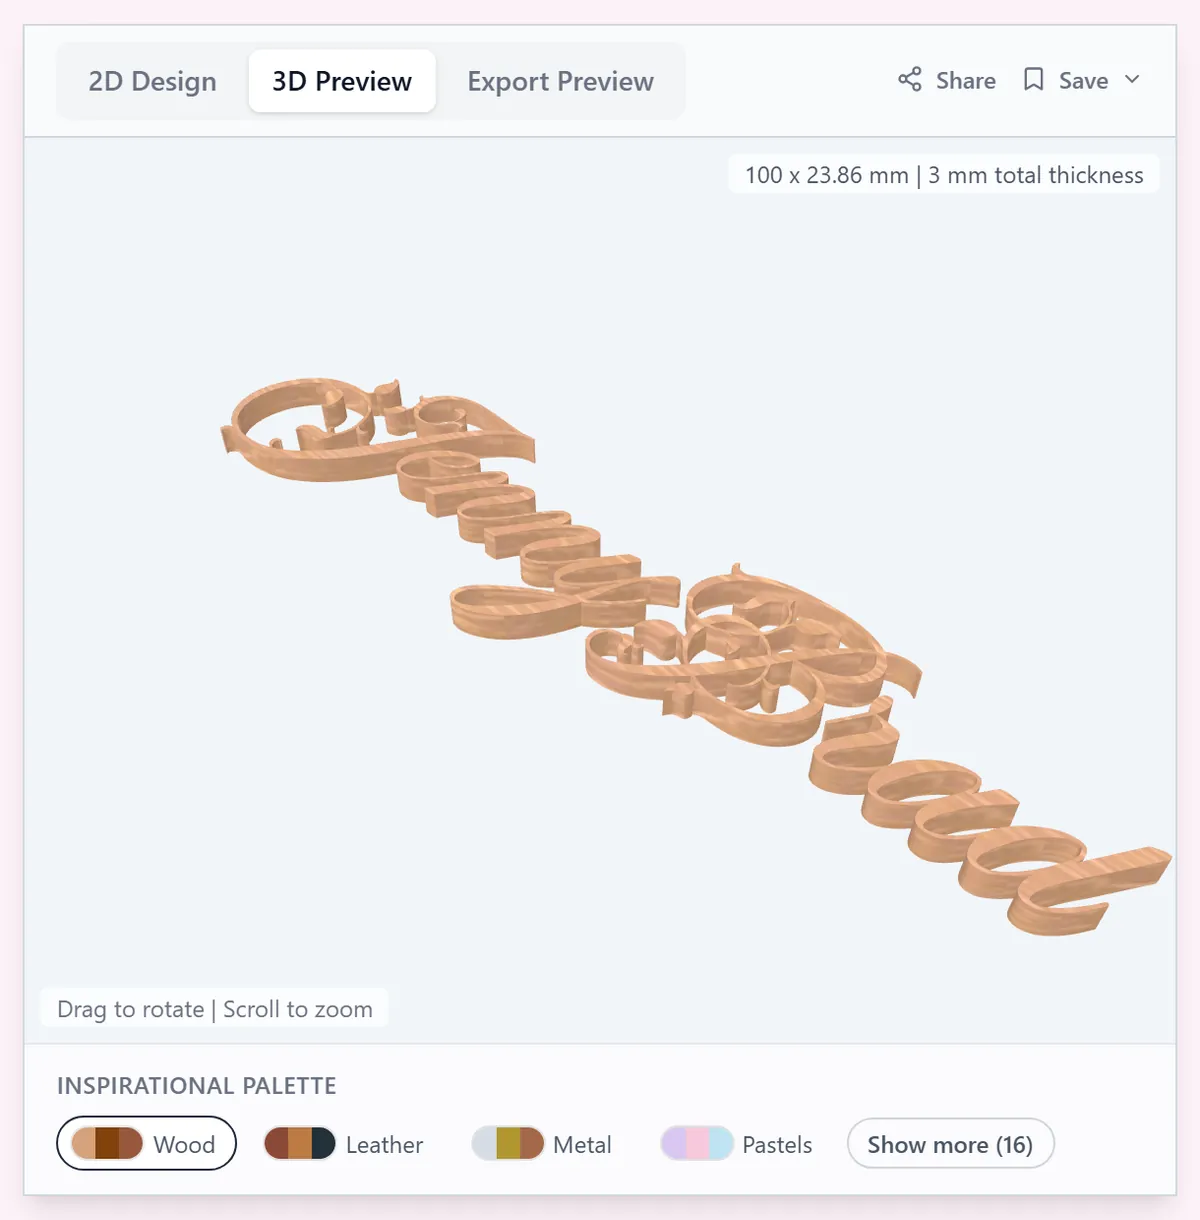
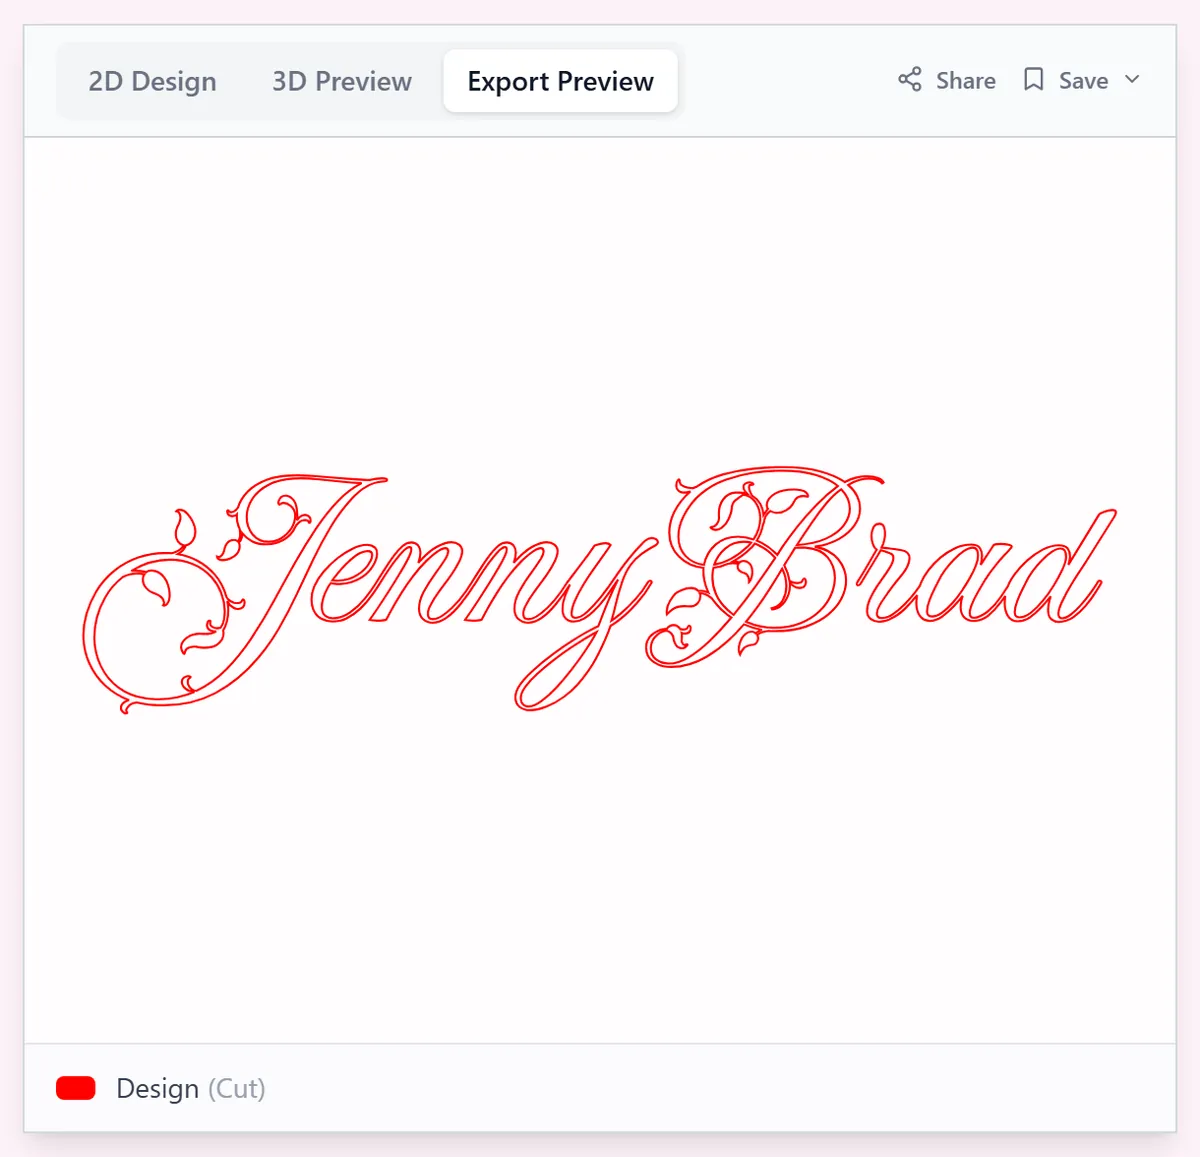
Download an SVG for laser or vinyl cutting, or an STL/3MF at your chosen depth for 3D printing. Everything exports as one merged shape.
Choose your build method
Laser Cutting
Cutting the design
- Import the SVG and size-check against your sheet.
- Cut from 3 mm plywood or cast acrylic; the heart cutouts become charming negative space, so a contrasting backer makes them pop.
- Mask wood to keep the heart openings crisp and soot-free.
- Glue red card stock or acrylic behind the piece so every heart cutout glows in color.
- Add a small hole in your laser software if you want to hang it as an ornament.
3D Printing
Printing the word
- Pick an extrusion depth before exporting; 5 to 8 mm makes a free-standing shelf word.
- Slice the 3MF flat on the bed with a smooth plate for a glossy face.
- Silk red or pink PLA sells the valentine look without any painting.
- For two colors, pause and swap filament a few layers from the top so the face contrasts with the body.
- Print small versions at 2 mm as glue-on card and gift-box decorations.
Vinyl Cutting
Cutting a decal
- Import the SVG into your cutter software; the design is one shape, so no welding needed.
- Keep the decal at 100 mm wide or larger so the small heart details weed cleanly.
- Weed the background and the heart cutouts, then apply with transfer tape.
- Use heat-transfer vinyl (mirrored before cutting) for Valentine shirts and tote bags.
Next steps and project ideas
- Cut MAMA with heart accents for a Mother's Day gift that needs no explanation.
- Make matching couple names for an anniversary shelf display.
- Cut mini versions as Valentine gift tags with a ribbon hole.
- Layer the word in pink acrylic over a white heart backer plate.
- Print the word in glow-in-the-dark filament for a kid's nightstand.
- Add a heat-transfer vinyl version to a tote for a galentine gift bag.
- Cut a classroom set of student names for Valentine's desk decorations.
- Combine with the Stir Stick Generator for a full Valentine party set.
Take the design into your software
- How to use MyLaserTools with LightBurn
- Use MyLaserTools in xTool Studio: SVG cutting and CO₂ engraving
- 3D print MyLaserTools models: Bambu, Snapmaker, PrusaSlicer and Cura
- Cut vinyl and Print Then Cut MyLaserTools designs in Cricut Design Space
- Print and cut MyLaserTools designs in Silhouette Studio
- Browse all software guides
Was this guide helpful?
More in Text and lettering
Keep up with MyLaserTools.
Email me about new tools, product updates, tutorials, and occasional MyLaserTools offers. Unsubscribe at any time.
© 2026 MyLaserTools.com. All rights reserved.