

Printing a frame for an instant photo or print with the 3D Photo Frame Generator
Difficulty: easy. Time: 5 minutes to set up, one to three hours to print. Best method: 3D printing in PLA, one or two colours.
Every size knows its real dimensions, and Instax frames open exactly over the picture area of the film, not the white border. Window overlap sets how far the frame covers the edge of the photo, so it stays put without hiding the picture.
The frame prints face down in four short layers: the front with its window, a pocket for the photo, a groove for the back plate and a lip that holds it in. The back slides in from the top or the side.

On this page (4)
What you need
- The photo or instant print
- A 3D printer and PLA in one or two colours
- For Magnets: round magnets, measured with calipers
- For Wall: a nail or a small screw
1. Pick the photo and the design
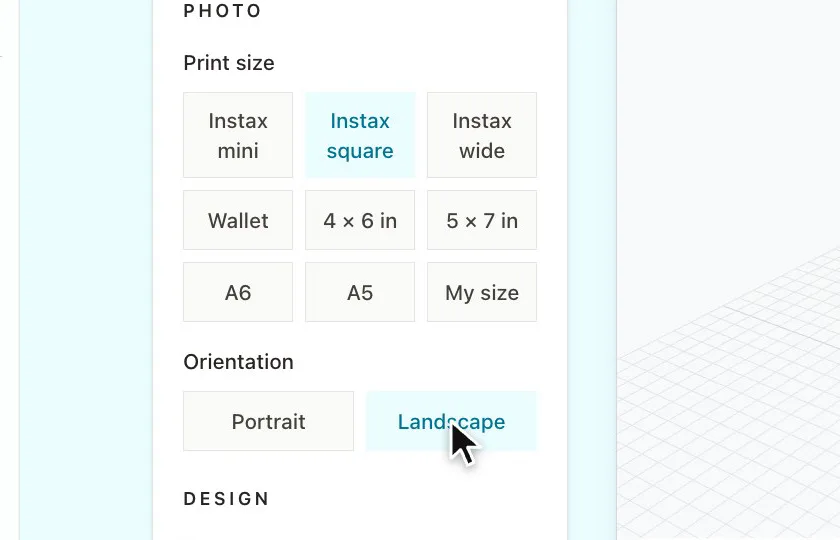
Choose the Photo size, or My size to type your own, and the Orientation. Then pick a Design. Song adds a song title over a player bar, and Post frames the photo like a social media post with a profile name and a caption.
2. Add words and a pattern
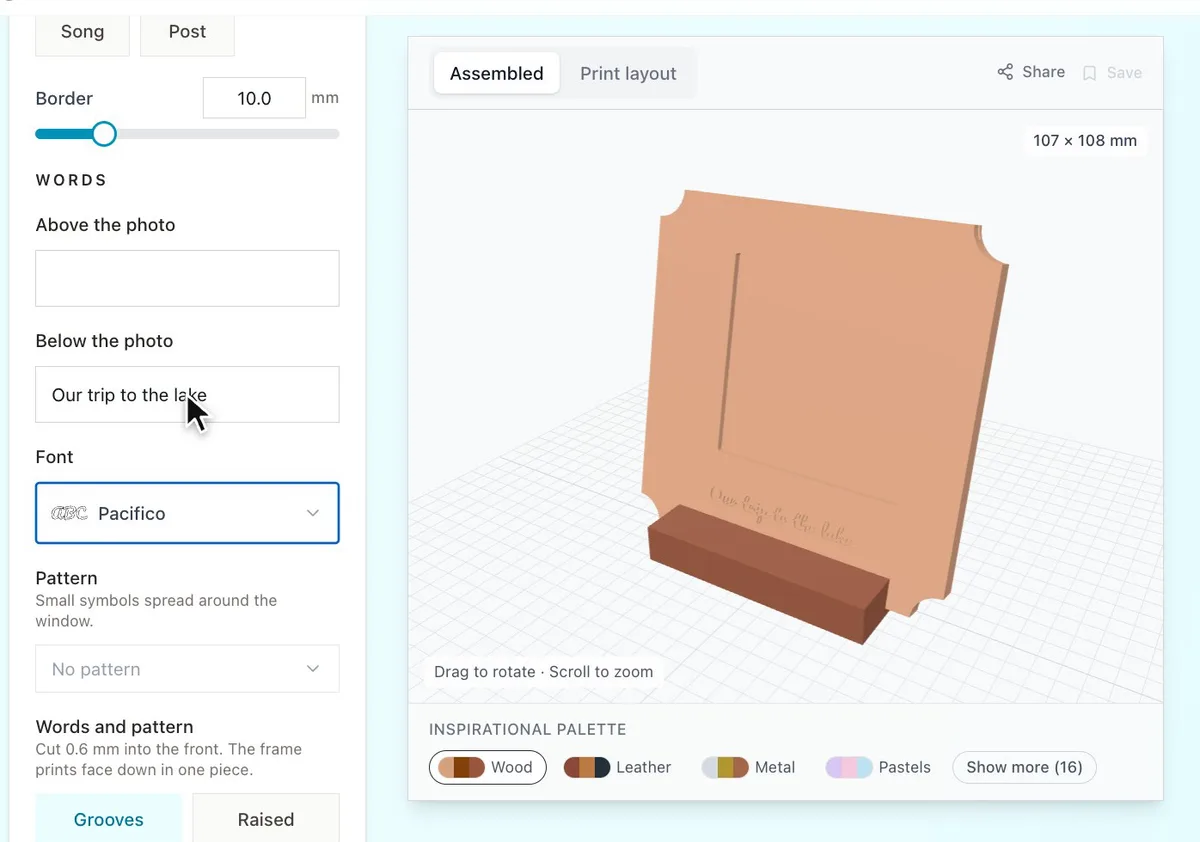
- Type Words Above the photo or Below the photo. Under Words and pattern, pick Grooves to cut them into the front or Raised to make them stand out.
- Pick a Pattern to spread small symbols around the window.
- Set the Border width to give the words more room.
3. Choose how it stands
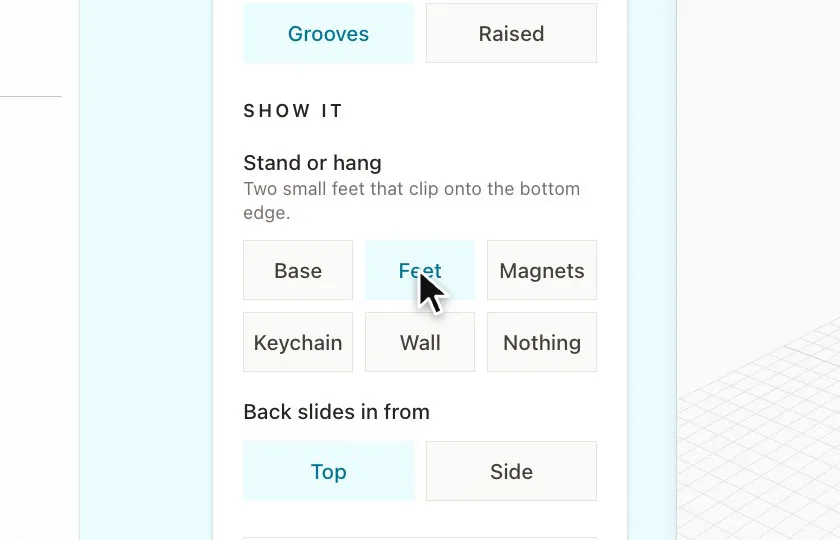
- Base: a separate base with an angled slot the frame stands in.
- Feet: two small feet that clip onto the bottom edge.
- Magnets: cups on the back for round fridge magnets. Set the diameter and thickness to your magnets.
- Keychain: a loop on the top edge, best for small prints.
- Wall: a keyhole in the back for a nail or screw.
Choose your build method
3D printing
Print and assemble
- Open the Print layout tab above the preview to see every part on the bed.
- Download the 3MF to keep the frame and back colours. The STL comes as a zip with one file per part.
- Print the frame face down with no supports.
- Drop the photo into the pocket face down, then slide the back plate in from the top or side.
- Stand it in the base, clip on the feet or press in the magnets.
Next steps and project ideas
- Print a Keychain frame for an Instax mini as a gift from a wedding or a trip.
- Use Song with your first dance and the date below it.
- Try the Inspirational Palette under the preview to pick frame and back colours.
Take the design into your software
Was this guide helpful?
More in Photo tools


Keep up with MyLaserTools.
Email me about new tools, product updates, tutorials, and occasional MyLaserTools offers. Unsubscribe at any time.
© 2026 MyLaserTools.com. All rights reserved.