

Making party stir sticks with the Stir Stick Generator
Difficulty: easy. Time: 10 minutes of design, then batch cutting. Best methods, in order: laser cutting, 3D printing.
Make a name, short greeting or date joined to a slim decorative stick. This guide covers connecting the letters, checking the stem and exporting a small test batch.
Because each stick is small, a single sheet yields dozens; they are a favourite for weddings, milestone birthdays, bachelorettes, and craft-market seasonal packs.

What you need
- Laser cutting: a laser and 3 mm cast acrylic. Cast acrylic washes well and is the usual choice for sticks that go in a drink. Mirror and glitter acrylic look great, and laser-grade plywood makes a drink marker that sits on the rim.
- 3D printing: any FDM printer and PETG or PLA, for sticks used as drink markers
1. Type your word
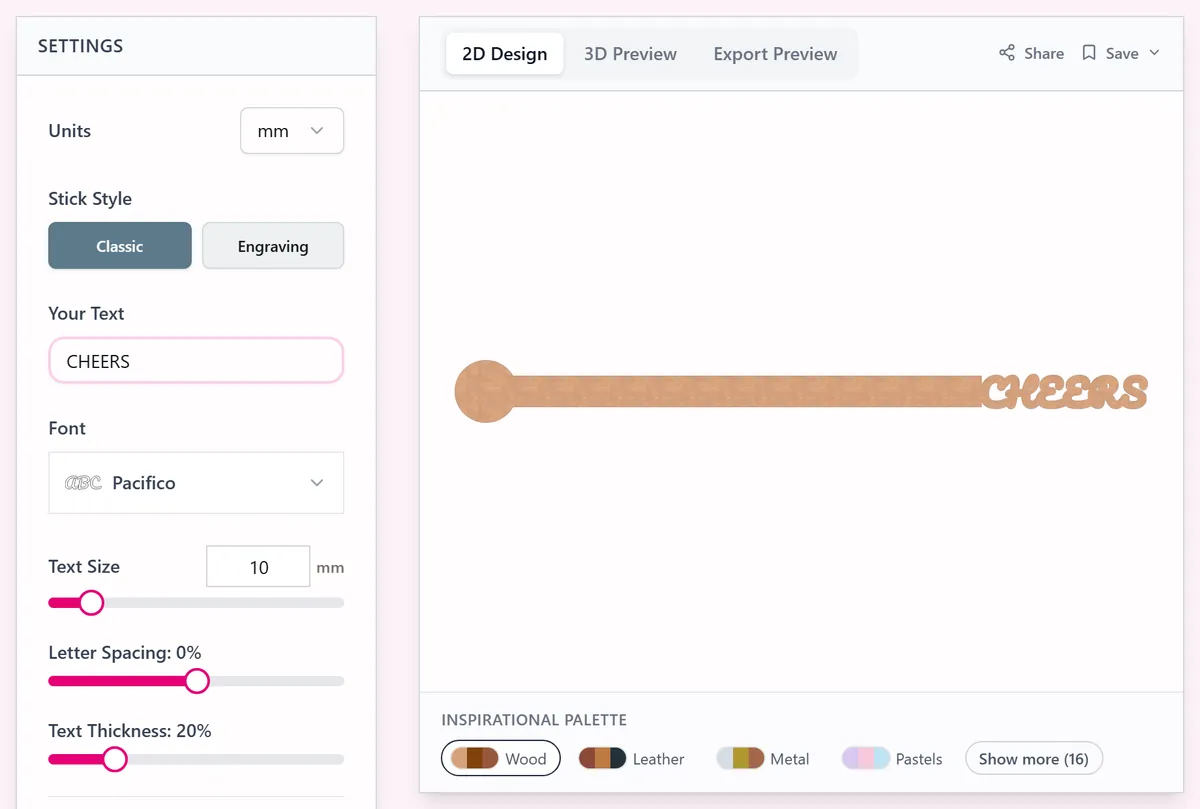
Open the tool and enter the word in Your Text: a name, "cheers", "bride", a date. Script fonts connect into one piece; keep it short so the header does not overbalance the stick.
2. Shape the stick
- Text Size scales the word. Text Thickness makes the strokes thicker so fine script survives stirring.
- Letter Spacing tightens the connections between letters.
- Stick Length should beat your tallest glass; 150 to 180 mm covers highballs, 120 mm suits coupes.
- Stick Width of 4 to 6 mm looks slim and still does not snap in 3 mm acrylic.
- Round End Size shapes the paddle foot that does the actual stirring.
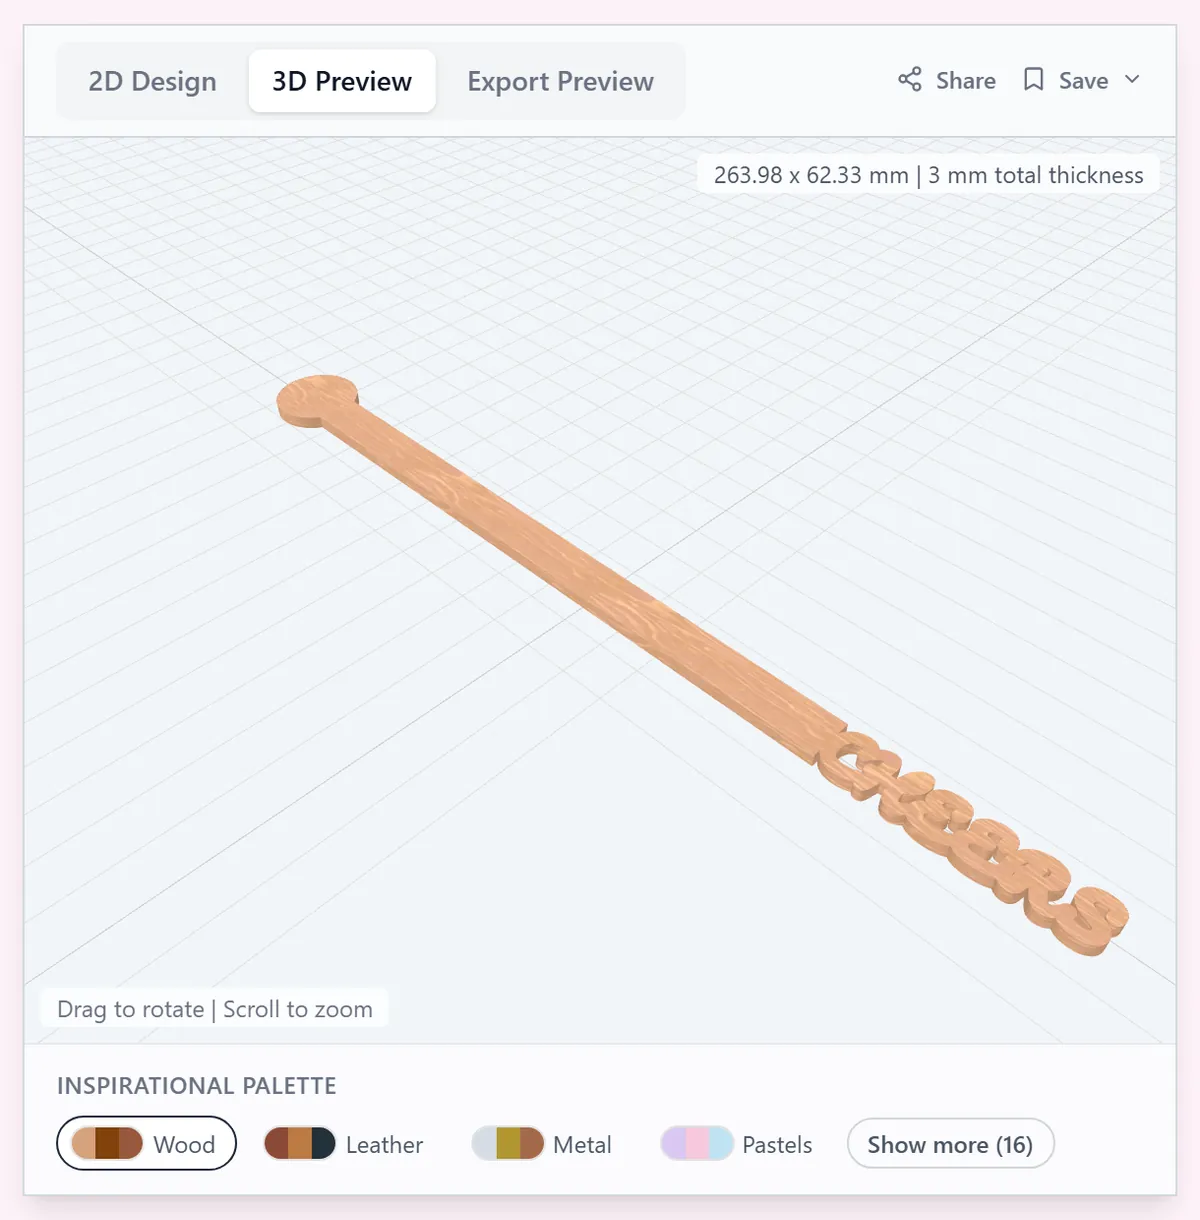
3. Download
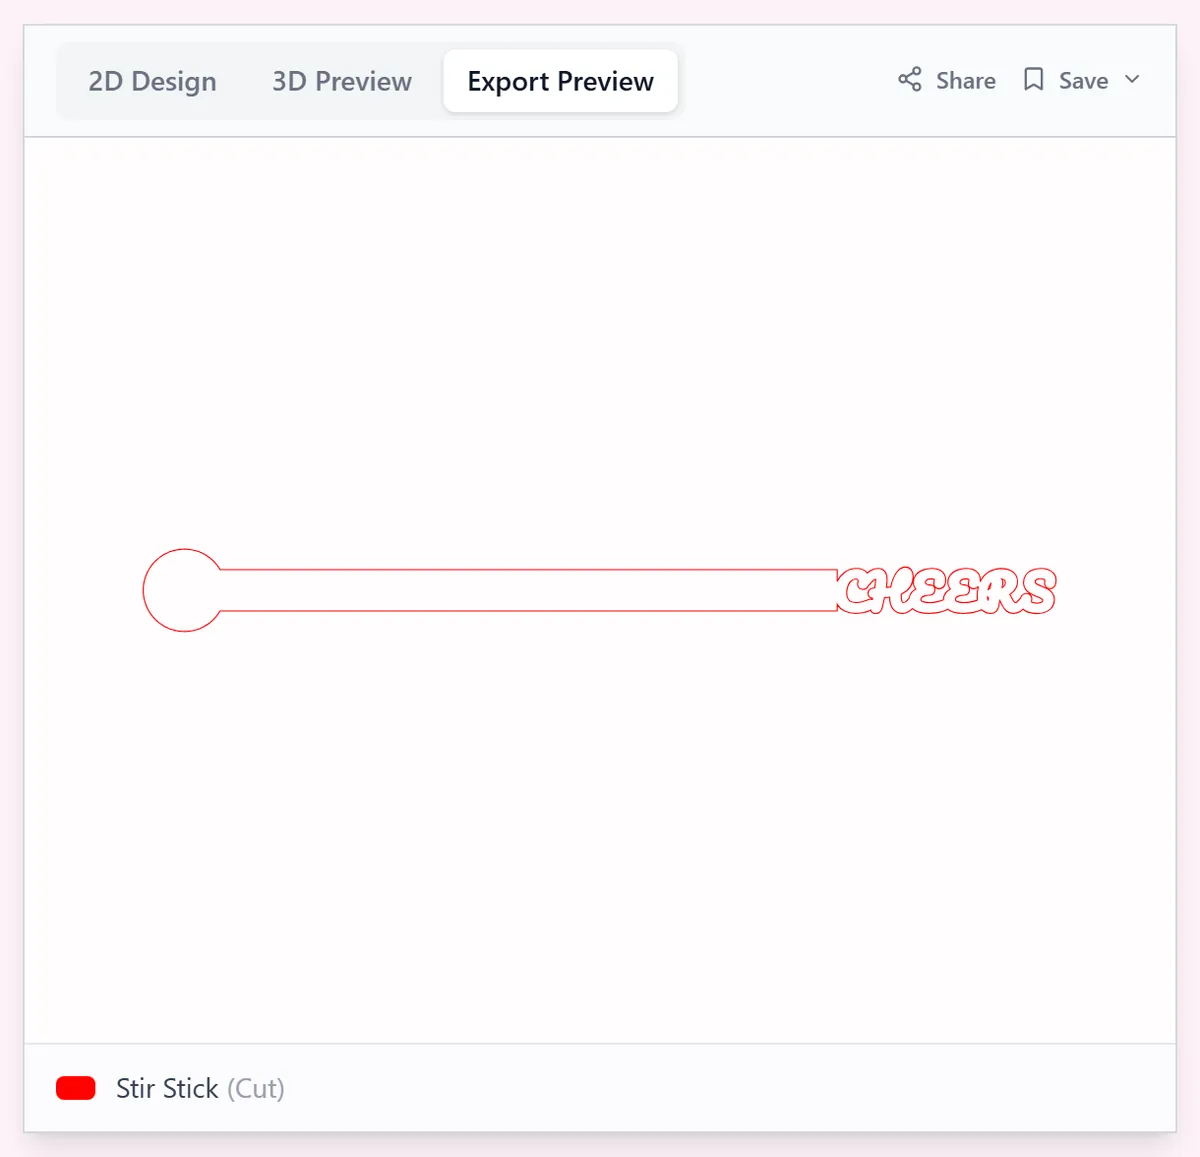
Download the SVG for laser cutting, or an STL/3MF for printing. Tile the design across your sheet or bed for batches.
Choose your build method
Laser cutting
Batch cutting
- Import the SVG and array it across the sheet; alternate head-up and head-down to nest tightly.
- Cut with the protective film on, so the face stays clean. Cut one stick first and run a finger along the stem and the letter joins; a smooth edge is ready, a rough one needs a little more power.
- Check the neck where the word meets the stick; if it looks delicate, raise Text Thickness and re-export.
- Peel the film and wash the sticks in warm soapy water. Acrylic does not go in the dishwasher; the heat bends thin sticks.
- Plywood has glue between its layers, so keep wooden sticks out of the drink: use them as name markers on the rim or in a garnish cup.
3D printing
Printing stirrers
- Export the 3MF at 2.5 to 3 mm depth and lay sticks flat across the bed; a full plate prints a party's worth overnight.
- Printed sticks have tiny gaps between the layers that hold liquid and are hard to clean, so use them as drink markers or for a single party, not as everyday stirrers.
- In the slicer preview, check that the thin stick is printed as solid walls. Print it flat, with 3 or 4 walls, and bend one sample gently to check it does not snap.
- A smooth build plate gives the bottom face a glossy finish. The top face keeps visible layer lines.
- Stand the sample in the glass you will use and check that the word sits above the rim.
Next steps and project ideas
- Wedding signature cocktails: the couple's names on mirror gold acrylic.
- "cheers" sticks in glitter acrylic as a New Year's Eve table upgrade.
- Guest-name sticks that double as drink markers and take-home favours.
- Birthday number sticks: a big "40" header for every glass at the party.
- Bachelorette set: "bride" in white, the crew's names in pink.
- Hot-cocoa-bar wood sticks with snowflake-adjacent words for winter markets.
- Frosted acrylic with engraved-look text for a minimalist cocktail bar.
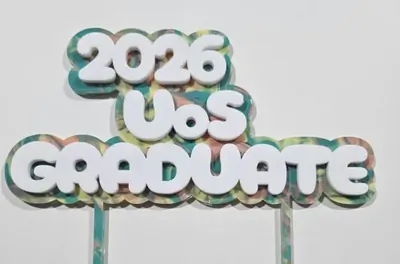
- Pair with the matching cake topper from the Cake Topper Generator for a full party set.
Take the design into your software
Was this guide helpful?
More in Cake toppers
Keep up with MyLaserTools.
Email me about new tools, product updates, tutorials, and occasional MyLaserTools offers. Unsubscribe at any time.
© 2026 MyLaserTools.com. All rights reserved.