

Making custom jigsaw puzzles with the Puzzle Generator
Difficulty: easy to medium. Time: 5 minutes design, cutting time scales with piece count. Best method: laser cutting printed or engraved plywood.
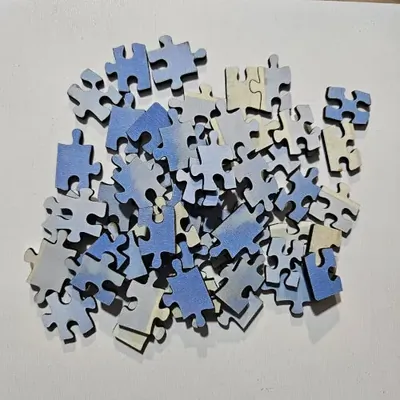
Turn any artwork into a real jigsaw. Choose the Puzzle Shape: Regular gives a classic rectangle with Width, Height, and Corner Radius plus piece-count controls, while Hex builds a hexagonal puzzle from a Diameter and a number of Rings. Tab Size controls how knobby the interlocks are and Jitter randomizes the cut lines so pieces are unique - crank it for a hand-cut Victorian look, zero it for clean geometry. The export is pure cut lines, designed to slice through whatever image you have mounted, printed, or engraved on the sheet.
What You'll Need
- Laser cutting: 3 mm laser-grade plywood - the standard puzzle substrate - or acrylic for a translucent novelty puzzle
- Artwork: a photo print and spray adhesive, a UV-printed sheet, or a laser-engraved design
- Finishing: a flat box or drawstring bag for the pieces
Step 1 - Pick the layout
Regular with a 4x6 to 8x10 piece grid suits kids and gifts; hex puzzles with 3-4 rings are great desk objects. Match Puzzle Width / Height (or hex Diameter) to your artwork size exactly - design the puzzle around the art, not the reverse.
Step 2 - Character controls
- Tab Size around the default is reliable; smaller tabs on small pieces snap, bigger tabs on big pieces look cartoonish - in a good way for toddler puzzles.
- Jitter bends the grid lines: a little adds charm, a lot makes every piece genuinely one of a kind.
- Corner Radius softens the outer frame on regular puzzles.
- Piece size sanity check: aim for pieces at least 20 mm across for adult hands, 35 mm+ for little ones.
Step 3 - Export the SVG
Download the SVG of cut lines. In your laser software, align it over your artwork layer; the puzzle lines cut, the artwork engraves or is already printed on the sheet.
Choose Your Build Method
Laser cutting
- Prepare the artwork first: spray-mount a photo print onto the plywood, UV print it, or raster-engrave a design.
- Cut the outer frame and all interior lines in one job, art side up, with air assist low to keep the face clean.
- Masking tape over photo prints prevents scorch halos along every cut line.
- Test one corner piece for fit before committing to a fifty-piece run - kerf changes how snug tabs feel.
- Lightly sand the back of the assembled puzzle as one unit to deburr every piece at once.
Make It Yours
- Family photo puzzle: 6x8 pieces, mounted print, gift box - the all-time grandparent gift.
- Engrave a map from the Map Designer onto plywood, then cut it into a puzzle of your hometown.
- Max-jitter hex puzzle in walnut as a deliberately difficult coffee-table piece.
- Toddler edition: 3x4 giant pieces, big tabs, bright acrylic.
- Wedding guest book puzzle - guests sign individual pieces, the couple assembles it after.
- Gift-reveal puzzle: engrave the announcement and make them assemble it to read the news.
- Cut the same image at three difficulty levels for a family game night set.
New free tools, every month.
New laser cutting tools, what's coming next, and features we're building right now. Only MyLaserTools.com news. No spam, ever.
© 2026 MyLaserTools.com. All rights reserved.