Making layered photo frames with the Photo Frame Generator
Difficulty: medium. Time: 20 minutes design, 30-45 minutes cutting and assembly. Best methods: laser-cut plywood or acrylic, 3D printed frames.
A frame with the family name arched over the photo beats anything from the home store, and this tool does the layered engineering for you. Pick a Design Type - three-layer (Frame, Photo Mat, Backplate) or two-layer (Frame with Mat plus Backplate) - then set the Photo Width and Photo Height to your actual print size. Frame Overlap controls how much the frame lip holds the photo, Border Width sets the frame's visual weight, and Corner Radius rounds the whole stack. Top and bottom text each get full control: size, rotation, and horizontal and vertical position, so a name can arc over the top while a date sits quietly below.
What You'll Need
- Laser cutting: 3 mm laser-grade plywood for all layers, or mix in a colored acrylic mat layer
- Assembly: 3M 467/468 tape for clean layer bonding, wood glue as the budget option
- 3D printing: an FDM printer with a bed at least as large as the frame
- Extras: a printed photo, optional thin clear acrylic as glazing
Step 1 - Size from the photo, not the wall
Measure the actual print (102 x 152 mm for a standard 4x6) and enter it as Photo Width / Height. Set Frame Overlap to 3-5 mm so the lip grips the photo without hiding faces near the edge. Then pick the design type - three layers gives the photo a recessed, gallery-matted depth.
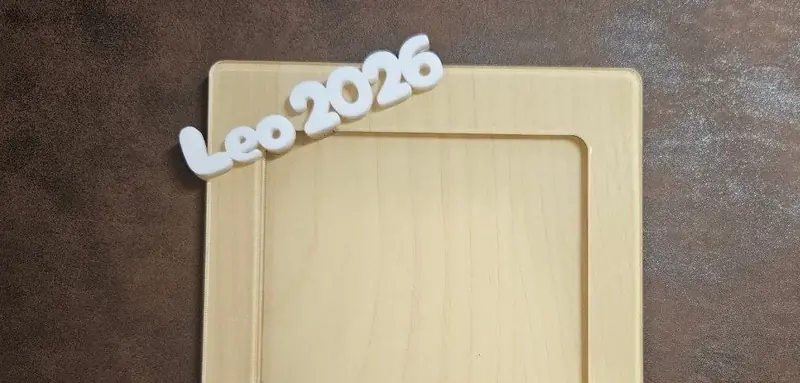
Step 2 - Set the text
- Top Text takes the headline - a family name, THE SMITHS, a child's name. Use its Size, Rotation, and Position controls to settle it into the frame border.
- Bottom Text is for the date, place, or a short phrase, smaller and quieter.
- Pick one font for both or pair a script top with a clean bottom; check that descenders stay inside the Border Width.
Step 3 - Export
Download SVG - each layer (Frame, Photo Mat, Backplate, or Frame with Mat) comes as its own path - or STL/3MF for a printed frame with raised text.
Choose Your Build Method
Laser cutting
- Cut all layers; the text can cut through the frame layer for a pierced look or engrave onto it - your choice in the laser software.
- Dry-stack and check the photo window alignment before any adhesive touches wood.
- Bond backplate to mat to frame with 3M tape, leaving one edge of the mat unbonded as a photo-loading slot.
- Slide the photo in; add a thin clear acrylic rectangle in front of it if the frame will live somewhere dusty.
- Finish with oil or leave raw; pierced text over a contrasting mat color is the signature look.
Make It Yours
- New-baby frame: name on top, birth date and weight as the bottom text.
- Wedding version with the couple's names arched and the date below, cut in white acrylic.
- Pet memorial frame with the paw years as bottom text.
- Use a glitter acrylic mat layer behind a plywood frame for birthday photos.
- Make a yearly school-photo frame and recut just the bottom text layer each grade.
- Grandparent gift: GRANDKIDS on top, all the names in a row at the bottom.
- Size it for a 6x4 landscape print and rotate the text positions for a wide desk frame.
New free tools, every month.
New laser cutting tools, what's coming next, and features we're building right now. Only MyLaserTools.com news. No spam, ever.
© 2026 MyLaserTools.com. All rights reserved.