

Building a finger-jointed paint storage rack
Difficulty: easy. Time: 10 minutes design, 30 minutes making. Best method: laser-cut plywood.
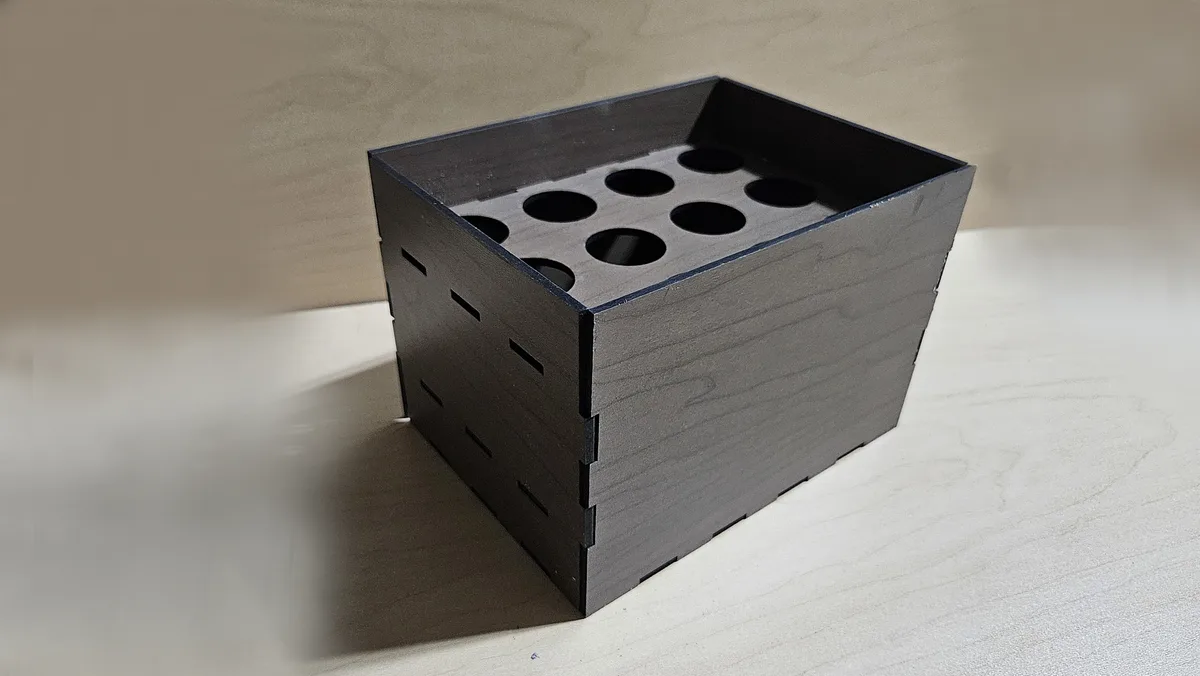
A paint rack is a friendly laser project: four walls, a floor, and one or more interior shelves drilled with a grid of round holes. This generator cuts the holes and the finger joints for you, and slots each shelf into the walls with matching tabs so the rack stays square. The Assembled 3D tab shows the shelves in place so you can judge the size and hole spacing before spending a sheet.
What You'll Need
- Laser cutting: 3 to 6 mm plywood or MDF. Measure the actual sheet thickness with calipers, it is rarely exactly 3 mm.
- 3D printing: any rigid filament. 4 to 6 mm panels print stronger joints than laser-thin ones.
- Glue: PVA wood glue for plywood, plus a couple of clamps or elastic bands
Step 1 - Size the holes
Set Hole diameter to match the neck or body of your paint bottles and pots, and Spacing to the gap you want between them. The outer box grows to fit the grid, and each hole is centred in its cell so it always clears the finger joints.
Step 2 - Grid and tiers
- Columns and Rows set how many holes each shelf holds, left to right and front to back.
- Tiers stacks extra shelves. Tall bottles pass through the top shelf and rest on the one below, while lower tiers can catch drips or hold shorter pots.
- Thickness must match your sheet, because every finger joint and shelf slot is derived from it.
Step 3 - Check the assembly
Switch to the Assembled 3D tab and orbit the rack to check the shelf heights and hole spacing. The Export Preview tab shows the flat sheet with each panel in its own colour.
Choose Your Build Method
Before you cut
- Measure your sheet with calipers and set Thickness to what you measured, not what the label says.
- Cut the holes and shelf slots before the outlines where your software lets you choose, so panels do not shift once they are free.
- Run a joint test first on a new sheet: cut one wall and a shelf, dry fit them, and only commit the rest once the tabs seat with light hand pressure.
Glue up
- Dry fit everything first. Finger joints in charred ply need a light sanding on the tabs, not force.
- Slot the shelves into the side and back walls, then glue the four walls into a ring and check for square before the glue grabs.
- Drop the floor in last and clamp across the rack until the glue is cured.
Make It Yours
- Engrave colour swatches or paint names beside each hole before cutting.
- Mix hole sizes by cutting two racks, one for dropper bottles and one for wider pots.
- Add more tiers for a stepped display stand that shows every bottle at a glance.
New free tools, every month.
New laser cutting tools, what's coming next, and features we're building right now. Only MyLaserTools.com news. No spam, ever.
© 2026 MyLaserTools.com. All rights reserved.