Making earring display cards with the Earring Card Generator
Difficulty: easy. Time: 10 minutes design, minutes per sheet of cards. Best methods: laser-cut plywood or acrylic, Cricut cardstock, 3D printed cards.
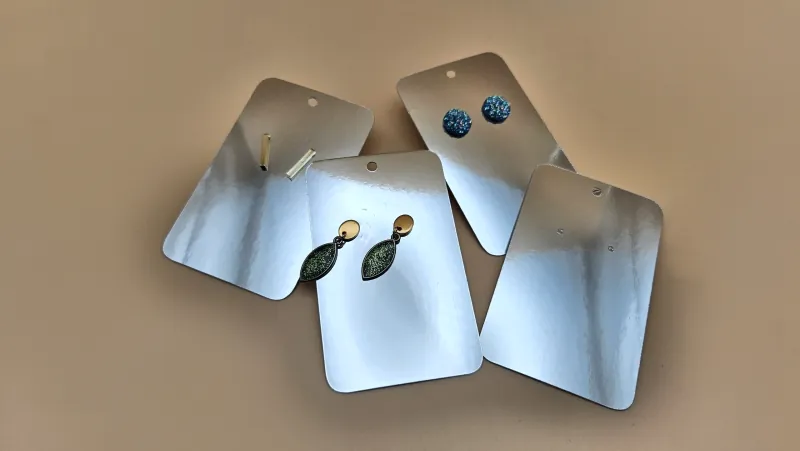
Earring cards are the difference between a baggie of earrings and a product. Pick a card Shape - Rectangle, Arch, Gothic, Heart, Oval, Octagon, Cloud, Balloon, Flower, Scalloped, or Scalloped Oval - set the size, and position the Earring Holes pair. The Hanging Hole supports Circle, Euro Slot, and Keyhole styles so cards work on retail pegs, and the Layout section tiles Cards per Row x Rows with spacing so one export fills a whole sheet.
What You'll Need
- Laser cutting: 2-3 mm laser-grade plywood for premium wooden cards, or acrylic for reusable display stock
- Craft cutter: heavy cardstock (270 gsm+) and a Cricut, Silhouette, or similar machine
- 3D printing: any FDM printer for thin, rigid, waterproof cards
Step 1 - Shape and size the card
Choose a shape that matches your brand and set Width and Height - 50 x 70 mm is the standard earring card footprint. Corner Radius softens rectangles, and Scallops controls the frill count on scalloped shapes.
Step 2 - Holes and layout
- Set the Earring Holes Diameter (1-1.5 mm for posts, 2 mm for hooks) and Spacing between the pair, plus Top Margin to drop them below your branding zone.
- Pick the Hanging Hole Type: Circle for hooks, Euro Slot for retail pegboard arms, Keyhole for nails and screws.
- Use Layout to gang up cards - Cards per Row, Rows, and Spacing - so one cut job produces a full batch.
Step 3 - Export
Download SVG for laser or craft cutter, or STL/3MF to print rigid cards around 1-1.5 mm thick. The SVG is clean card outlines with holes, ready for any branding engrave you want to add.
Choose Your Build Method
Laser cutting
- Add your logo or shop name as an engrave layer above the earring holes in your laser software.
- Engrave first, then cut the outlines and holes; thin plywood cards cut fast so batch a whole sheet.
- Tiny post holes can also be skipped at cut time and pierced with an awl if your posts vary.
- Light sand, mount the earrings, done.
Make It Yours
- Match card shape to earring style: clouds for pastel studs, gothic arches for dark academia dangles.
- Engrave a QR code to your shop on the back of wooden cards.
- Use the keyhole hanger and screw a row of cards to your booth wall as permanent displays.
- Cut seasonal shapes - hearts for February, balloons for birthday collections.
- Pair with the Earrings Generator: design the pair and its card in the same sitting.
- Scalloped oval in kraft cardstock plus a white ink logo is an instant vintage brand.
- Print bright cards for kids' clip-on earrings that survive being chewed.
New free tools, every month.
New laser cutting tools, what's coming next, and features we're building right now. Only MyLaserTools.com news. No spam, ever.
© 2026 MyLaserTools.com. All rights reserved.