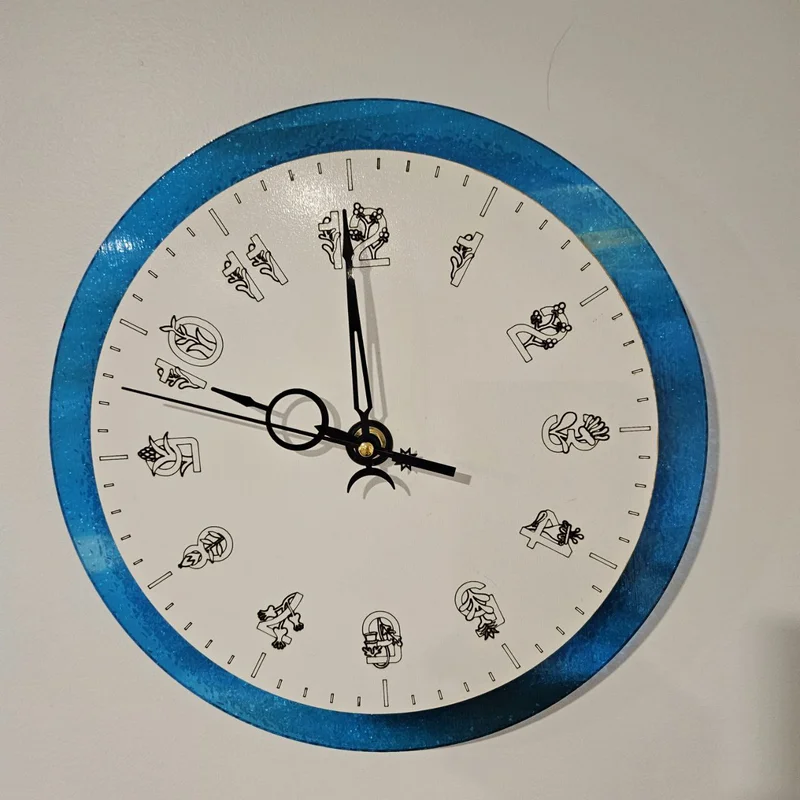
Making a working wall clock with the Clock Face Generator
Difficulty: medium. Time: 20 minutes design, 30 minutes making, plus movement install. Best methods: laser-cut plywood or acrylic, 3D printed faces.
A clock is the rare laser project people look at every single day, and the geometry has to be right - twelve perfectly spaced numerals is not a job for eyeballing in design software. This tool generates it all: pick a Shape (circle or rectangle with corner radius), choose Numbers in Arabic or Roman (or none, or Quarters Only), set Number position, Number size, and whether to Rotate Numbers around the dial. Hour Marks and Minute Marks get independent widths, lengths, and tick inset, with a Dot tick style option. The Center Hole diameter matches your quartz movement shaft, and a Backplate layer is available for two-layer builds.
What You'll Need
- Laser cutting: 3-6 mm laser-grade plywood or acrylic up to your machine's comfortable cut thickness
- Movement: a quartz clock movement with a shaft length matching your material thickness, plus hands
- 3D printing: an FDM printer with a bed that fits your dial diameter
- Assembly: 3M 468 tape if you laminate a face onto a backplate
Step 1 - Shape and numerals
Pick circle or rectangle and set the Size - 250-300 mm reads across a room. Choose Arabic for friendly kitchens, Roman for studies and hallways, Quarters Only (12-3-6-9) for the minimalist look. Set Number position and size so numerals clear the tick band, and try Rotate Numbers to see whether radial numerals suit your font.
Step 2 - Ticks and the movement hole
- Set Hour mark width heavier than Minute mark width - the hierarchy is what makes a dial readable at a glance.
- Use Tick inset and Length to pull the tick band in from the edge; the Dot style swaps ticks for clean circles.
- Measure your movement shaft and set the Hole Diameter to match (commonly 8 mm) - too tight and the shaft will not seat, too loose and the face wobbles.
- Enable the Backplate if you want a contrasting disc behind a pierced or engraved face.
Step 3 - Export
Download SVG for the laser (face and backplate as separate layers) or STL/3MF for a printed dial with raised marks.
Choose Your Build Method
Laser cutting
- Engrave numerals and ticks first, then cut the center hole and outer shape - order matters because the disc can shift once freed.
- Check total thickness against the movement: most quartz shafts handle 5-8 mm of material at the hub.
- For two-layer faces, cut the numerals through the top layer and bond it over a contrasting backplate with 3M tape.
- Mount the movement, press on the hands at exactly 12:00 so they stay synchronized, and set the time.
- Oil or lacquer wood faces before mounting the movement, never after.
Make It Yours
- Walnut plywood, Roman numerals, no minute marks: the law-office classic.
- Kids' room clock in bright acrylic with big Arabic numbers and dot minute marks.
- Engrave a family name or established date in the lower half of the dial before cutting.
- Rectangle face with quarters only makes a sharp mantel clock.
- Cut the face from clear acrylic and mount it floating on standoff spacers over a wall-painted circle.
- Make a workshop clock with minute marks emphasized - actually useful for timing resin and glue.
- Gift a kit version: face, movement, and hands unassembled for a maker friend.
New free tools, every month.
New laser cutting tools, what's coming next, and features we're building right now. Only MyLaserTools.com news. No spam, ever.
© 2026 MyLaserTools.com. All rights reserved.