Building a finger-joint box with the Box Generator
Difficulty: easy. Time: 20-40 minutes including the cut. Best method: laser cutting in 3 mm plywood or acrylic.
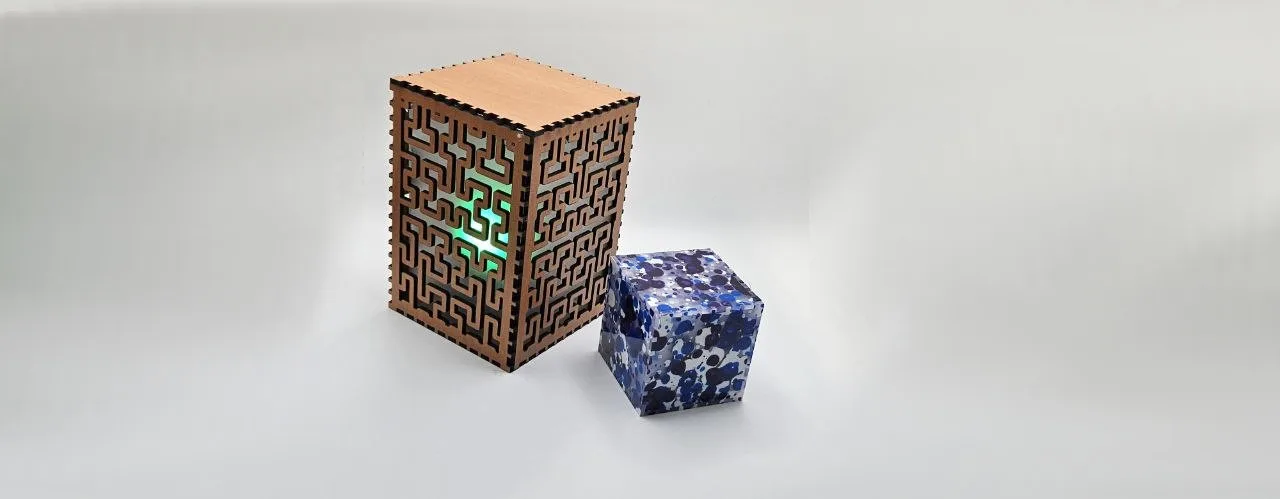
Finger-joint boxes are the bread and butter of laser projects: storage trays, gift boxes, electronics enclosures, organizer bins. The fiddly part has always been the joinery, because every finger has to account for material thickness or the box ends up loose or impossible to assemble. This tool does all of that for you. You enter the internal size you actually need, tell it how thick your material is, and it generates a cut-ready layout of all six faces with matching fingers.
Dimensions are internal measurements, which matters more than it sounds: if you are building a box to hold something specific, like card decks or spice jars, you can size the cavity directly instead of reverse-engineering wall thickness.
What You'll Need
- A laser cutter with a bed large enough for your face layout
- 3 mm laser-grade plywood for warm, classic boxes
- Cast acrylic if you want a sleek or transparent box
- Calipers to measure your true material thickness
- Wood glue or a rubber mallet for assembly (a good fit needs no glue)
Step 1 - Size the box
Open the Box Generator and pick your Units (mm or inches). Set Width, Depth, and Height; remember these are the internal cavity dimensions. Then choose a Lid Style: Closed Box gives a fully captive top, No Lid makes an open tray, and With Lid generates a removable top. Open trays are great for desk organizers; closed boxes suit puzzles and gifts.
Step 2 - Dial in the joints
Measure your sheet with calipers and enter the real number into Material Thickness. Nominal 3 mm plywood is often 2.7-3.1 mm, and that difference is exactly the difference between a snug press fit and a rattly box. Then tune the joint geometry:
- Finger Width controls the size of each finger. Wider fingers (2-3x material thickness) are stronger and faster to cut; narrower fingers give more contact points and a more decorative seam.
- Finger Spacing adjusts the fit. Larger values create looser joints, smaller values create tighter ones. Every laser kerf and material combination is slightly different, so cut a small test box before committing a full sheet.
- Face Spacing sets the gap between faces in the exported layout so parts do not share cut lines.
Step 3 - Export
Click Download SVG. You get one file with all faces laid out: the bottom in the center with left and right sides beside it, then front, back, and top below. Import into LightBurn or your laser software and cut everything as vector lines.
Choose Your Build Method
Cut and assemble
- Cut all six faces in one job. Keep the sheet flat; warped material changes the effective kerf and ruins joint fit.
- Dry-fit before any glue. Start with the bottom face, then insert front, back, left, and right into the bottom's finger cutouts. The sides interlock with each other at the corners.
- Press the top on last. A well-tuned box needs no glue at all; if yours is slightly loose, a dab of wood glue in the corner joints fixes it.
- If joints are too tight, do not force them with bare hands; tap gently with a rubber mallet over a scrap block, or bump Finger Spacing up a touch and recut one face to test.
- Optional finish: sand the finger seams flush, then oil or lacquer. Exposed finger joints in plywood look intentional and handmade in the best way.
Make It Yours
- Engrave a name, logo, or label on the front face before cutting; run the engrave pass first, then the cut pass.
- Make a clear acrylic display box with a plywood bottom for showing off minis or collectibles.
- Size the cavity to exactly fit playing cards (92 x 66 mm internal works for sleeved decks) for a custom deck box.
- Build nesting boxes by making each box's internal size match the next one's external footprint plus 1 mm.
- Cut the same box from two contrasting materials and alternate faces for a checkerboard look.
- Open-tray mode plus a row of identical trays makes a fantastic drawer organizer set.
- Pair with the 3D Print Machine Screws + Nuts Generator if you want a screw-together lid instead of a friction fit.
New free tools, every month.
New laser cutting tools, what's coming next, and features we're building right now. Only MyLaserTools.com news. No spam, ever.
© 2026 MyLaserTools.com. All rights reserved.