Building a shelf insert with the Book Nook Case Generator
Difficulty: medium. Time: 1 hour for the case, then as long as the diorama deserves. Best method: laser cutting in 3 mm plywood with clear acrylic.
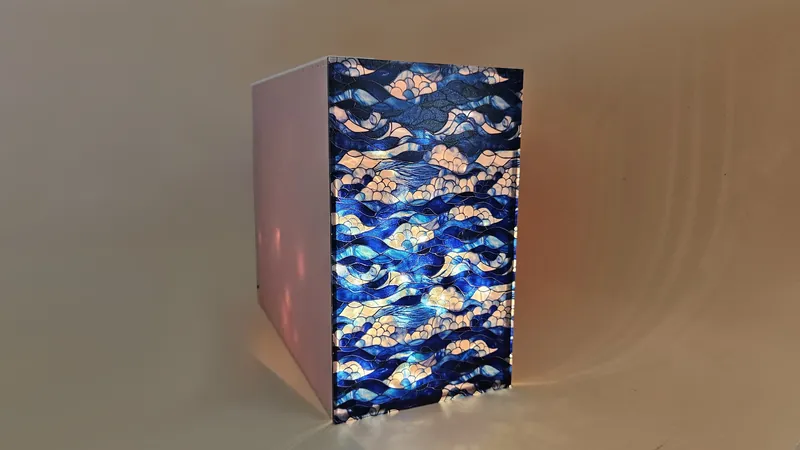
A book nook is a diorama disguised as a book: a tall, narrow case that slips between novels on a shelf and opens into a miniature alley, library, or fantasy doorway. This generator builds the case itself, with proper finger joints, book-like proportions, and a front that can be fully open, closed with a fixed transparent panel, or fitted with a removable clear window so you can reach in and rearrange.
The case is the easy part to get wrong: too wide and it dominates the shelf, too shallow and there is no depth for forced perspective. The defaults here are tuned to real shelf dimensions, and everything stays adjustable.
What You'll Need
- A laser cutter
- 3 mm laser-grade plywood for the case structure
- Clear acrylic for the front window and any internal glazing
- Wood glue
- LED strip or fairy lights with a USB or battery pack for interior lighting
- Diorama materials: printed brick papers, miniatures, moss, tiny lamps
Step 1 - Size it like a book
Open the tool and set Width, Height, and Depth. Height up to 300 mm covers most shelves; measure your actual shelf clearance first. Keep width book-like (about 50-100 mm) so the nook sits convincingly between novels, and use the full available depth, since depth is where the diorama magic happens.
Step 2 - Choose the front and tune the joints
- Front Panel: Tabs builds a transparent front locked in with finger joints (cut it from clear acrylic), No leaves the front open for an uncovered scene, and Window creates a removable transparent panel so you can keep redecorating.
- Material Thickness: enter your measured sheet thickness; the finger joints and panel slots are generated from it.
- Face Spacing sets the gap between parts in the exported sheet layout.
Step 3 - Export
Download the SVG. Cut the structural faces from plywood and the front panel from clear acrylic using the same file; the panel outline is in the layout. Assemble dry first, then glue.
Choose Your Build Method
Cut and build
- Cut the case faces from plywood and the transparent panel from acrylic. Leave the acrylic masking on until final assembly to avoid scratches.
- Dry-fit the box: bottom, back, and sides first. Adjust nothing until you have seen the whole case standing.
- Decorate the interior before closing it up; a finished nook is nearly impossible to work inside. Line walls, install floors, and build your scene in layers from the back forward.
- Wire the lighting and route the cable through the back or top before gluing. Test it lit, in shelf-level shadow, because nook lighting reads completely differently in the dark.
- Glue the joints, insert the acrylic front, and slide it onto the shelf between two sturdy books.
Make It Yours
- Classic first build: a rainy brick alley with a forced-perspective street that narrows toward the back.
- Make a miniature library nook for a book lover: tiny shelves, a ladder, one warm lamp.
- Theme it to a favorite fantasy series with a glowing doorway at the rear wall.
- Use the removable Window front for a seasonal nook you redecorate at Halloween and Christmas.
- Cut the front from tinted acrylic for a moody dusk scene.
- Build the interior scene with the Coffee Shop Diorama Generator and use this case as its enclosure.
- Engrave a book spine design on one exterior side so the nook masquerades as a real book from the aisle.
New free tools, every month.
New laser cutting tools, what's coming next, and features we're building right now. Only MyLaserTools.com news. No spam, ever.
© 2026 MyLaserTools.com. All rights reserved.