Printing alignment pins with the 3D Print Dowel Pins Generator
Difficulty: easy. Time: 2 minutes to design, minutes to print. Method: 3D printing only.
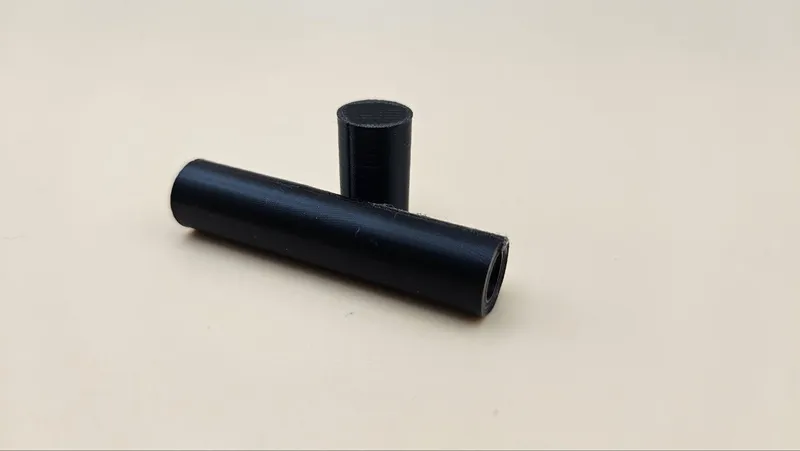
A dowel pin is the simplest part in engineering and the one you need at the worst moments: a missing shelf pin, a snapped hinge pin in a toy, an alignment dowel for a glue-up, a pivot for a printed mechanism. This generator makes a clean cylinder at exactly the diameter and length you ask for, which beats whittling a hardware-store dowel every time.
Because you control diameter to the fraction of a millimeter, you can deliberately print for the fit you want: snug press fit, smooth sliding fit, or loose pivot fit, just by nudging the diameter against the hole size.
What You'll Need
- Any FDM 3D printer
- PETG or PLA; PETG for pins that flex or pivot, PLA for static alignment
- Calipers to measure the hole the pin must fit
Step 1 - Measure the hole
Open the tool, set your Units, and measure the bore the pin will live in. Pick the fit: for a press fit, set Diameter equal to the hole; for a sliding fit, subtract about 0.2 mm; for a free pivot, subtract 0.3-0.4 mm. Printers vary, so the first pin is always a test pin.
Step 2 - Set the length
Set Length to span the assembly. For alignment dowels between two parts, the classic rule is half the pin in each side; for hinge pins, match the knuckle stack with a hair of clearance.
Step 3 - Export
Download STL or 3MF and print a handful; spare pins weigh nothing and always disappear.
Choose Your Build Method
Print round, strong pins
- Print standing up for roundness; a pin printed lying down has flat-spot and ellipse issues that ruin fits.
- Vertical pins put layer lines across the bending axis, so for high-shear hinge pins print at 0.12 mm layers with 100 percent infill, or print lying down and accept light sanding.
- Group several pins on the plate; they support each other against wobble during printing.
- Lightly chamfer the leading edge with a few twists in a pencil sharpener or against sandpaper for easier insertion.
- Test the fit in the real hole and adjust diameter by 0.1 mm steps; two test pins usually nail it.
Make It Yours
- Replacement shelf pins for bookcases, in exactly the metric or odd vintage diameter the cabinet uses.
- Hinge pins to revive toys, glasses cases, and small box hinges.
- Alignment dowels for two-part epoxy glue-ups and woodworking jigs.
- Axles for printed toy cars and pull-along animals.
- Pegboard pegs in custom lengths that actually stay in the holes.
- Registration pins for repeatable laser jig positioning on your cutter bed.
- Pair with the Chicago Screw Generator when the pin needs a removable head on both ends.
New free tools, every month.
New laser cutting tools, what's coming next, and features we're building right now. Only MyLaserTools.com news. No spam, ever.
© 2026 MyLaserTools.com. All rights reserved.