Printing a custom box with the 3D Print Box Generator
Difficulty: easy. Time: 10 minutes to design, a few hours to print depending on size. Method: 3D printing only.
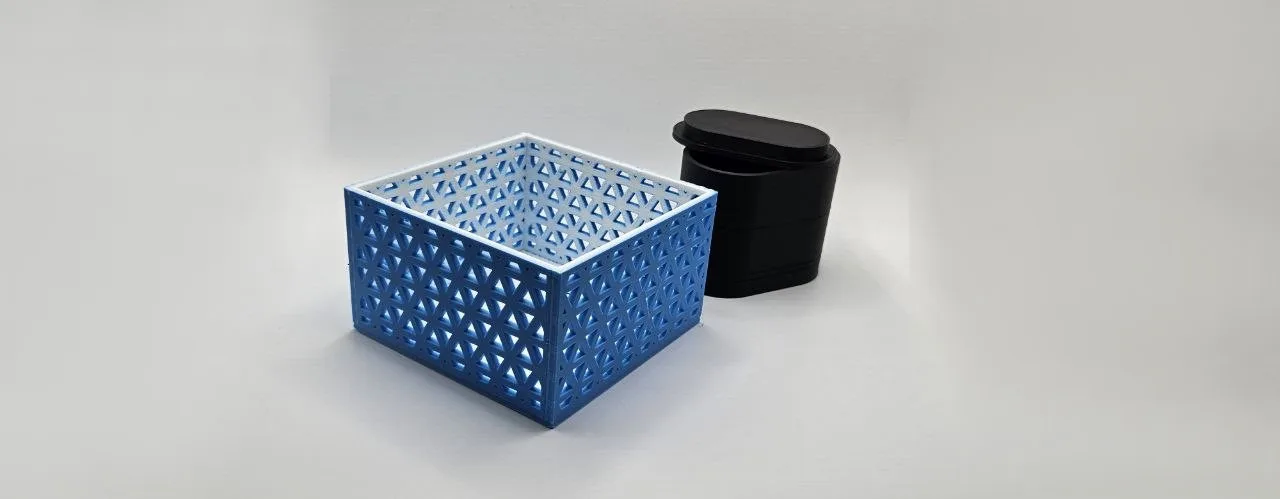
This is the fastest way to get a purpose-sized container without opening CAD. You give it the internal cavity you need, it builds the box around it: walls, floor, rounded corners, and optionally a fitted lid with a press-in stopper so the top stays put. Because dimensions are internal, sizing a box around a specific object is a one-step job.
It also does personalization properly. Text and symbols are real geometry on the front face or lid, in your choice of font, so a labeled storage box or a gift box with a name prints in one go on a multi-color machine or stands out as relief on a single-color one.
What You'll Need
- Any FDM 3D printer; the box prints flat with no supports
- PLA or PETG filament; PETG if the box will live somewhere warm like a car
- A second filament color if you want contrasting text on a multi-material printer
- Calipers if you are sizing the cavity around a real object
Step 1 - Size the cavity
Open the tool and set Units, then Width, Depth, and Height as internal measurements. Add about 0.5-1 mm of clearance over the object you are storing. Set Wall Thickness (2-2.5 mm is sturdy for most boxes) and use Corner Radius to round the footprint; the tool shows the resulting outer size as you go.
Step 2 - Lid, text, and texture
- Lid Style: No Lid for an open bin, Closed for a sealed display piece, or With Lid for a removable cap. With a lid selected, enable the Lid Stopper and tune Stopper Depth and Stopper Size to control how firmly the lid clicks on; around 90-95 percent stopper size gives a satisfying snap fit in PLA.
- Text: toggle text on, type your label, and pick a font. Connect Text merges script letters into one continuous shape. Add a Symbol before, after, or on both sides of the text, scale it with Symbol Size, and place everything with Text Size plus X and Y offsets. The Text Side option targets the Front, the Lid, or Both.
- Wall Fill Pattern: enable the line texture to wrap the outer walls in a subtle engraved line pattern, which hides layer lines and adds grip.
Step 3 - Export
Download 3MF (preferred, carries color separation for the text) or STL. The box and lid export together, positioned for printing.
Choose Your Build Method
Slice and print
- Open the 3MF in your slicer. On multi-color printers the text imports as a separate object you can assign to a second filament.
- Print at 0.2 mm layers with 2-3 perimeters; the generated wall thickness already provides the strength, so 10-15 percent infill is plenty.
- No supports needed: the box prints open-side up and the lid prints flat.
- Test the lid fit before printing a fleet. If it is too tight, increase Stopper Size toward 100 percent (looser) or scale the lid up 0.5 percent in the slicer.
- For a gift box finish, print the body in a matte filament and the lid in silk; the contrast looks deliberate and premium.
Make It Yours
- Print a labeled box per board game for sorting tokens, with the game name on the lid.
- Make a matching set of bathroom canisters in graduated sizes with the same font and corner radius.
- Use a heart symbol with a name on the lid for a small jewelry gift box.
- Size the cavity around a deck of cards plus 1 mm for a snap-lid deck box.
- Generous corner radius plus the line wall texture makes a great modern desk planter (skip the lid).
- Emboss 'SOS' or 'First Aid' on a sealed-lid box for a glovebox emergency kit.
- Want compartments inside? Jump to the 3D Print Grid Box Generator, the sibling tool with rows and columns of dividers.
New free tools, every month.
New laser cutting tools, what's coming next, and features we're building right now. Only MyLaserTools.com news. No spam, ever.
© 2026 MyLaserTools.com. All rights reserved.